Dryer wall mounting instructions
Tools and parts required:
1 drill and 3 mm bit
1 Phillips screw driver
2 wood screws 14 x 50 timbertite screws
1 screw driver
1 helper to lift dryer onto bracket
Extra tools and parts for mounting onto a concrete wall:
1 6 mm bit
2 M6 x 50 expanding bolts
1 adjustable spanner
Note: read these instructions in conjunction with venting instructions.
9
1Determine the position of the dryer on the wall and mark the bracket position.
![]() A minimum of 70 mm is needed between the top of the bracket and the ceiling for ease of installation.
A minimum of 70 mm is needed between the top of the bracket and the ceiling for ease of installation.
![]() If mounting over a washer allow sufficient room to open the lid of the washer or use a lid catch retainer – Part no. 479273.
If mounting over a washer allow sufficient room to open the lid of the washer or use a lid catch retainer – Part no. 479273.
If the dryer is vented through the mounting wall ensure the venting hole clears any studs.
2Fit the bracket to the wall. Ensure the bracket is securely fastened at both ends (eg into the stud). Fit a timber slat between the studs to mount the bracket onto if the stud position is too wide.
3Fit the spacers using screws provided. If timber slat has been used with wall mounting bracket, pack spacers away from wall by same amount.
4Mount the dryer on the bracket. Tilt the dryer out from below, engage the bracket in the back panel slots then lower the dryer and rest against the wall.
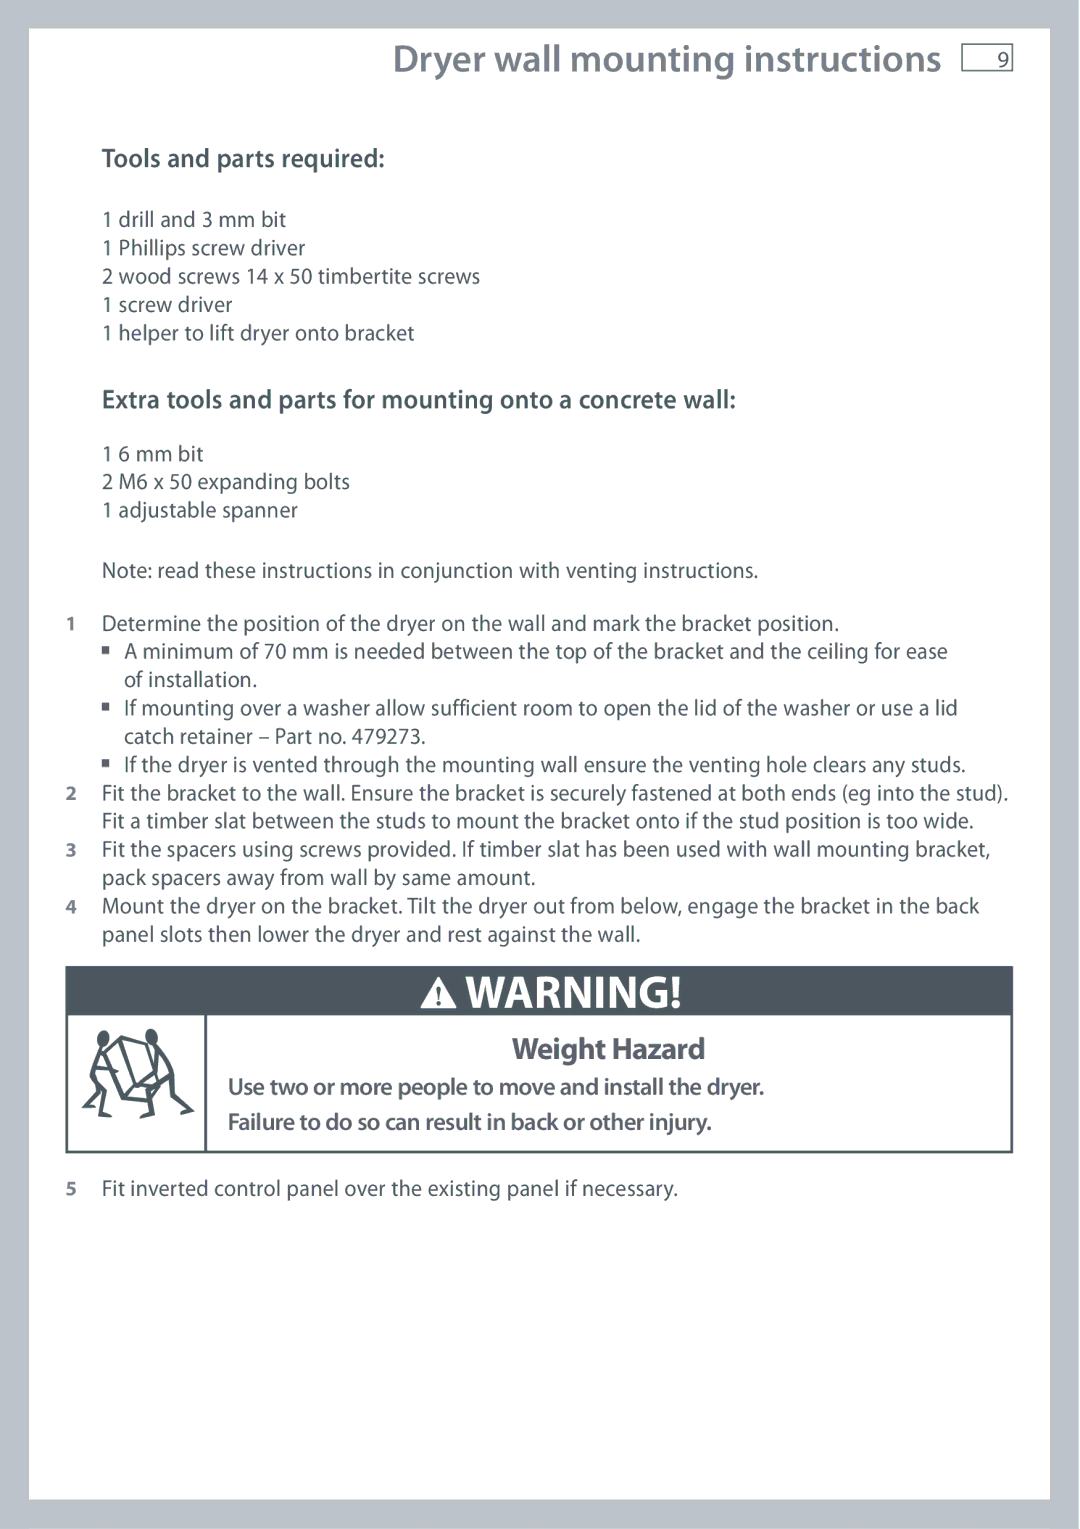
![]() WARNING!
WARNING!
Weight Hazard
Use two or more people to move and install the dryer.
Failure to do so can result in back or other injury.
5Fit inverted control panel over the existing panel if necessary.