6 Configuration
You can configure features such as VLANs, trunking, and QoS using the Switch’s web interface.
With the provided Web Management Utility, you can easily discover all the Web Smart Switches on your network, assign IP addresses to them, change the admin password, and upgrade the firmware.
6.1Installing the Web Management Utility
The following gives instructions guiding you through the installation of the Web Management utility. 1. Insert the Utility CD in the
1.From the Start Menu on the Windows desktop, choose “Run…”
2.In the “Run…” dialog box, type D:\setup.exe (Where “D:\” is the drive letter of your
3.Follow the
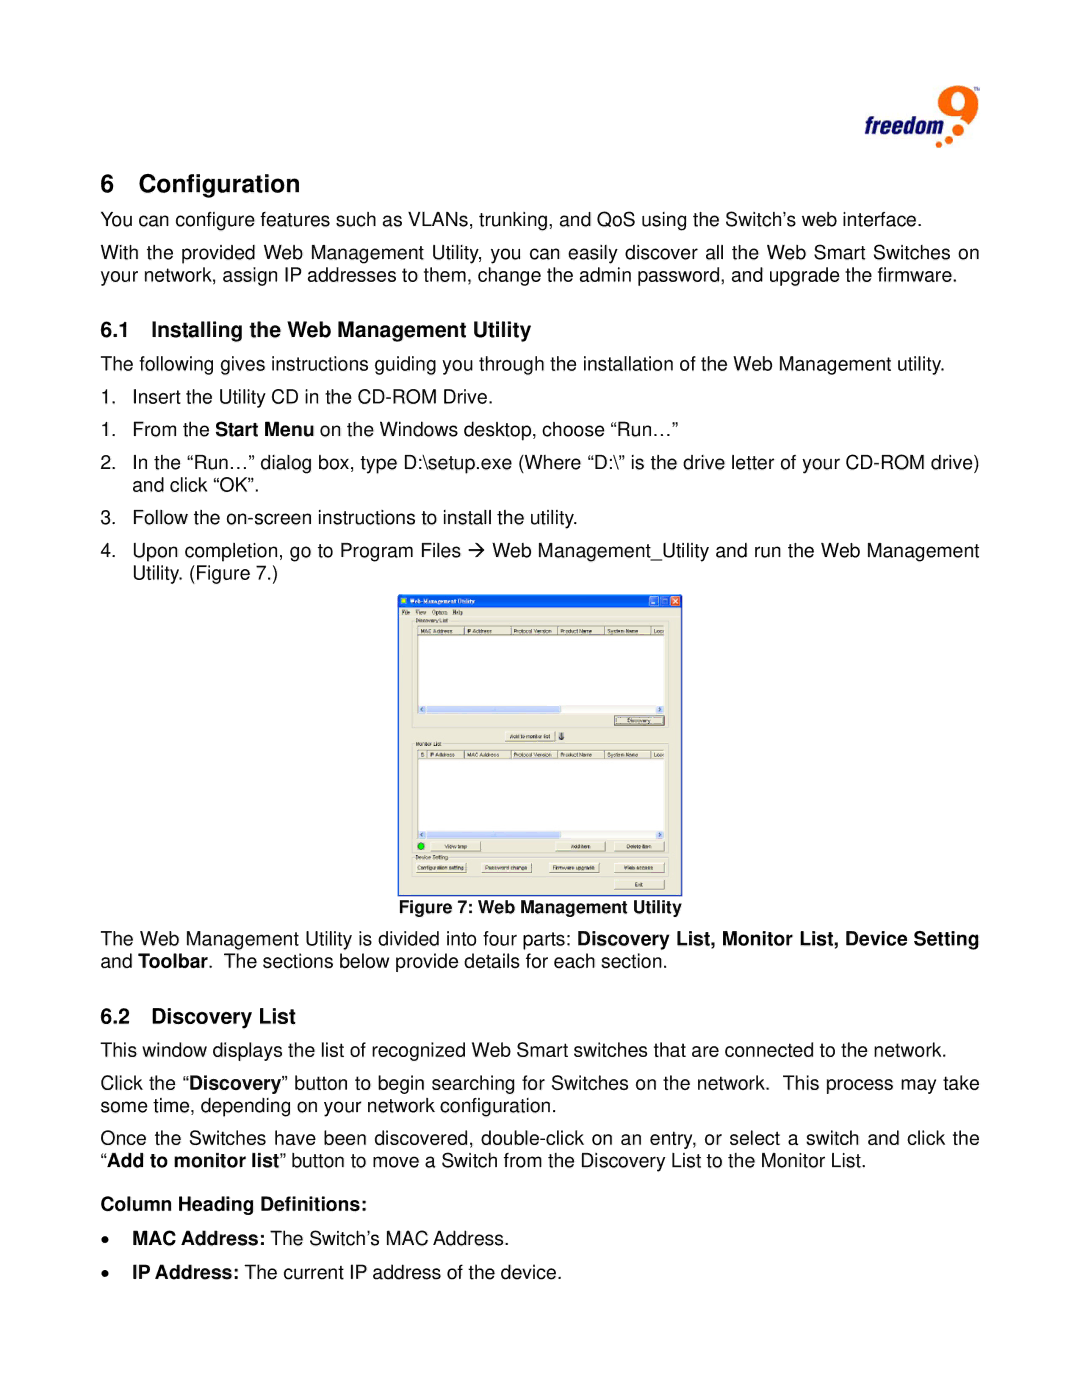
4.Upon completion, go to Program Files Æ Web Management_Utility and run the Web Management Utility. (Figure 7.)
Figure 7: Web Management Utility
The Web Management Utility is divided into four parts: Discovery List, Monitor List, Device Setting and Toolbar. The sections below provide details for each section.
6.2Discovery List
This window displays the list of recognized Web Smart switches that are connected to the network.
Click the “Discovery” button to begin searching for Switches on the network. This process may take some time, depending on your network configuration.
Once the Switches have been discovered,
Column Heading Definitions:
•MAC Address: The Switch’s MAC Address.
•IP Address: The current IP address of the device.
