“T1” or “T2” (indicating normal time (T1) or dual time (T2)) and
is armed.
TO SET DAILY ALARMS
Press STOP button A to select which of the two daily alarms
Hours digits will flash. Press LAP button E to advance hour digits.
Press MODE button C; minutes digits will flash. Press LAP button C to advance minutes digits. Press MODE button C, “T1” (normal time) OR “T2” (dual time) will flash. Press LAP button E to select either “T1” or “T2.” (Note: When setting the alarm time in the
TO SET WEEKDAY ALARMS Press STOP button A to select which of the two weekday alarms, (AL3- 4), you wish to set. Press and hold CLEAR button D to enter the “alarm set” mode. Hours digits will flash. Press LAP button E to advance hours digits. Press MODE button C; minutes digits will flash. Press LAP button E to advance minutes digits. Press MODE button C; day will flash. Press LAP button E to advance day. Press MODE button C, second day will flash. Press LAP button E to advance second day. Following indicates how day alarm operates:
MO-MO = MONDAY ONLY MO-FR = MONDAY TO FRIDAY
Press MODE button C; “T1” (normal time) OR “T2” (dual time) will flash. Press LAP button E to select either “T1” or “T2”. When setting is complete, press SET button D to exit the setting mode.
TO SET DATE ALARMS
Press STOP button A to select which of the two date alarms,
advance months digits.
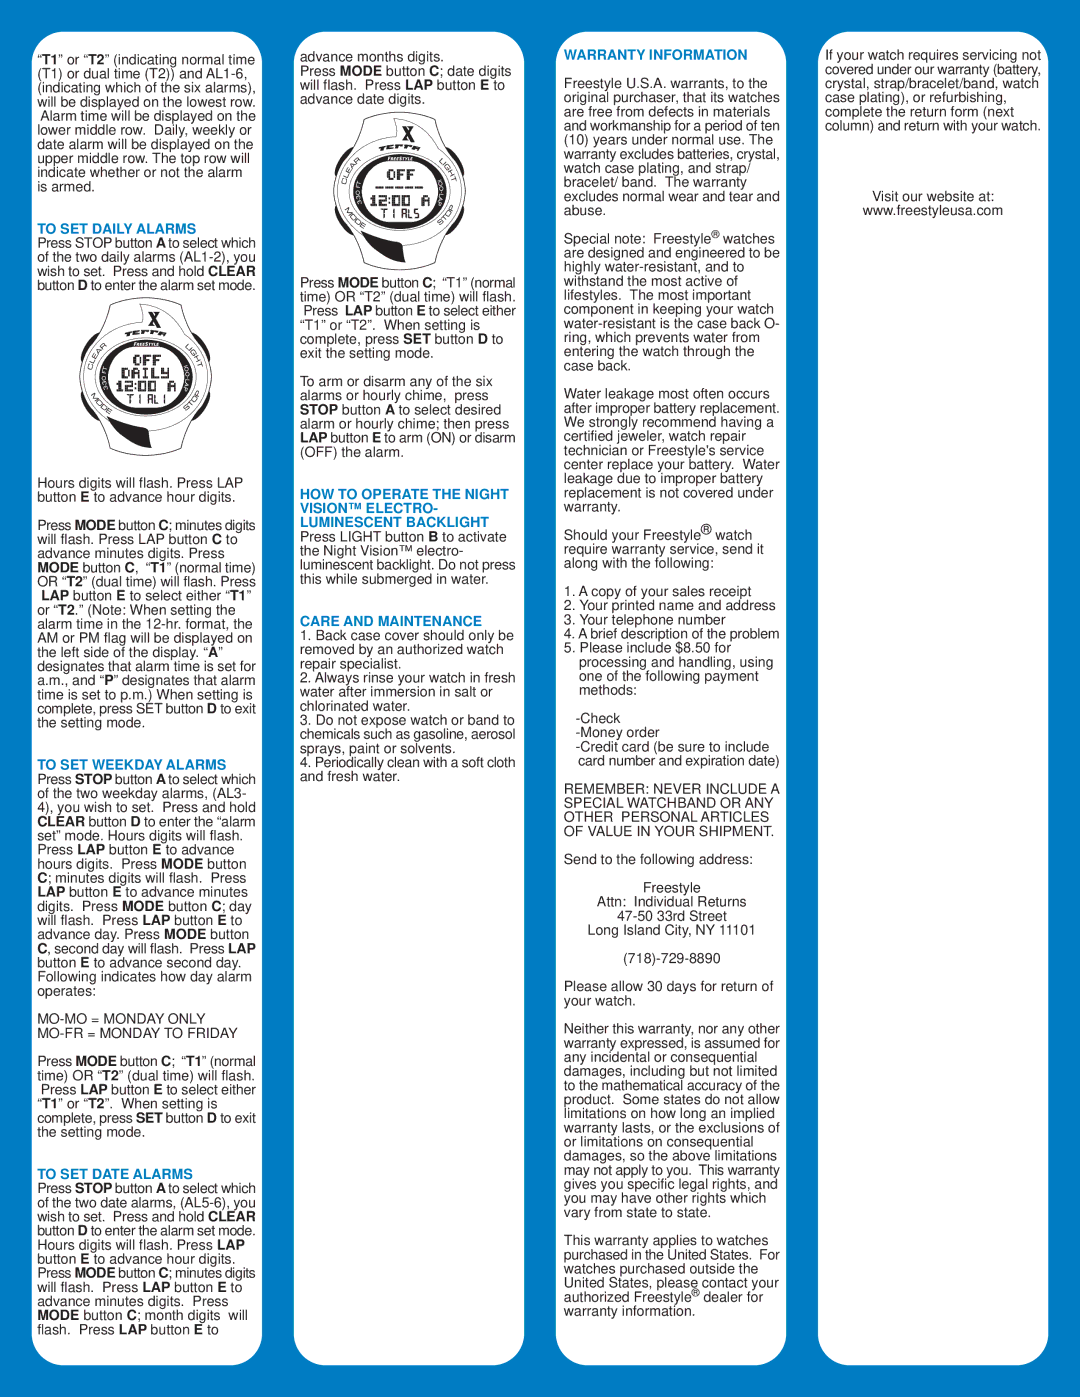
Press MODE button C; date digits will flash. Press LAP button E to advance date digits.
Press MODE button C; “T1” (normal time) OR “T2” (dual time) will flash. Press LAP button E to select either “T1” or “T2”. When setting is complete, press SET button D to exit the setting mode.
To arm or disarm any of the six alarms or hourly chime, press STOP button A to select desired alarm or hourly chime; then press LAP button E to arm (ON) or disarm (OFF) the alarm.
HOW TO OPERATE THE NIGHT VISION™ ELECTRO- LUMINESCENT BACKLIGHT Press LIGHT button B to activate the Night Vision™ electro- luminescent backlight. Do not press this while submerged in water.
CARE AND MAINTENANCE
1.Back case cover should only be removed by an authorized watch repair specialist.
2.Always rinse your watch in fresh water after immersion in salt or chlorinated water.
3.Do not expose watch or band to chemicals such as gasoline, aerosol sprays, paint or solvents.
4.Periodically clean with a soft cloth and fresh water.
WARRANTY INFORMATION
Freestyle U.S.A. warrants, to the original purchaser, that its watches are free from defects in materials and workmanship for a period of ten
(10)years under normal use. The warranty excludes batteries, crystal, watch case plating, and strap/ bracelet/ band. The warranty excludes normal wear and tear and abuse.
Special note: Freestyle® watches are designed and engineered to be highly
Water leakage most often occurs after improper battery replacement. We strongly recommend having a certified jeweler, watch repair technician or Freestyle's service center replace your battery. Water leakage due to improper battery replacement is not covered under warranty.
Should your Freestyle® watch require warranty service, send it along with the following:
1.A copy of your sales receipt
2.Your printed name and address
3.Your telephone number
4.A brief description of the problem
5.Please include $8.50 for processing and handling, using one of the following payment methods:
REMEMBER: NEVER INCLUDE A SPECIAL WATCHBAND OR ANY OTHER PERSONAL ARTICLES OF VALUE IN YOUR SHIPMENT.
Send to the following address:
Freestyle
Attn: Individual Returns
Long Island City, NY 11101
Please allow 30 days for return of your watch.
Neither this warranty, nor any other warranty expressed, is assumed for any incidental or consequential damages, including but not limited to the mathematical accuracy of the product. Some states do not allow limitations on how long an implied warranty lasts, or the exclusions of or limitations on consequential damages, so the above limitations may not apply to you. This warranty gives you specific legal rights, and you may have other rights which vary from state to state.
This warranty applies to watches purchased in the United States. For watches purchased outside the United States, please contact your authorized Freestyle® dealer for warranty information.
If your watch requires servicing not covered under our warranty (battery, crystal, strap/bracelet/band, watch case plating), or refurbishing, complete the return form (next column) and return with your watch.
Visit our website at:
www.freestyleusa.com