LP Side Burner Conversion
7.Reattach bezel and screw new LP valve onto front of side burner. (See Fig 4, again)
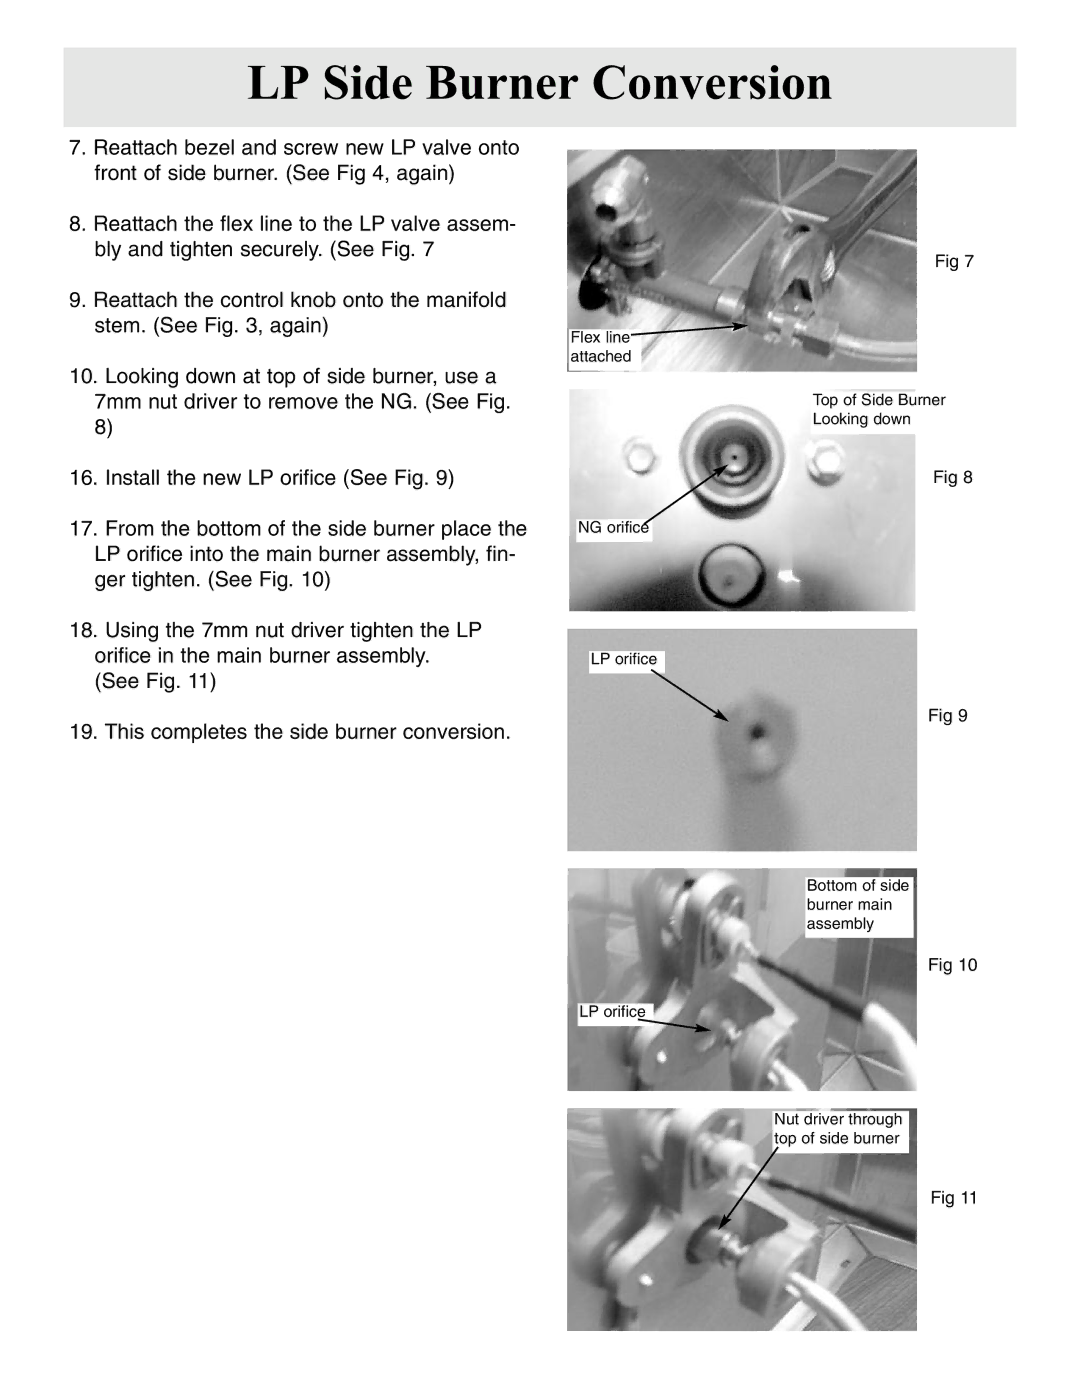
8.Reattach the flex line to the LP valve assem- bly and tighten securely. (See Fig. 7
9.Reattach the control knob onto the manifold stem. (See Fig. 3, again)
10.Looking down at top of side burner, use a 7mm nut driver to remove the NG. (See Fig. 8)
16.Install the new LP orifice (See Fig. 9)
17.From the bottom of the side burner place the LP orifice into the main burner assembly, fin- ger tighten. (See Fig. 10)
18.Using the 7mm nut driver tighten the LP orifice in the main burner assembly. (See Fig. 11)
19.This completes the side burner conversion.
Fig 7
Flex line attached
Top of Side Burner
Looking down
Fig 8
NG orifice
LP orifice
Fig 9
Bottom of side burner main assembly
Fig 10
LP orifice
Nut driver through top of side burner
Fig 11
