 FRYMASTER FPD65 SERIES GAS FRYERS CHAPTER 3: INSTALLATION
 3-1
3.1 Installing the Fryer
Decathlon 65 Series fryer systems are shipped in sections. The fryers are unc rated, removed from
pallets and assembled together. Important aspects during assembly include aligning and connecting
the drain system, oil return system, rinse-line system (where applicable), oil-return switch wiring
harness and fryer cabinets. Slight modifications to connecting hardware may be required when
assembling the system. The instructions below provide step-by-step instructions to assist the
installer in assembly. For this procedure, the fryers are numbered from right to left as follows:
Fryers #1, #2, #3, #4, #5 and #6 (where applicable).
1. Open the doors of the filtration fryer cabinet.
Remove filter pan from the cabinet . Uncrate
fryers and remove the pallet supports. Install
ramps and slowly roll the fryer(s) off the pallets.
2. Remove door from fryers to be connected by
lifting the door upward and removing the door
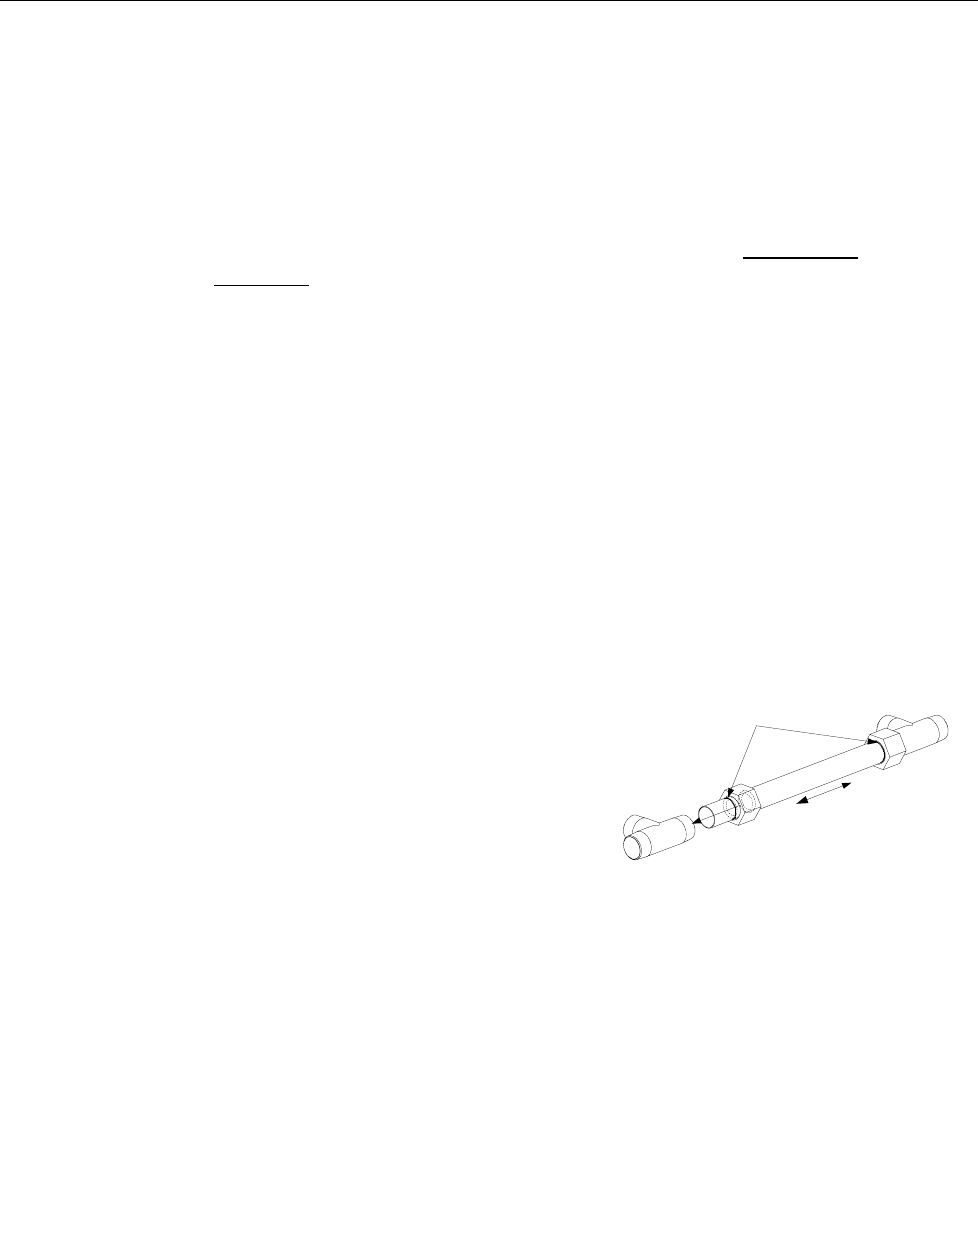
pin from the bottom hinge. Remove slip-nuts
from drain-tees on fryers being connected,
lubricate O-rings with vegetable oil and install
on drainpipe (Fig. 2). Use care not to damage
the slip-nut O-rings when installing slip-nut on
drainpipe. Insert the drainpipe into the fryer
drain-tee (Fig. 3). Screw slip-nut onto the tee
but do not tighten at this time. Position fryers
being connected within 6 inches of each other,
near the permanent installation area. Guide the
drainpipe through the opposite fryer cabinet
opening as the cabinets are positioned.
NOTE: When the slip nuts are tightened, the
"blue" marks on each end of the drainpipe
should align to the outside edge of each slip
nut.
Properly align the drainpipe evenly between the
two drain-tees using the "blue" marks on the tube
ends to prevent leaks and/or blocked drain
valves.
Figure 1. Remove pallet supports (arrow)
before removing fryers from pallets.
Figure 2. Slip-nut/drainpipe detail.
Figure 3. Insert drainpipe section into fryer
drain-tee before pushing fryers togethe
r
(arrow). Do this as required for all cabinets
being assembled.