1.MOUNTING
1.1Mounting of Transceiver Unit
General mounting considerations
The transceiver unit can be mounted on the overhead, a bulkhead, on a tabletop, or in a console (flush mounting).
When selecting a mounting location keep the following points in mind:
•Make sure the location is strong enough to support the unit under the conditions of continued vibration and shock normally encountered on the boat. Where necessary, reinforce the mount- ing location by lining block or doubling plate.
•Locate the unit where it is easily accessible and does not interfere with personnel or opera- tion of other equipment; for example, ship’s wheel.
•Leave enough space around the sides and rear of the unit so a service technician can access the connectors for maintenance.
•Observe the compass safe distance listed in the Safety Instructions to prevent deviation of a magnetic compass.
•If the equipment is to be installed without the hanger, leave sufficient space underneath the the equipment to allow for circulation of cooling air.
Mounting on overhead, bulkhead or tabletop
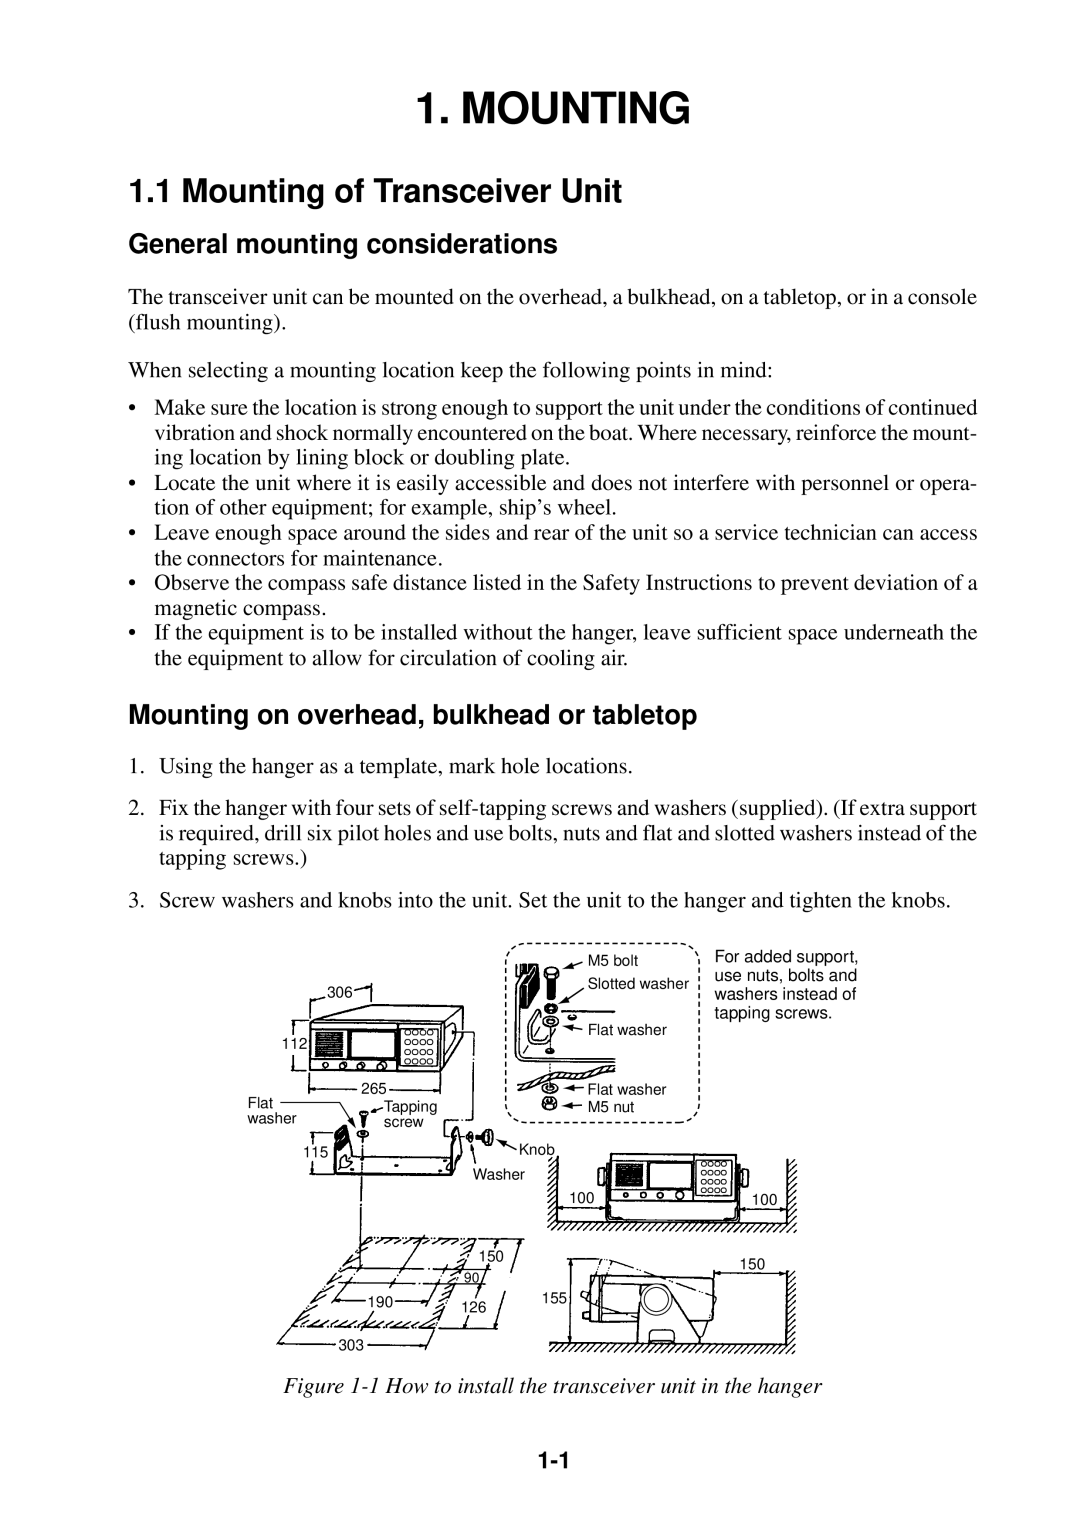
1.Using the hanger as a template, mark hole locations.
2.Fix the hanger with four sets of
3.Screw washers and knobs into the unit. Set the unit to the hanger and tighten the knobs.
|
| M5 bolt |
306 |
| Slotted washer |
|
| |
112 |
| Flat washer |
|
| |
Flat | 265 | Flat washer |
Tapping | M5 nut | |
washer | screw |
|
115 |
| Knob |
|
| Washer |
|
| 100 |
150
90
190 126 155
303
For added support, use nuts, bolts and washers instead of tapping screws.
100
150
