NMEA Configuration
The
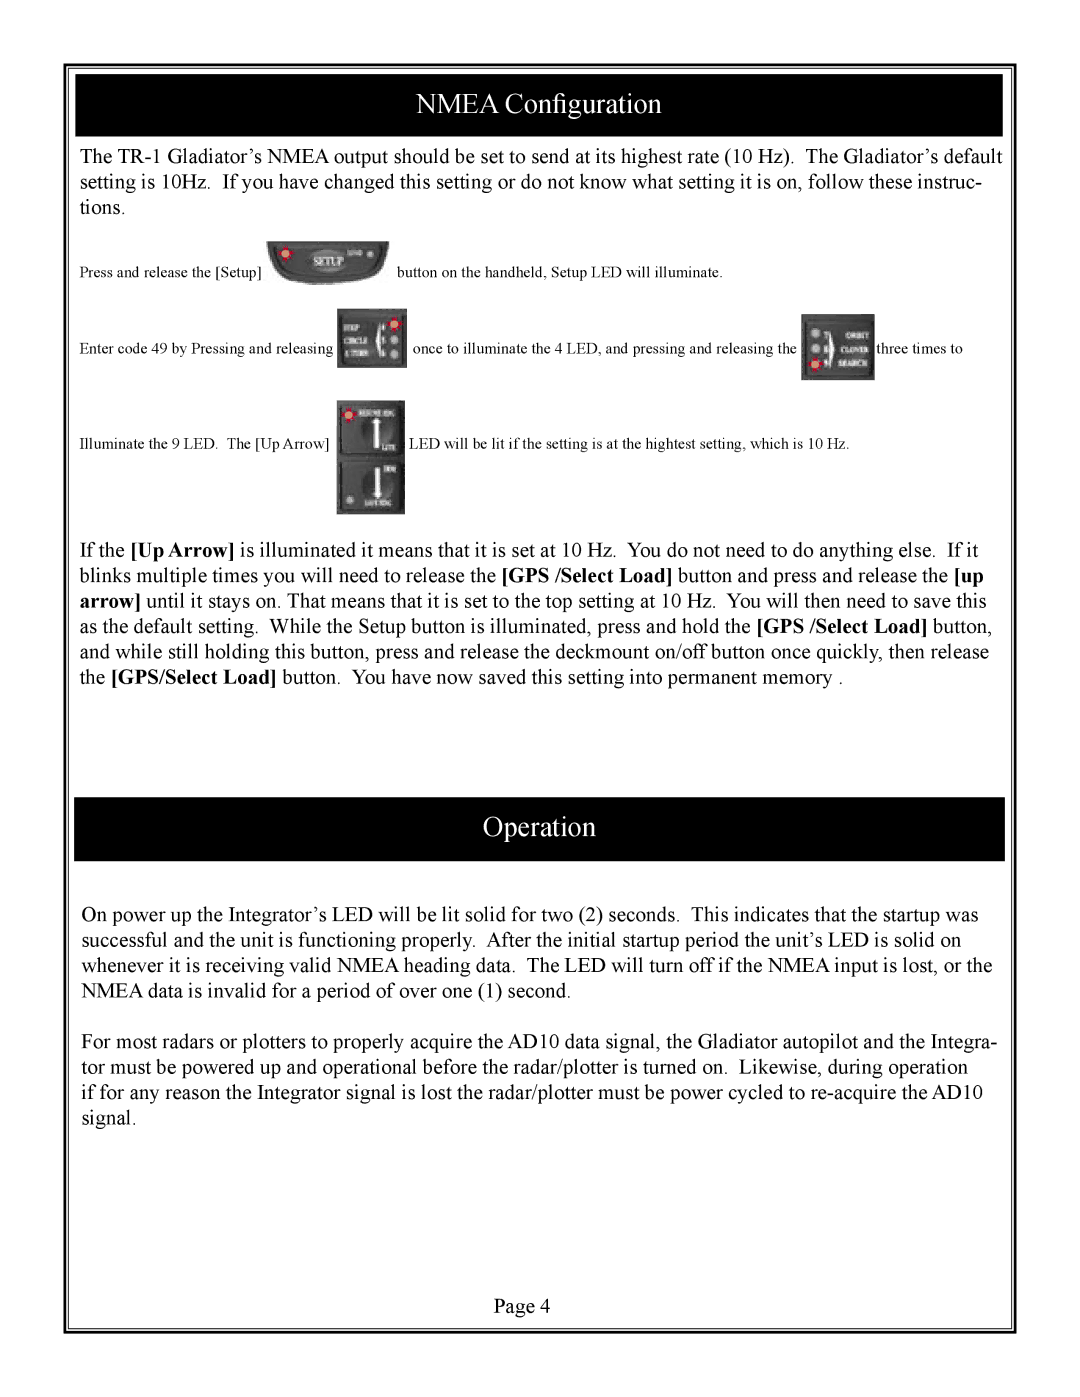
Press and release the [Setup] | button on the handheld, Setup LED will illuminate. |
|
Enter code 49 by Pressing and releasing | once to illuminate the 4 LED, and pressing and releasing the | three times to |
Illuminate the 9 LED. The [Up Arrow] | LED will be lit if the setting is at the hightest setting, which is 10 Hz. |
If the [Up Arrow] is illuminated it means that it is set at 10 Hz. You do not need to do anything else. If it blinks multiple times you will need to release the [GPS /Select Load] button and press and release the [up arrow] until it stays on. That means that it is set to the top setting at 10 Hz. You will then need to save this as the default setting. While the Setup button is illuminated, press and hold the [GPS /Select Load] button, and while still holding this button, press and release the deckmount on/off button once quickly, then release the [GPS/Select Load] button. You have now saved this setting into permanent memory .
Operation
On power up the Integrator’s LED will be lit solid for two (2) seconds. This indicates that the startup was successful and the unit is functioning properly. After the initial startup period the unit’s LED is solid on whenever it is receiving valid NMEA heading data. The LED will turn off if the NMEA input is lost, or the NMEA data is invalid for a period of over one (1) second.
For most radars or plotters to properly acquire the AD10 data signal, the Gladiator autopilot and the Integra- tor must be powered up and operational before the radar/plotter is turned on. Likewise, during operation if for any reason the Integrator signal is lost the radar/plotter must be power cycled to
Page 4
