Connections & Setup
Installing the Recharge Cradle
Choose the best location to install the recharge cradle, it should be placed on a level surface such as a desk or table top.
Installing the Handset Battery
NOTE: You must connect the handset battery before use.
1.Push down on the top of the battery compartment cover (located on the back of each handset) and remove the cover.
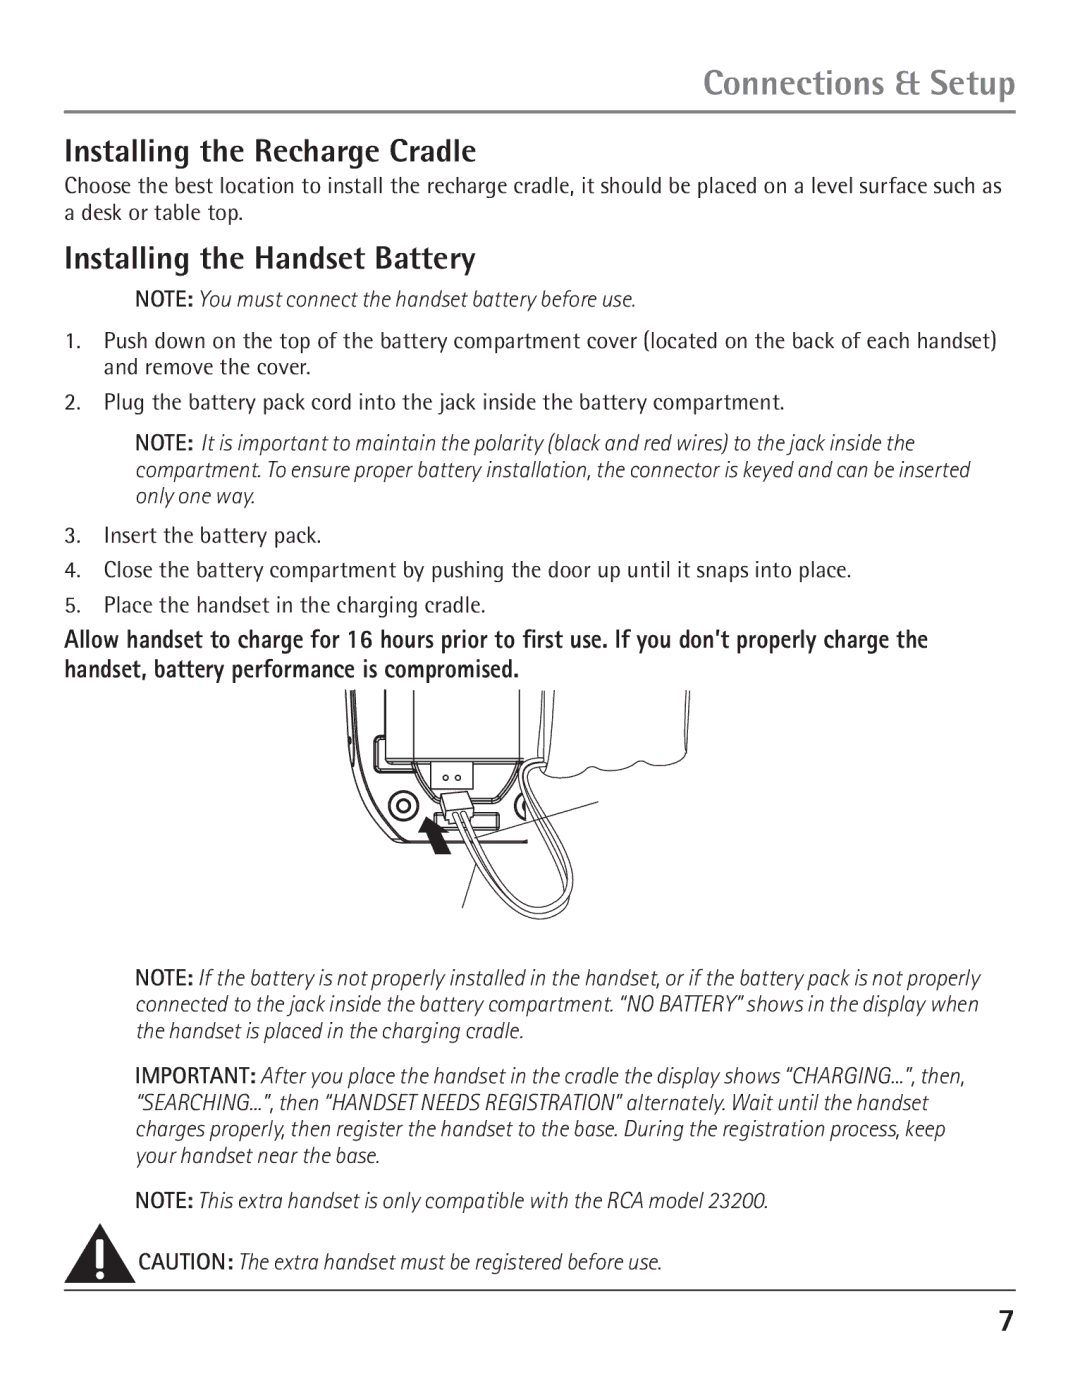
2.Plug the battery pack cord into the jack inside the battery compartment.
NOTE: It is important to maintain the polarity (black and red wires) to the jack inside the compartment. To ensure proper battery installation, the connector is keyed and can be inserted only one way.
3.Insert the battery pack.
4.Close the battery compartment by pushing the door up until it snaps into place.
5.Place the handset in the charging cradle.
Allow handset to charge for 16 hours prior to first use. If you don’t properly charge the handset, battery performance is compromised.
BATTERY
BLACK WIRE
PRESS DOWN
FIRMLY
RED WIRE
NOTE: If the battery is not properly installed in the handset, or if the battery pack is not properly connected to the jack inside the battery compartment. “NO BATTERY” shows in the display when the handset is placed in the charging cradle.
IMPORTANT: After you place the handset in the cradle the display shows “CHARGING...”, then, “SEARCHING...”, then “HANDSET NEEDS REGISTRATION” alternately. Wait until the handset charges properly, then register the handset to the base. During the registration process, keep your handset near the base.
NOTE: This extra handset is only compatible with the RCA model 23200.
![]() CAUTION: The extra handset must be registered before use.
CAUTION: The extra handset must be registered before use.
7