E1486TW
Declaration of Conformity
FCC Statement
For customers in Europe
Memory card notes
Safety Precautions
Battery notes
Camera notes
Copyright
Safety Information
Before You Start
Preface
About this Manual
Symbols used in this Manual
LCD Screen notes
LCD Screen Information
Contents
Face Detection
Flash Mode
Auto Scene Mode Ascn
Night Landscape Mode Macro Mode
Dpof Digital Print Order Format
Continuous Shot Quality
Expo Metering Digital Zoom
Data Imprint
File Numbering Language
Copy to Card Reset Settings
Setting the USB Mode Transferring files to your PC
Setting the USB Mode Connecting the Camera and Printer
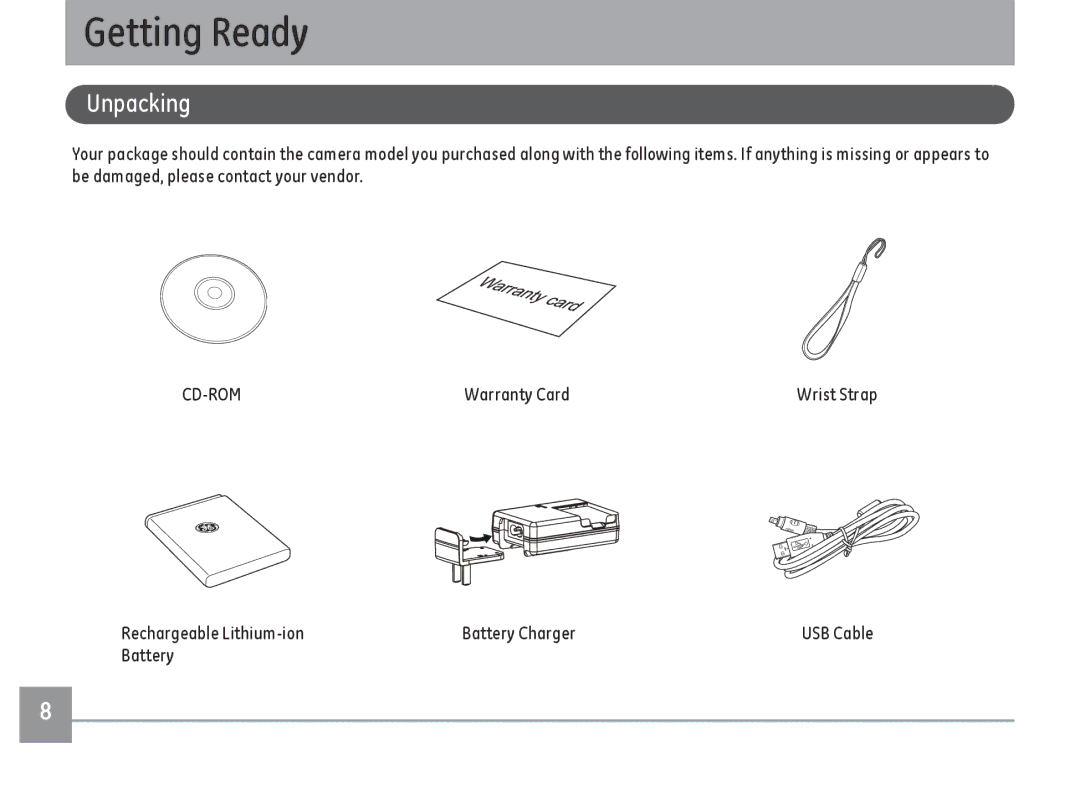
Getting Ready
Warranty Card
Rechargeable Lithium-ion Battery Charger
Battery
Front View Back View Right View
Identifying the Components
Flash Shutter Button Lens Zoom Wheel
Top View
Left View
Place the battery into the charger as shown
Charging the Battery
Allowing the battery lock into place properly
Inserting the Battery
Open the battery compartment
Inserting an Optional SD/SDHC Card
Page
Touch panel
Power button
Turning On and Off
Control Touch Panel
Rotate
Operating Method of Touch Screen
Press
Slide
Language Setup
Time and Language Setup
Time setup
LCD Screen Display
Still Shooting Mode Display
Mode
Shooting Mode Icon Auto Mode
Portrait Mode
Panorama Stitching
Movie Mode On-Screen Icons
Recording Status Icon Recording standby Recording
Playback Mode On-Screen Icons
Page
Hide Grid
Screen Display
Scene Mode
Captured image is then shown on the LCD screen
How to Take Pictures
Basic Operation
Camera Shake
How to reduce blur
Focus Controls
Tips to Preventing Blurry Images
Playback button
How to Playback Images
Object Blur
Next frame
Pause First frame Fast forward Play Volume control
Function buttons during movie playback Rewind
Adjust movie playback time
How to Delete Images
Page
Camera Function Controls
Shooting in Auto Mode
Using the Zoom Function
Picture Size Setup
Flash Mode
Slow Synchro Flash
Macro Mode
Camera as much as possible
Face Detection
Self-Timer Mode
Button will appear on this screen Press the EV
EV Exposure Compensation
WB White Balance
Camera is in the Manual mode To set the white balance
To set the ISO value
ISO
Color Effect
Under manual mode To set up the color effect
Icon Mode name
Ascn Mode
Macro Mode
Landscape Mode
Portrait mode
Night Landscape Mode
Scene Mode
Fireworks
Sport
Indoor
Snow
Panorama mode
Panorama Mode
To use Panorama mode
Portrait Mode
Mode, push
Playback Mode
Thumbnail View
Performing image rotation with the function
Slideshow
Picture Orientation
Skip the movie clip and play the next image
Red-Eye Removal
Rotate an image with touch control
Button
Picture Resize
Will appear on this
Picture Cropping
HDR-High Dynamic Range
Text Display
Off Unlimited
Photograph Setting
Operational Menus
Continuous shot
Not function in order to allow faster shutter speed
Quality
There are four options 10 Sec
Min
Expo Metering
AF Mode
Off Sec
Digital Zoom
Quick Review
There are four options
Off Date Date/Time
Add the date and time label to the image when shooting
Date Imprint
AF Assist Beam
Off
Blink Detection
Slow Shutter
Continuous on Shooting
OIS Stabilization
320x240
Movie Recording Setup
Cancel and return to the playback main menu
640x480
Slideshow
Playback Setup Menu
Protect
Protect Delete
Delete One
Delete
Dpof Digital Print Order Format
Delete All
Slideshow
Camera Setting Menu
Current media device is formatted
Go back to the camera setting menu
Format Memory
Beep
LCD Brightness
Power Saver
Camera setting menu, select LCD Brightness
Select Power saver in the camera setting menu
Zone
Use this setting to change the date and time
Camera setting menu, select Date/Time
Date / Time
Language
This setting allows you to set the language of the camera
Camera setting menu, select Language
File Numbering
Select Yes or No, and press the button to complete
Camera setting menu, select Copy to Card
Video System
Copy to Card
Select Yes or No. Press the button to confirm
Reset Setting
Camera setting menu, select Reset Settings
FW Version
Connect the camera to a Hdmi TV
Hdmi mode
Camera Connection
Connect Your Camera to a Hdmi TV to View Videos
Select resolution
Manual mode
Transferring files to your PC
Connecting to the PC
Setting the USB Mode
Camera setting menu, select USB Connection
Macintosh Drag the untitled icon to the Trash. Untitled
If the USB option is set to PC
If the USB option is set to PC PTP
Turn off the camera and disconnect the USB Cable
Select Printer. Press the button to confirm
Connecting to a PictBridge Compatible Printer
Connecting the camera and printer
With/Without the picture date printed
Using the PictBridge Menu
Print Index
Select Yes to continue or No to cancel
Disconnect the USB Cable
Print Dpof Images
Optical Image Stabilization
Specifications E1486TW
Appendices
Blink Detection Yes
Night Portrait, Stabilization mode
White Balance Control
AF Method
Light Metering Method
Zoom Approx X~8X, Audio, Histogram Display
Page
Messages Explanation
Error Messages
Battery is out of charge
Memory card is full
Troubleshooting
Camera does not turn on Battery has run out
Operation Charged battery Picture is blurred Lens is dirty
Solution
General Imaging Company