
JBP49 specifications
The GE JBP49 is a popular model in General Electric's lineup of kitchen appliances, particularly known for its blend of functionality, design, and innovative technology. This range offers a comprehensive cooking solution, integrating both traditional and modern cooking features to meet the needs of various culinary enthusiasts.One of the standout features of the GE JBP49 is its versatile cooking capabilities. It is equipped with both an electric coil surface and a large capacity oven, allowing users to prepare multiple dishes simultaneously. The four coil burners provide ample cooking space, and they heat up quickly, ensuring efficient meal preparation. The smooth surface of the range enhances its aesthetic appeal while making it easy to clean after cooking.
The oven in the GE JBP49 features a baking element that provides consistent heat distribution, resulting in evenly baked goods. Additionally, the oven's broil function offers flexibility for perfecting dishes that require high-temperature cooking, such as steaks or casseroles. With a generous oven capacity, home cooks can accommodate larger meals or multiple dishes, making it ideal for family gatherings or entertaining guests.
This model is designed with user convenience in mind. It includes an easy-to-use control panel that features clearly labeled knobs for adjusting temperatures and settings. The bright interior oven light allows users to monitor cooking progress without opening the oven door, which is essential for maintaining temperature.
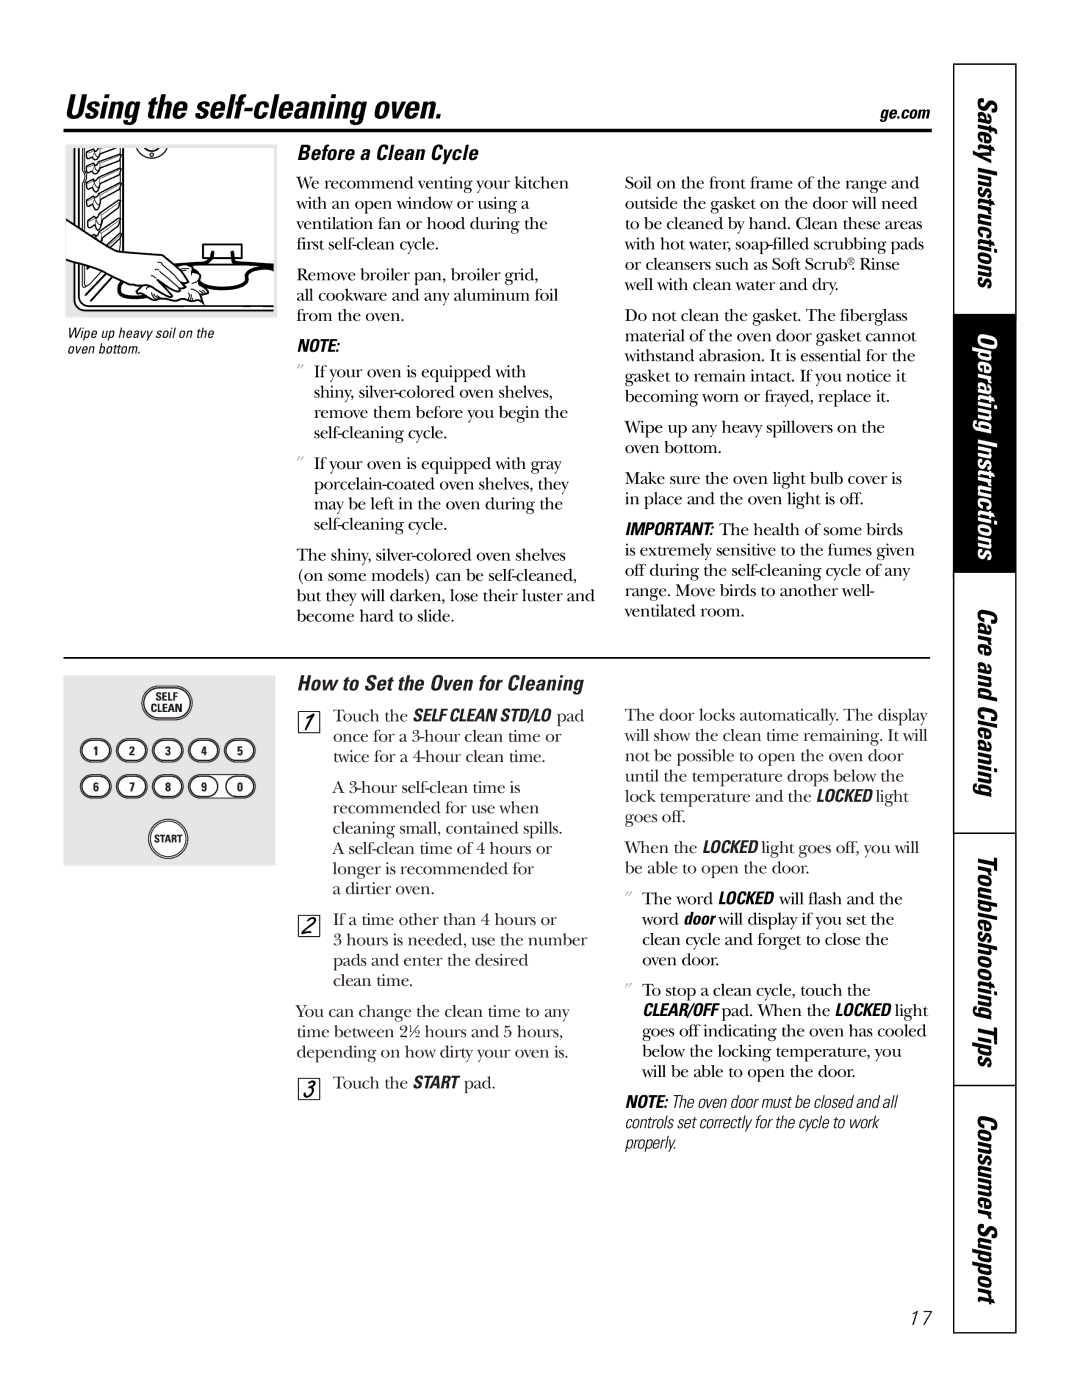
In terms of technology, the GE JBP49 is designed with safety in mind. It includes features such as a removable oven door and an electronic igniter, ensuring a safer cooking environment. Moreover, the oven has a self-cleaning option that simplifies maintenance and upkeep, allowing users to spend more time enjoying their culinary creations rather than cleaning.
Elegance is another hallmark of the GE JBP49. The sleek design and modern finish allow it to seamlessly integrate into various kitchen styles, enhancing the overall look of the space. Available in different color options, it caters to diverse tastes and kitchen themes.
Overall, the GE JBP49 combines practicality with innovation. Its high-quality construction, efficient heating technology, and user-friendly features make it a valuable addition to any kitchen, whether for everyday cooking or special occasions. This model exemplifies GE’s commitment to delivering reliable and stylish kitchen appliances that enhance the cooking experience.