
JBP83, JBP82 specifications
The GE JBP82 is a versatile and efficient appliance that exemplifies modern cooking technology. This range combines traditional cooking methods with modern innovations, making it a popular choice for both amateur cooks and seasoned chefs alike.One of the standout features of the GE JBP82 is its dual-fuel capability. This range operates on a combination of gas and electric power, allowing users to enjoy the rapid heating of gas burners alongside the precise temperature control of electric ovens. This dual-fuel technology ensures optimal cooking results, whether you're simmering sauces or baking intricate pastries.
The cooktop features four sealed burners, each designed for maximum efficiency and ease of cleaning. The burners include a Power Boil option that delivers high heat for boiling water quickly, a simmer burner that maintains low temperatures for delicate tasks, and two standard burners for everyday cooking. The sealed design prevents spills from reaching the inner workings of the range, making it easier to maintain cleanliness.
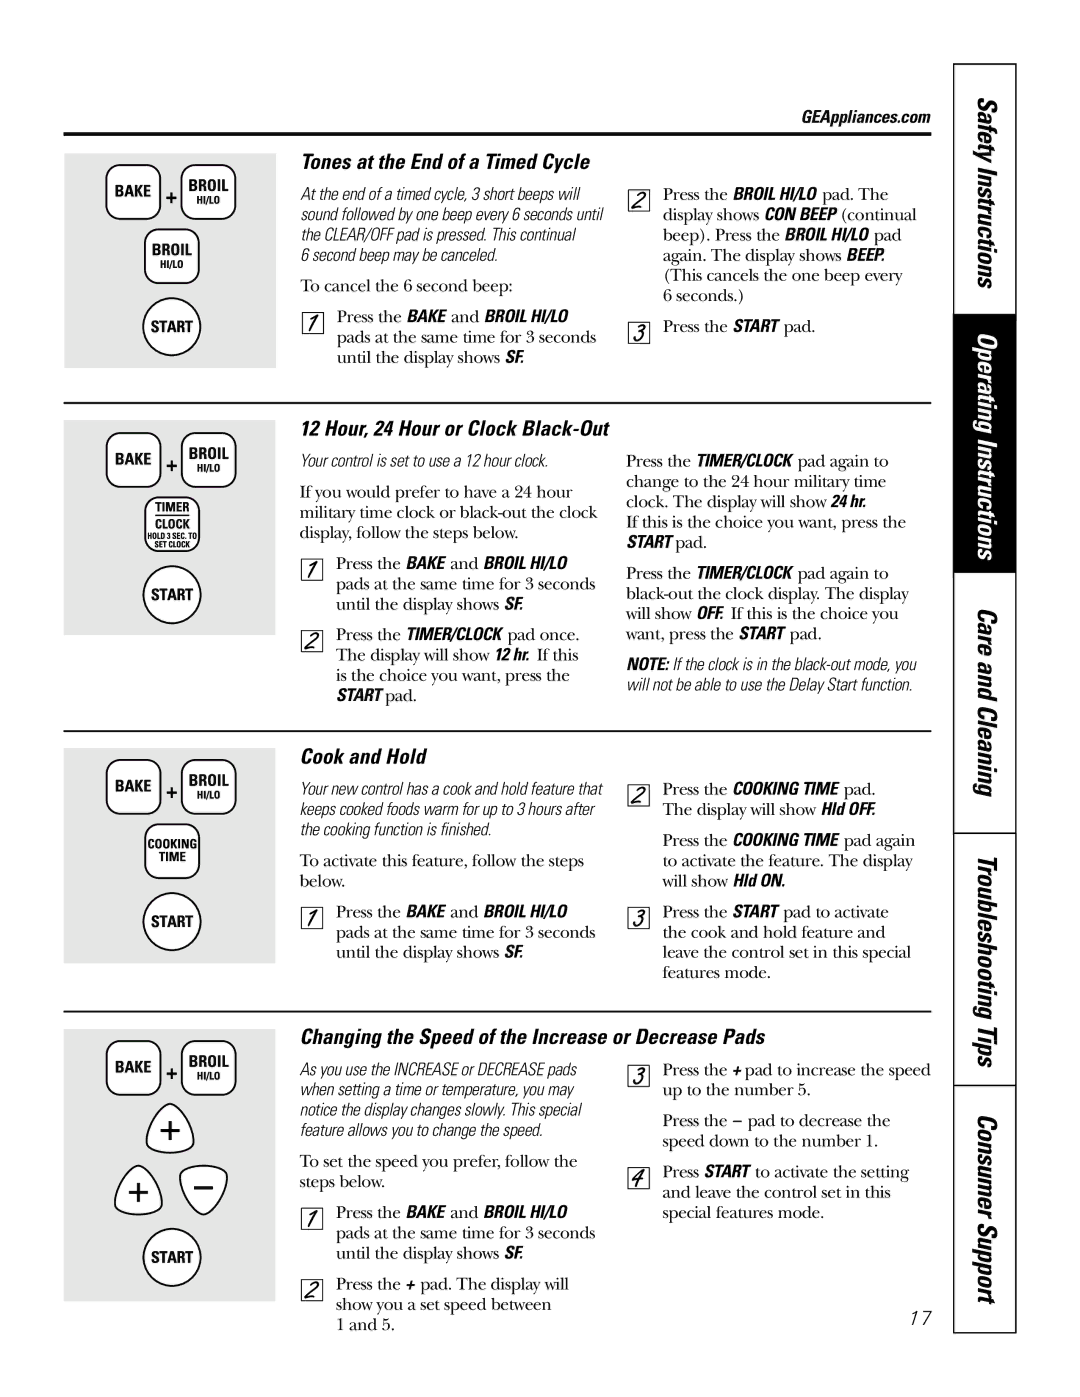
In addition, the GE JBP82 incorporates an advanced electronic oven control system that facilitates precise cooking. The oven features an accurate temperature gauge, which is crucial for baking and roasting. Furthermore, the self-cleaning function saves users significant time and effort, allowing them to maintain the oven’s cleanliness without the use of harsh chemicals.
Another impressive characteristic of the GE JBP82 is its spacious oven capacity. With ample room for large dishes, users can easily cook multiple items at once, making it ideal for family gatherings or dinner parties. The oven also features traditional and convection cooking options, enhancing versatility in meal preparation. The convection setting circulates hot air for even cooking results, ensuring that baked goods rise perfectly.
The elegant design of the GE JBP82 complements a variety of kitchen styles, featuring a sleek stainless steel finish, ergonomic oven knobs, and an easy-to-read digital display. This blend of aesthetic appeal and advanced technology makes it a standout appliance in today's market.
In summary, the GE JBP82 is a sophisticated cooking range that marries functionality with style. Its dual-fuel capability, efficient burners, advanced oven controls, and spacious design make it an exceptional addition to any kitchen, allowing users to achieve culinary excellence with ease.