Using the clock and timer.

www.GEAppliances.com

Not all features are on all models.

Safety

Make sure the clock is set to the correct time of day.

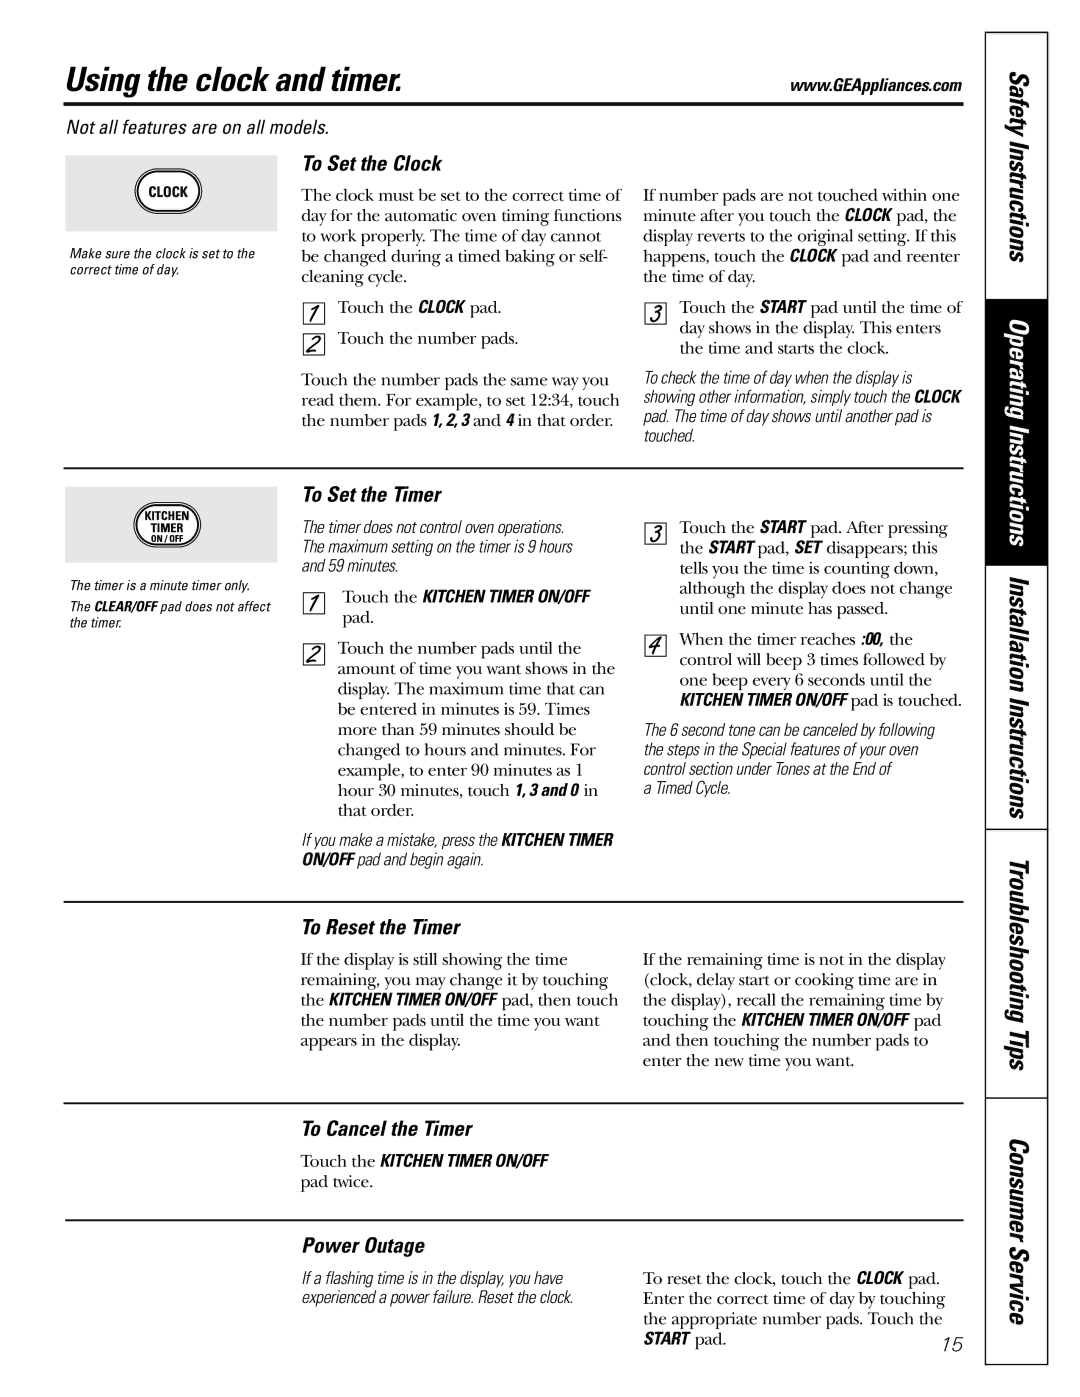
To Set the Clock

The clock must be set to the correct time of day for the automatic oven timing functions to work properly. The time of day cannot be changed during a timed baking or self- cleaning cycle.

Touch the CLOCK pad.

Touch the number pads.

Touch the number pads the same way you read them. For example, to set 12:34, touch the number pads 1, 2, 3 and 4 in that order.

If number pads are not touched within one minute after you touch the CLOCK pad, the display reverts to the original setting. If this happens, touch the CLOCK pad and reenter the time of day.

Touch the START pad until the time of day shows in the display. This enters the time and starts the clock.

To check the time of day when the display is showing other information, simply touch the CLOCK pad. The time of day shows until another pad is touched.

Instructions Operating Instructions

The timer is a minute timer only.

The CLEAR/OFF pad does not affect the timer.

To Set the Timer

The timer does not control oven operations. The maximum setting on the timer is 9 hours and 59 minutes.

Touch the KITCHEN TIMER ON/OFF pad.

Touch the number pads until the amount of time you want shows in the display. The maximum time that can be entered in minutes is 59. Times more than 59 minutes should be changed to hours and minutes. For example, to enter 90 minutes as 1 hour 30 minutes, touch 1, 3 and 0 in that order.

If you make a mistake, press the KITCHEN TIMER ON/OFF pad and begin again.

Touch the START pad. After pressing the START pad, SET disappears; this tells you the time is counting down, although the display does not change until one minute has passed.

When the timer reaches :00, the control will beep 3 times followed by one beep every 6 seconds until the KITCHEN TIMER ON/OFF pad is touched.

The 6 second tone can be canceled by following the steps in the Special features of your oven control section under Tones at the End of

a Timed Cycle.

Installation Instructions

To Reset the Timer

If the display is still showing the time remaining, you may change it by touching the KITCHEN TIMER ON/OFF pad, then touch the number pads until the time you want appears in the display.

If the remaining time is not in the display (clock, delay start or cooking time are in the display), recall the remaining time by touching the KITCHEN TIMER ON/OFF pad and then touching the number pads to enter the new time you want.

Troubleshooting Tips

To Cancel the Timer

Touch the KITCHEN TIMER ON/OFF pad twice.

Power Outage

If a flashing time is in the display, you have

To reset the clock, touch the CLOCK pad.

experienced a power failure. Reset the clock.

Enter the correct time of day by touching


the appropriate number pads. Touch the


START pad.

15

Consumer Service

Page 15
Image 15
GE JGB920 Using the clock and timer, To Set the Clock, To Set the Timer, To Reset the Timer, To Cancel the Timer

JGB920 specifications

The GE JGB920 is a top-of-the-line gas range that embodies advanced features and modern cooking technologies, making it a favorite among culinary enthusiasts and home cooks alike. One of its standout characteristics is the powerful stainless steel construction, which not only delivers a sleek and professional look but also ensures durability and easy maintenance.

One of the primary features of the GE JGB920 is its convection oven, which uses a fan to circulate hot air, providing even cooking results for all dishes. This technology is especially beneficial for baking, as it aids in creating consistent browning and prevents hot spots. Additionally, the oven boasts a generous capacity, allowing users to prepare multiple dishes simultaneously or accommodate larger roasts.

The JGB920 also features a variety of cooking modes, including bake, broil, and even specialized settings like a self-cleaning function. This feature automates the cleaning process, using high temperatures to eliminate food residues, thus simplifying post-cooking cleanup.

The range is equipped with a precise temperature control system, allowing for accurate adjustments for various cooking methods. The integrated electronic ignition ensures a reliable start-up, while the gas burners provide responsive heat adjustment, enabling users to achieve the desired cooking temperatures efficiently.

Another significant aspect of the GE JGB920 is its Smart technology capability. By connecting to a home network, users can control the range remotely via a smartphone app. This feature allows for preheating the oven or adjusting cooking settings from the comfort of another room, adding convenience to the cooking process.

The cooktop itself is designed with versatility in mind. It offers multiple burner sizes, including a powerful high-heat burner for boiling and a simmer burner for delicate sauces. This flexibility meets various cooking demands, from searing to simmering, enhancing the range's overall functionality.

Safety is also a priority in the design of the GE JGB920. The range includes a variety of safety features, such as a gas safety valve and a child lock, ensuring peace of mind for families.

In summary, the GE JGB920 gas range successfully combines innovative cooking technologies with user-friendly features and a stylish design. Its convection oven, smart technology integration, and versatile cooktop options make it an excellent choice for any kitchen, elevating the cooking experience to new heights.