
PVM2070 specifications
The GE PVM2070 is a compact over-the-range microwave oven that combines functionality with efficiency, making it an asset in any modern kitchen. This model is designed to address the cooking needs of families while maximizing space utilization. With a sleek design and user-friendly interface, the PVM2070 stands out as a preferred choice among consumers.One of the key features of the GE PVM2070 is its 1.9 cubic feet capacity, which provides ample space for cooking larger dishes without compromising on convenience. This microwave is equipped with 1000 watts of power, ensuring that food heats evenly and efficiently. The unit includes several pre-programmed settings that allow users to quickly reheat leftovers, defrost meat, and cook a variety of popular foods such as popcorn, baked potatoes, and pizza.
Another noteworthy technology integrated into the GE PVM2070 is its Sensor Cooking feature. This innovative technology detects moisture levels in the food, automatically adjusting cooking times and power levels for optimal results. This takes the guesswork out of reheating and cooking, ensuring that meals are perfectly cooked every time.
The PVM2070 is also equipped with an easy-to-use digital control panel, featuring a bright LED display that makes it simple to navigate settings. The panel includes a convenient timer, allowing users to track cooking times accurately. Additionally, the unit comes with a turntable that promotes even cooking by rotating food during the heating process, eliminating cold spots.
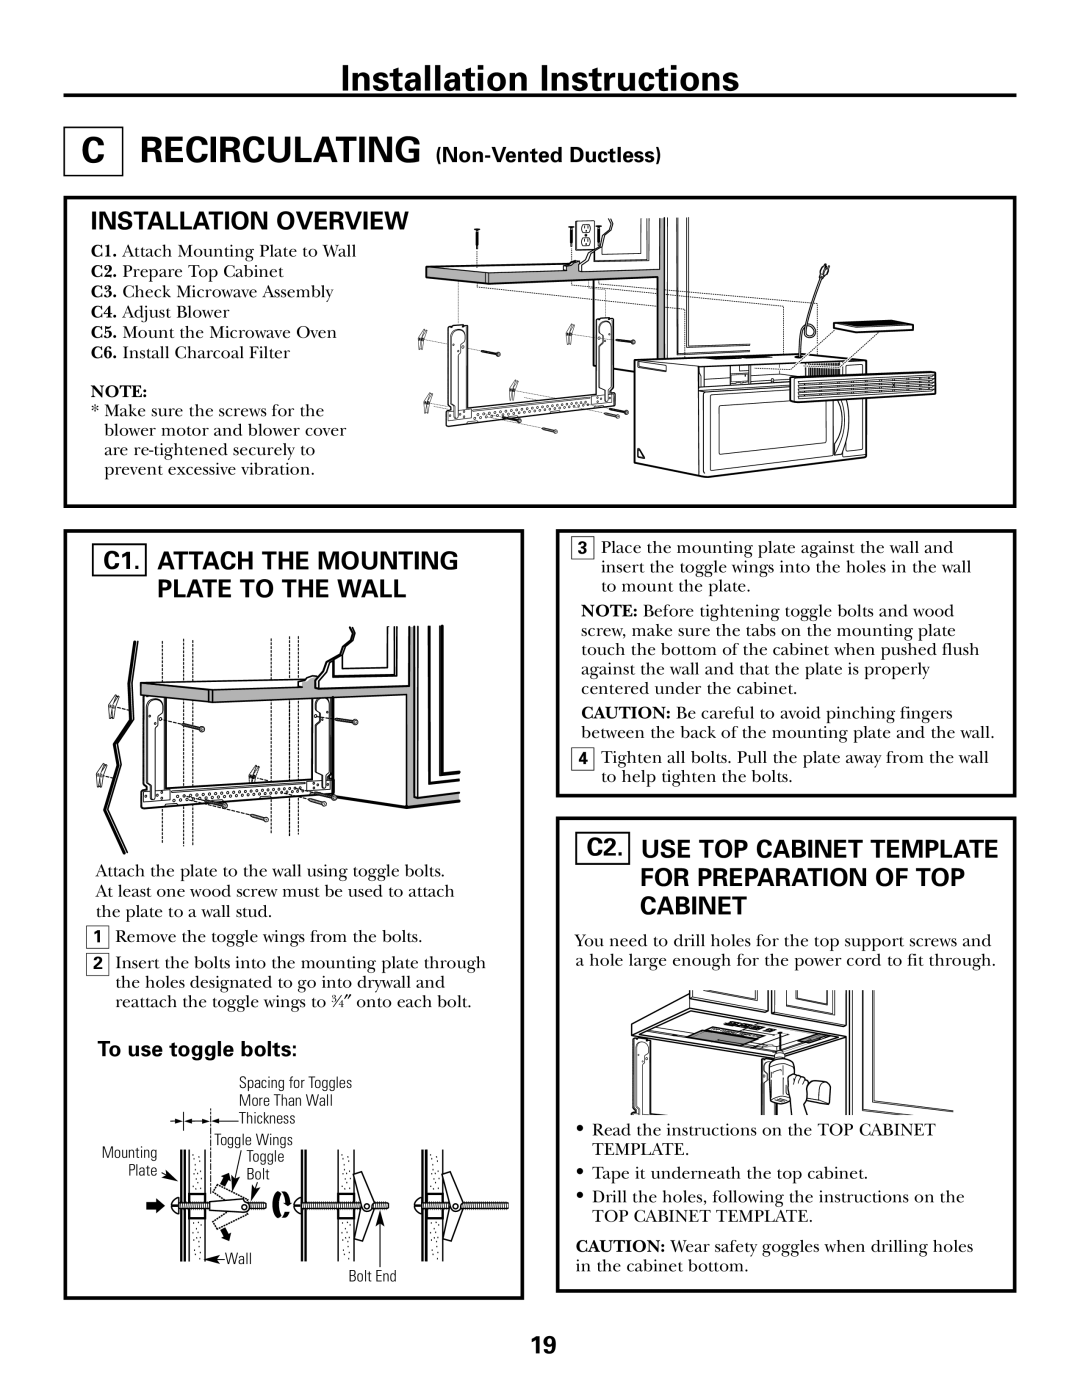
In terms of design, the GE PVM2070 features a modern, stainless steel exterior that not only enhances kitchen aesthetics but also offers durability and ease of cleaning. The over-the-range configuration frees up valuable counter space, making it ideal for smaller kitchens. Furthermore, this microwave includes an integrated ventilation system that can function as either a recirculating vent or a ducted vent, effectively eliminating smoke, steam, and odors from the kitchen during cooking.
The safety features of the PVM2070 are also commendable, with a child lock option that prevents accidental operation.
Overall, the GE PVM2070 is a reliable and versatile microwave oven that encapsulates advanced cooking technology, making it an excellent addition to any home.