Charcoal
Safety
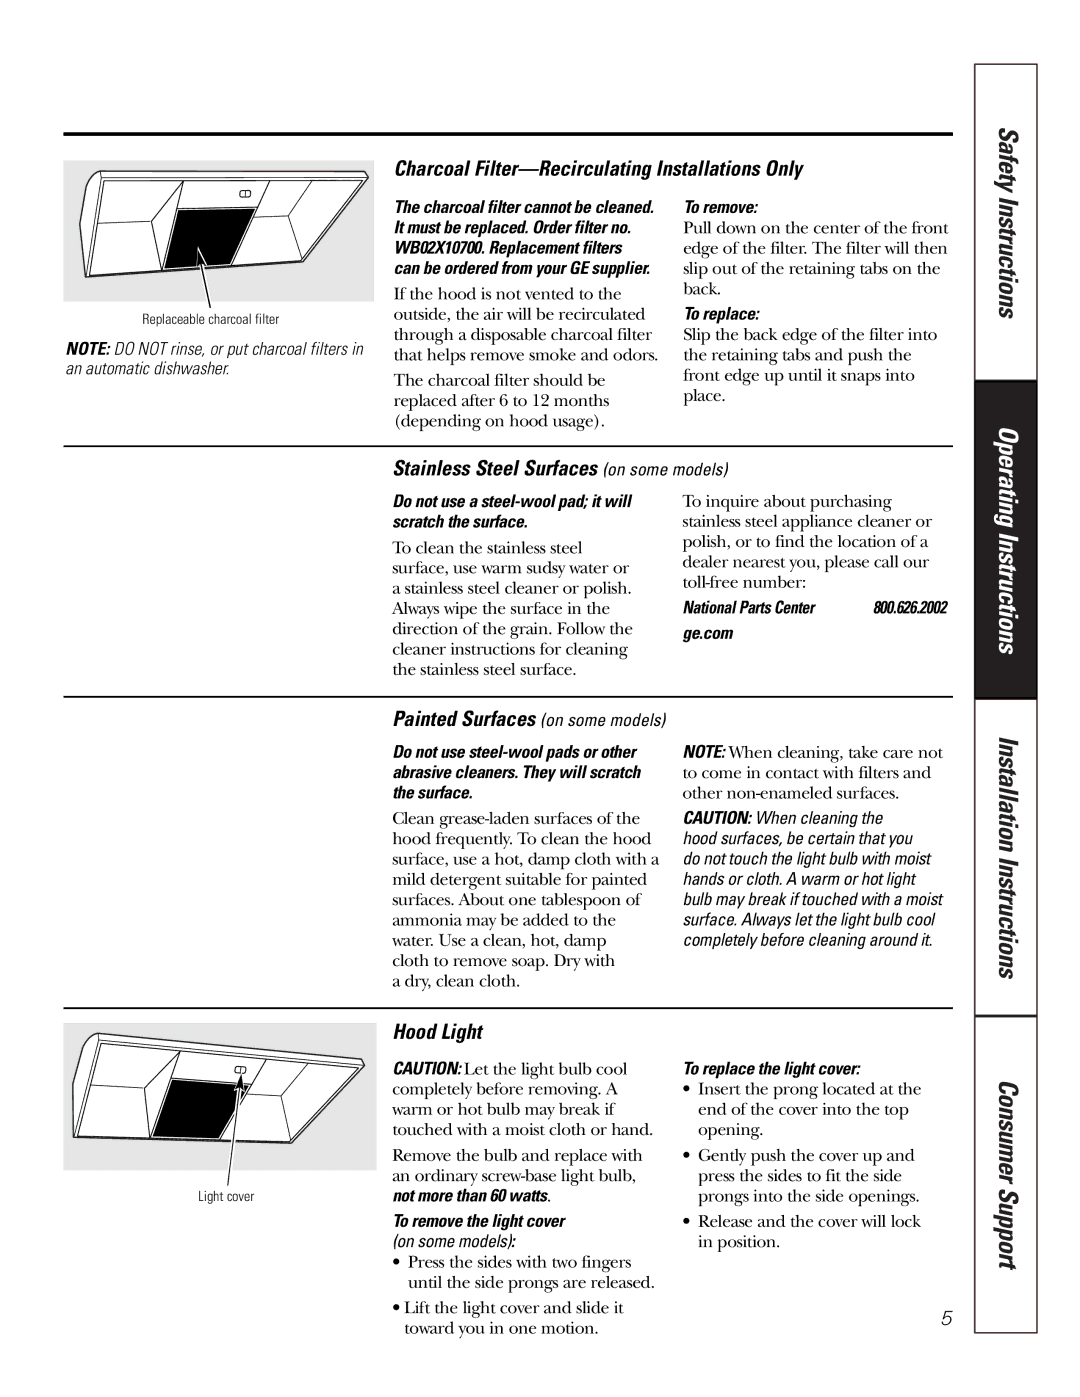
Replaceable charcoal filter
NOTE: DO NOT rinse, or put charcoal filters in an automatic dishwasher.
The charcoal filter cannot be cleaned. It must be replaced. Order filter no. WB02X10700. Replacement filters can be ordered from your GE supplier.
If the hood is not vented to the outside, the air will be recirculated through a disposable charcoal filter that helps remove smoke and odors.
The charcoal filter should be replaced after 6 to 12 months (depending on hood usage).
To remove:
Pull down on the center of the front edge of the filter. The filter will then slip out of the retaining tabs on the back.
To replace:
Slip the back edge of the filter into the retaining tabs and push the front edge up until it snaps into place.
Instructions
Stainless Steel Surfaces (on some models)
Operating
Do not use a steel-wool pad; it will scratch the surface.
To clean the stainless steel surface, use warm sudsy water or a stainless steel cleaner or polish. Always wipe the surface in the direction of the grain. Follow the cleaner instructions for cleaning the stainless steel surface.
To inquire about purchasing stainless steel appliance cleaner or polish, or to find the location of a dealer nearest you, please call our
National Parts Center | 800.626.2002 |
ge.com
Instructions
Painted Surfaces (on some models)
Do not use
Clean
a dry, clean cloth.
NOTE: When cleaning, take care not to come in contact with filters and other
CAUTION: When cleaning the hood surfaces, be certain that you do not touch the light bulb with moist hands or cloth. A warm or hot light bulb may break if touched with a moist surface. Always let the light bulb cool completely before cleaning around it.
Installation Instructions
| Hood Light |
| CAUTION: Let the light bulb cool |
| completely before removing. A |
| warm or hot bulb may break if |
| touched with a moist cloth or hand. |
| Remove the bulb and replace with |
| an ordinary |
Light cover | not more than 60 watts. |
| To remove the light cover |
| (on some models): |
| • Press the sides with two fingers |
| until the side prongs are released. |
| • Lift the light cover and slide it |
| toward you in one motion. |
To replace the light cover:
•Insert the prong located at the end of the cover into the top opening.
•Gently push the cover up and press the sides to fit the side prongs into the side openings.
•Release and the cover will lock in position.
5
Consumer Support
