EXT-HDMI1.3-1CAT6 specifications
The Gefen EXT-HDMI1.3-1CAT6 is a robust and innovative solution designed for extending HDMI signals over standard Cat6 cabling. This device is ideal for environments where high-definition content needs to be transmitted over long distances without degradation. With a focus on user-friendly operation and advanced technology, the Gefen HDMI Extender significantly enhances the audiovisual experience in both residential and commercial settings.One of the standout features of the Gefen EXT-HDMI1.3-1CAT6 is its ability to support HDMI 1.3 standards, enabling the transmission of high-definition video resolutions up to 1080p. This capability ensures that users enjoy crystal-clear visuals with vibrant colors and high contrast ratios. The extender is also compatible with various audio formats, including LPCM, Dolby Digital, and DTS, providing an immersive sound experience.
With a transmission range of up to 150 feet when using high-quality Cat6 cables, the Gefen EXT-HDMI1.3-1CAT6 effectively overcomes the limitations typically imposed by standard HDMI cables. This flexibility makes it an excellent choice for large venues, including auditoriums, conference rooms, and home theaters, where distance can be a challenge.
The device is equipped with built-in EDID (Extended Display Identification Data) management, which ensures optimal configuration between source and display devices. This feature minimizes compatibility issues and guarantees that the best possible video and audio quality is achieved, regardless of the equipment being used.
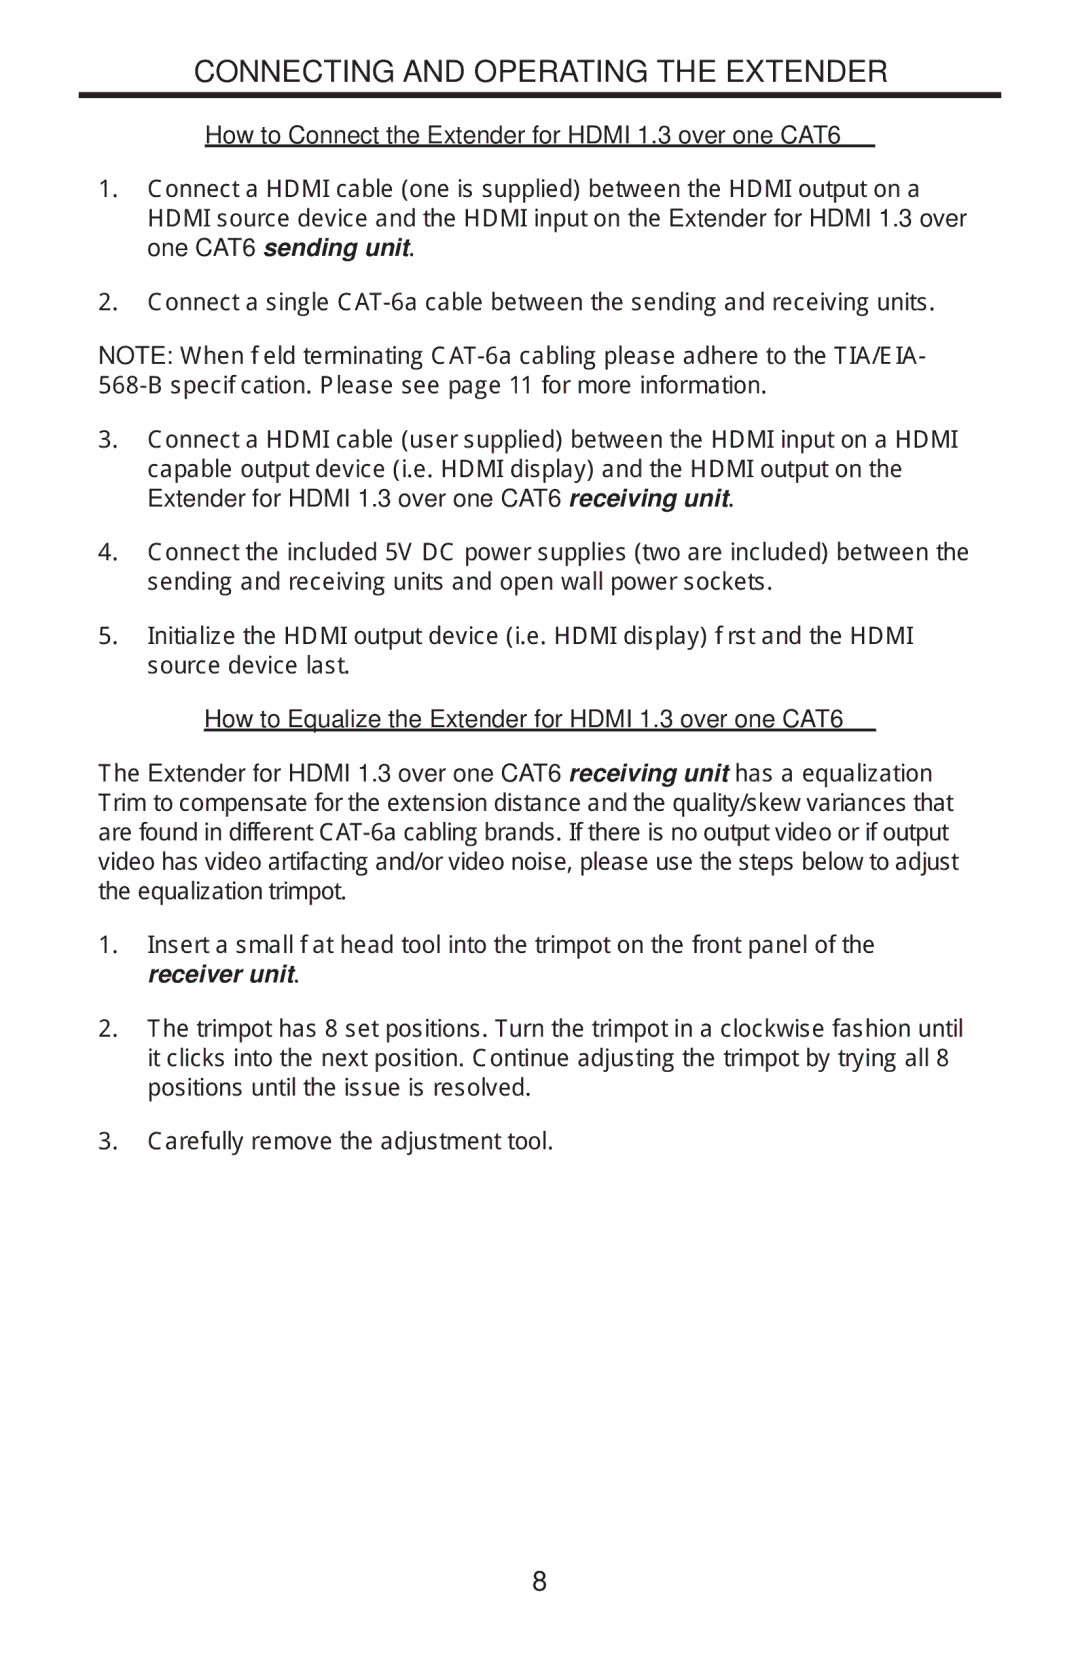
Installation is straightforward, thanks to the plug-and-play design. Users can quickly set up the extender without the need for specialized tools or extensive technical knowledge. The compact design further facilitates easy placement, and the device includes LED indicators for power and signal status, making it user-friendly for monitoring connectivity.
In terms of reliability, the Gefen EXT-HDMI1.3-1CAT6 is built with high-quality materials to ensure durability and performance. The use of standard Cat6 Ethernet cabling not only enhances signal integrity but also offers cost-effective solutions for long-distance HDMI transmission.
Overall, the Gefen EXT-HDMI1.3-1CAT6 HDMI extender stands out as a versatile and high-performing solution for extending HDMI signals. With its support for high-definition resolutions, long-distance capabilities, and user-friendly features, it caters to a wide range of audiovisual needs, making it an essential tool for professionals and enthusiasts alike.
