005012-1 specifications
Generac Power Systems 005012-1 is a high-performance generator designed to provide reliable backup power for homes and businesses. Known for its innovative features and advanced technology, this generator is engineered to ensure consistent performance during power outages.At the heart of the 005012-1 is its robust engine. With a Generac 999cc V-Twin OHV engine, it delivers impressive power output and durability. This engine is designed to run efficiently, making the generator an optimal choice for extended use during outages. The Quiet Test feature allows the generator to run at a lower volume during self-diagnostic tests, ensuring minimal disturbance to its surroundings.
One of the standout features of the 005012-1 is its ability to automatically detect power loss and start up within seconds. This automatic transfer switch ensures that when the primary power source fails, the generator takes over seamlessly, keeping essential appliances and systems operational. This rapid response time is crucial for maintaining comfort and safety during outages.
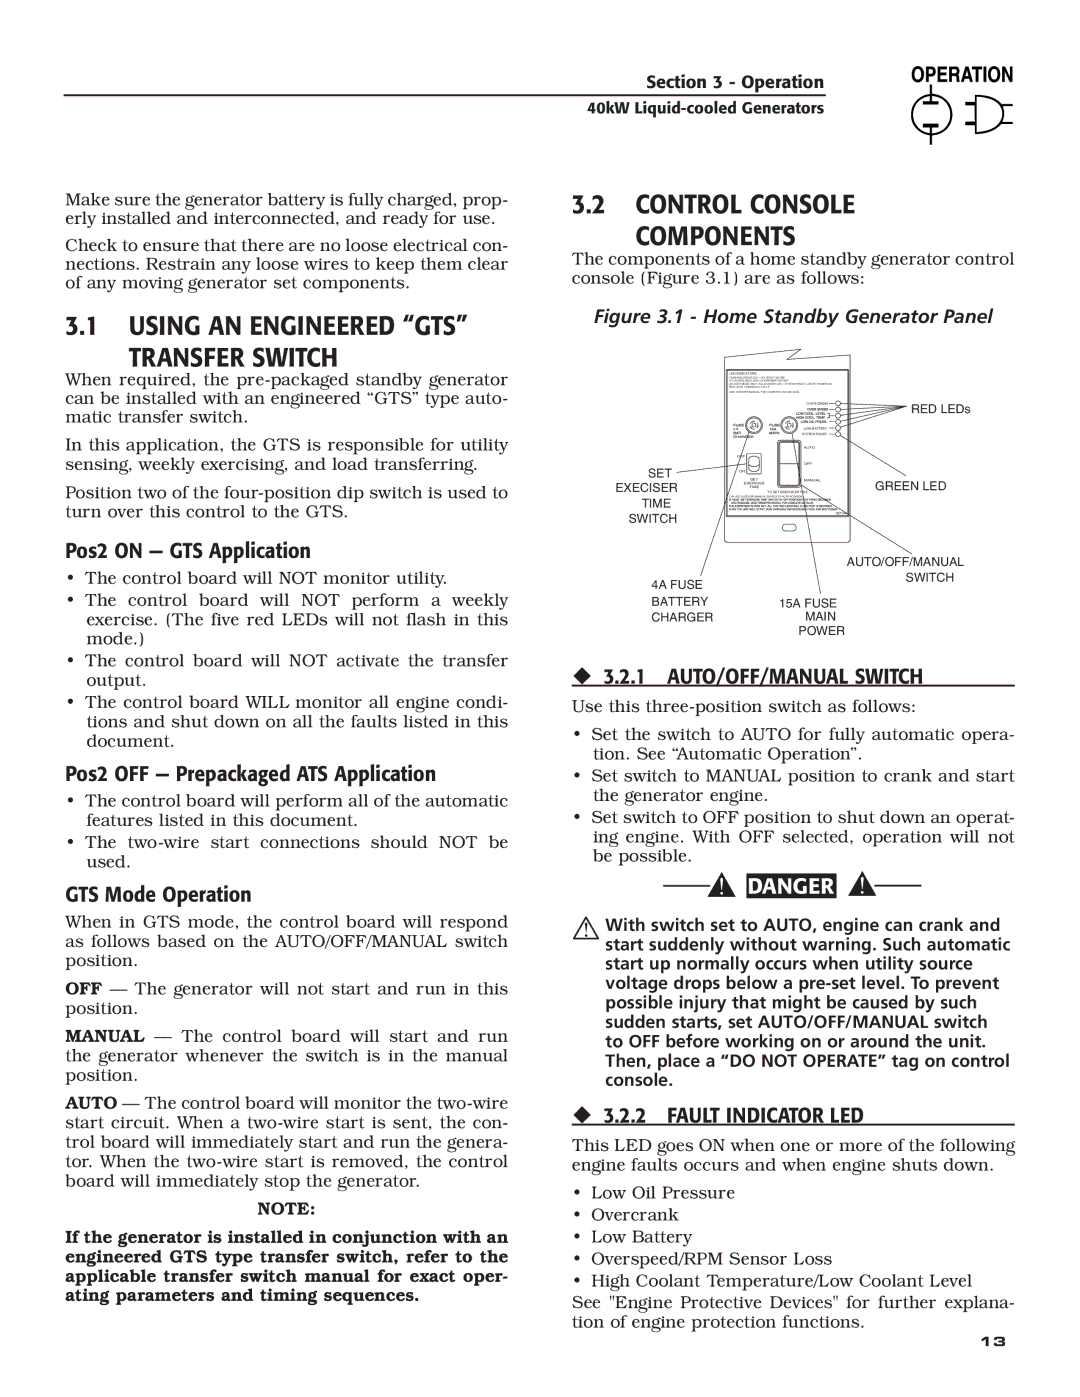
The generator is equipped with a user-friendly control panel that includes an LCD display. This panel provides real-time information about power usage, operational status, and maintenance reminders, enabling users to stay informed and address any issues promptly. Additionally, the model offers flexible monitoring options through mobile connectivity, allowing users to check the generator's status remotely via smartphone or other devices.
Designed for longevity, the 005012-1 features a durable aluminum enclosure that protects the generator from the elements, ensuring reliable operation in various conditions. Its compact design allows for easy installation and integration into existing power systems without occupying excessive space.
Fuel efficiency is another hallmark of the 005012-1, as it operates on propane or natural gas, providing flexibility in fuel choice. This versatility not only aids in reducing operational costs but also appeals to environmentally conscious users seeking cleaner energy solutions.
Overall, Generac Power Systems 005012-1 stands out as a dependable and technologically advanced generator, combining power, efficiency, and user-friendly features. Its commitment to reliability makes it a top choice for those looking to safeguard their homes and businesses against unexpected power interruptions.

