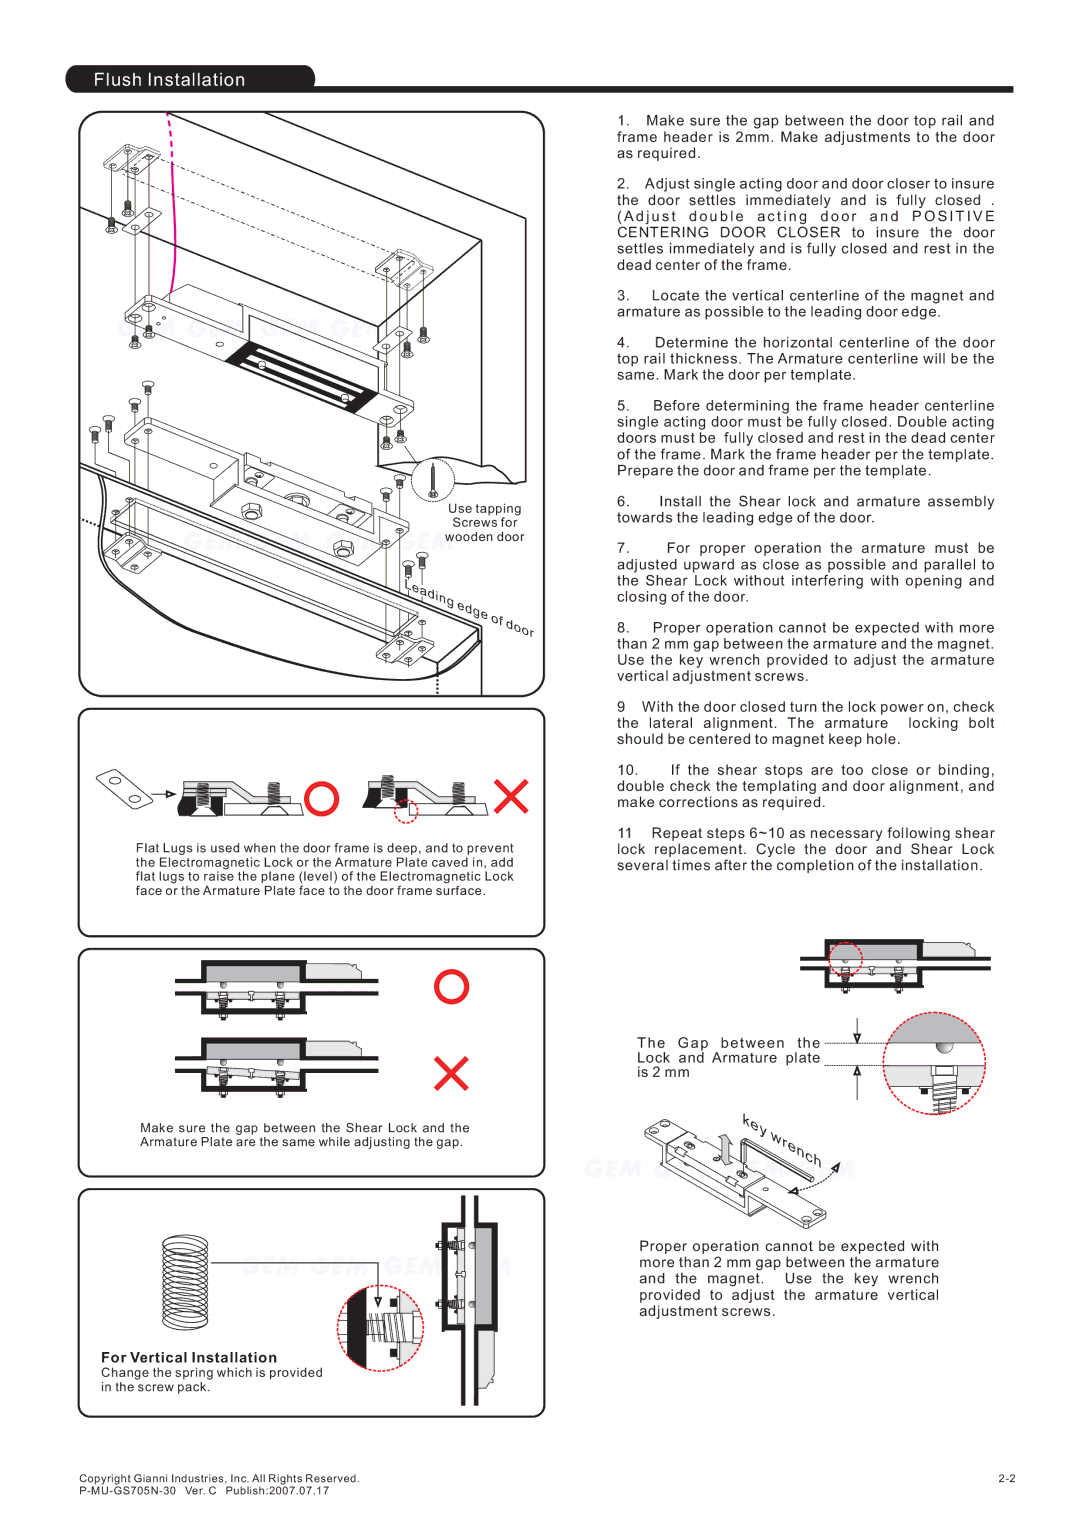
P-MU-GS705N-30 specifications
Gianni Industries has made a significant mark in the field of industrial automation and control systems, and one of its standout products is the P-MU-GS705N-30. This multi-functional device is designed to meet the stringent demands of modern industrial environments, emphasizing reliability, versatility, and efficiency.At the heart of the P-MU-GS705N-30 is its robust design, engineered to withstand harsh conditions typically found in manufacturing and processing plants. The housing is constructed from durable materials that provide resistance to dust, moisture, and temperature fluctuations, ensuring long-lasting performance even in challenging environments. This rugged exterior is complemented by a user-friendly interface that simplifies operation and monitoring, allowing for quick adjustments and assessments.
A primary feature of the P-MU-GS705N-30 is its advanced communication capabilities. Supporting multiple protocols, including Ethernet/IP and Modbus TCP, the device enables seamless integration into existing industrial communication infrastructures. This flexibility allows for effortless data exchange between various devices and systems, enhancing overall operational efficiency. Through these communication interfaces, users can access real-time data, enabling timely decision-making and proactive maintenance.
Another notable characteristic of the P-MU-GS705N-30 is its extensive input and output options. The device supports a variety of sensor types, including analog and digital, catering to a wide range of applications. This flexibility makes it suitable for monitoring parameters such as temperature, pressure, and flow, among others. Additionally, the customizable I/O configurations allow users to tailor the device according to specific project requirements, maximizing its utility in diverse industrial scenarios.
Safety and security are paramount in industrial settings, and the P-MU-GS705N-30 addresses these concerns with embedded safety features. It includes built-in fault detection and alarm systems, alerting users to potential issues before they escalate. Moreover, the device conforms to global standards, ensuring compliance with safety regulations, which is crucial for organizations looking to maintain their operational integrity.
In summary, the Gianni Industries P-MU-GS705N-30 is a sophisticated solution that embodies reliability, flexibility, and advanced technology. Its rugged design, extensive connectivity options, versatile I/O capabilities, and robust safety features make it an ideal choice for industries looking to enhance their automation and control processes. Investing in this device means embracing a future of improved efficiency and sustainability in industrial operations.

