Install the Drawers
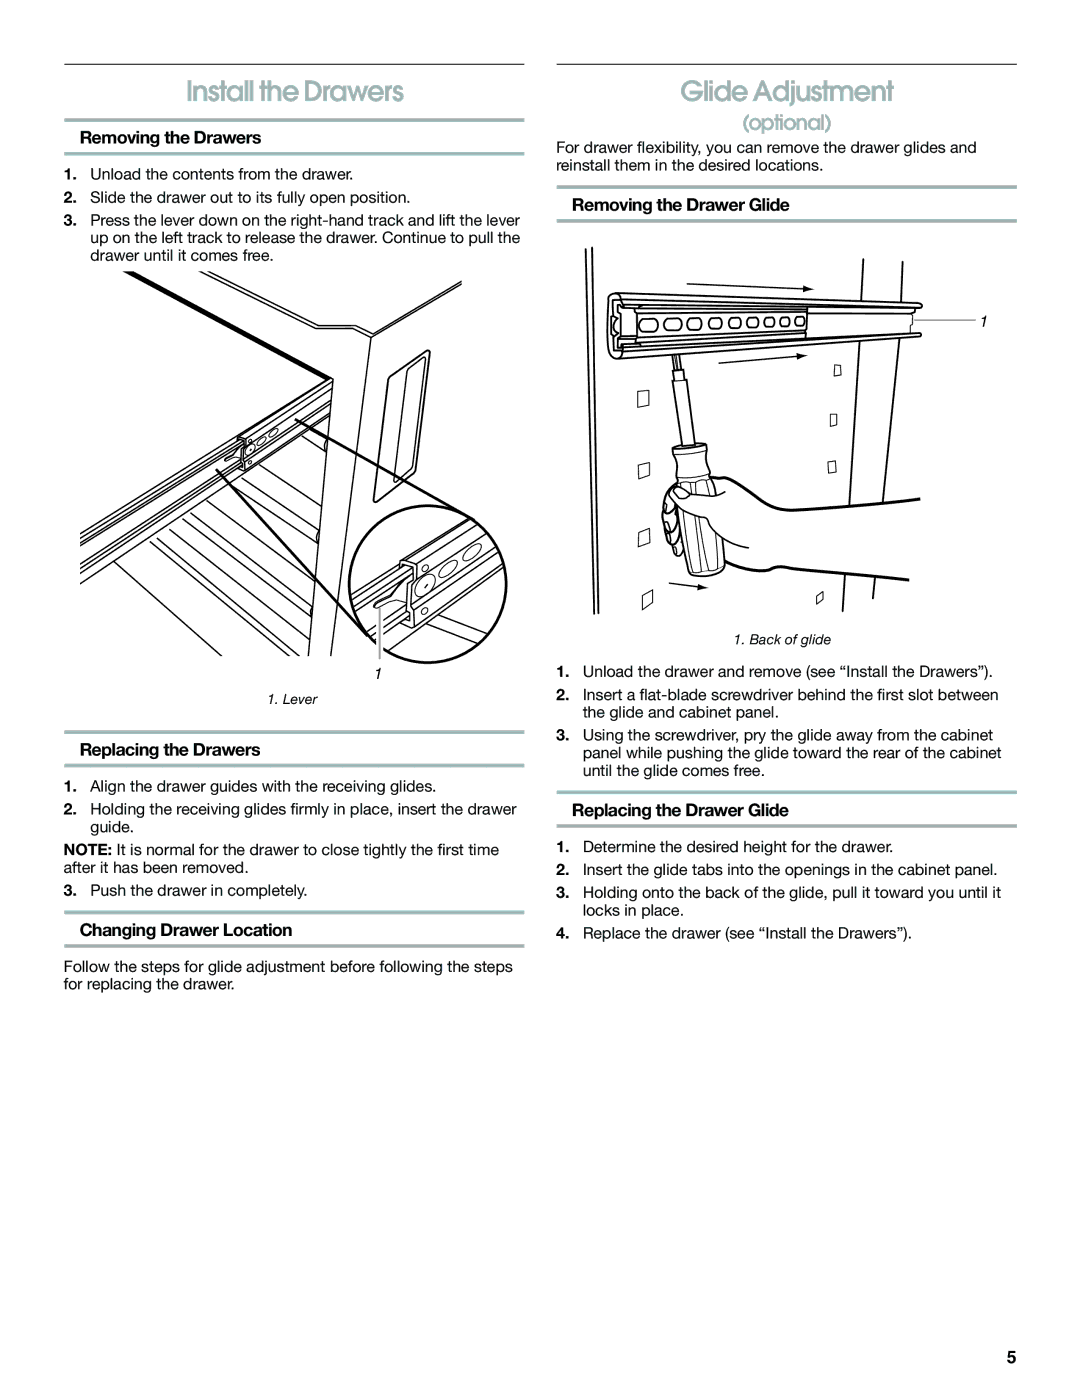
Removing the Drawers
1.Unload the contents from the drawer.
2.Slide the drawer out to its fully open position.
3.Press the lever down on the
1
1. Lever
Replacing the Drawers
1.Align the drawer guides with the receiving glides.
2.Holding the receiving glides firmly in place, insert the drawer guide.
NOTE: It is normal for the drawer to close tightly the first time after it has been removed.
3.Push the drawer in completely.
Changing Drawer Location
Follow the steps for glide adjustment before following the steps for replacing the drawer.
Glide Adjustment
(optional)
For drawer flexibility, you can remove the drawer glides and reinstall them in the desired locations.
Removing the Drawer Glide
1
1.Back of glide
1.Unload the drawer and remove (see “Install the Drawers”).
2.Insert a
3.Using the screwdriver, pry the glide away from the cabinet panel while pushing the glide toward the rear of the cabinet until the glide comes free.
Replacing the Drawer Glide
1.Determine the desired height for the drawer.
2.Insert the glide tabs into the openings in the cabinet panel.
3.Holding onto the back of the glide, pull it toward you until it locks in place.
4.Replace the drawer (see “Install the Drawers”).
5