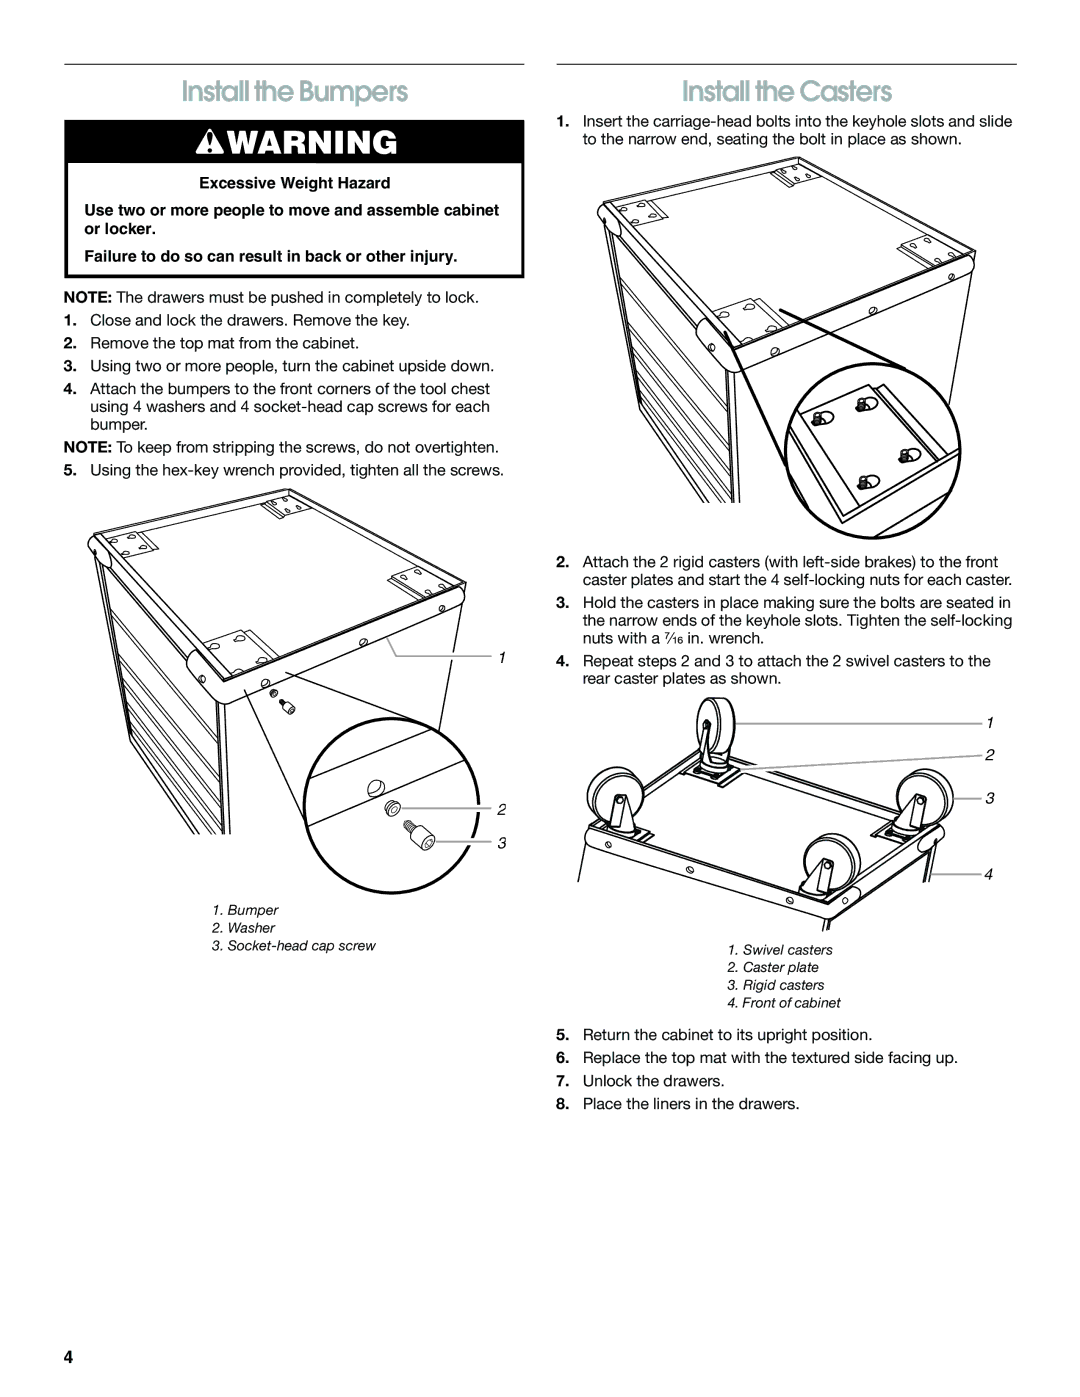
Install the Bumpers
![]() WARNING
WARNING
Excessive Weight Hazard
Use two or more people to move and assemble cabinet or locker.
Failure to do so can result in back or other injury.
NOTE: The drawers must be pushed in completely to lock.
1.Close and lock the drawers. Remove the key.
2.Remove the top mat from the cabinet.
3.Using two or more people, turn the cabinet upside down.
4.Attach the bumpers to the front corners of the tool chest using 4 washers and 4
NOTE: To keep from stripping the screws, do not overtighten.
5.Using the
![]() 1
1
![]()
![]() 2
2 ![]()
![]() 3
3
1.Bumper
2.Washer
3.
Install the Casters
1.Insert the
2.Attach the 2 rigid casters (with
3.Hold the casters in place making sure the bolts are seated in the narrow ends of the keyhole slots. Tighten the
4.Repeat steps 2 and 3 to attach the 2 swivel casters to the rear caster plates as shown.
1 ![]() 2
2
3
4
1.Swivel casters
2.Caster plate
3.Rigid casters
4.Front of cabinet
5.Return the cabinet to its upright position.
6.Replace the top mat with the textured side facing up.
7.Unlock the drawers.
8.Place the liners in the drawers.
4