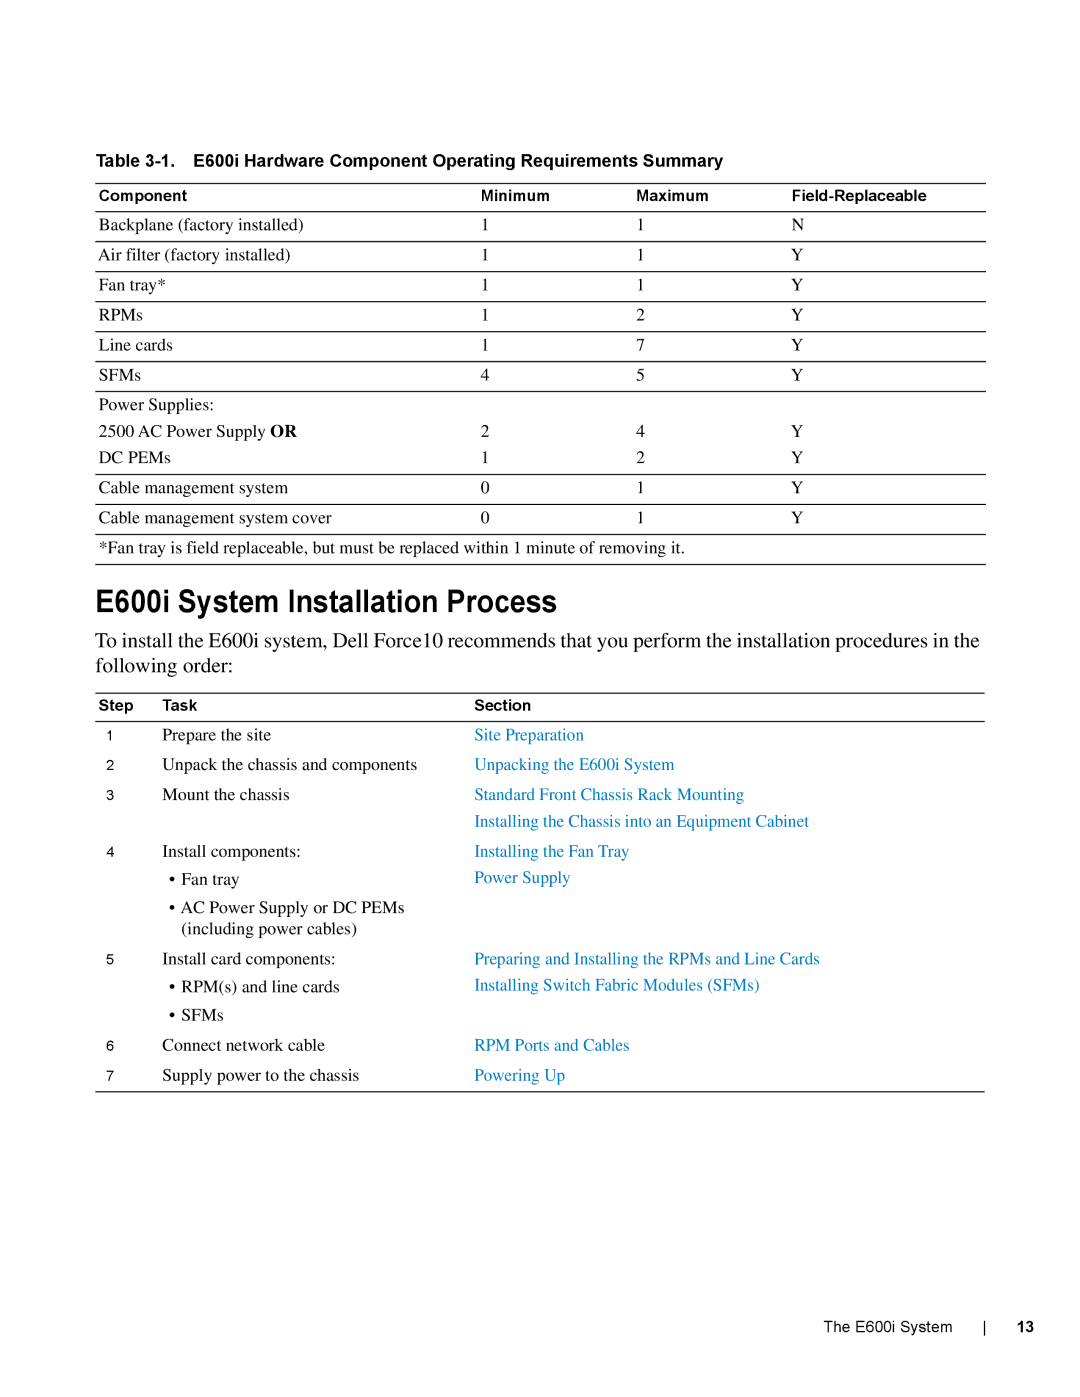
E600I specifications
The Dell E600i stands as a robust and versatile solution in the realm of high-performance computing, designed to meet the demands of both enterprise environments and individual users. This workstation is characterized by its powerful processing capabilities, advanced graphics options, and extensive customization features that allow users to tailor the system to fit specific needs.At the heart of the Dell E600i is its support for the latest multi-core processors, offering substantial performance for demanding applications, whether in data analysis, 3D modeling, or intensive computational tasks. Users can choose from a range of Intel Xeon or Core processors, ensuring that they can achieve optimal performance levels according to their workload requirements.
In terms of graphics, the E600i provides the option to integrate high-performance GPU selections from NVIDIA or AMD. This makes it particularly suitable for graphic design, video editing, and complex simulations. The inclusion of dedicated graphics cards not only enhances rendering capabilities but also supports advanced visualization technologies, which are essential for industries such as architecture, engineering, and media production.
One of the standout characteristics of the E600i is its expandability. With multiple expansion slots available, users can easily upgrade or integrate additional components to enhance performance or to adapt to new tasks. This system supports ample memory configurations, allowing for significant multitasking and overall system responsiveness.
In addition to its hardware capabilities, the Dell E600i leverages cutting-edge technologies to enhance usability and performance. Features such as Dell Precision Optimizer streamline workflow by automatically adjusting settings to optimize the performance of specific applications. Furthermore, Dell’s reliability in terms of build quality and support ensures that users can rely on their workstation for long durations without concern.
The E600i is also engineered with an eco-friendly focus, incorporating energy-efficient technologies that not only reduce operating costs but also minimize environmental impact. This attention to sustainability makes it an attractive option for businesses and professionals committed to responsible practices.
In conclusion, the Dell E600i is a high-performance workstation that brings together powerful processing, advanced graphics capabilities, and exceptional expandability. Its robust features and focus on usability make it a compelling choice for professionals in numerous fields, ensuring that they can tackle any project with confidence and ease.

