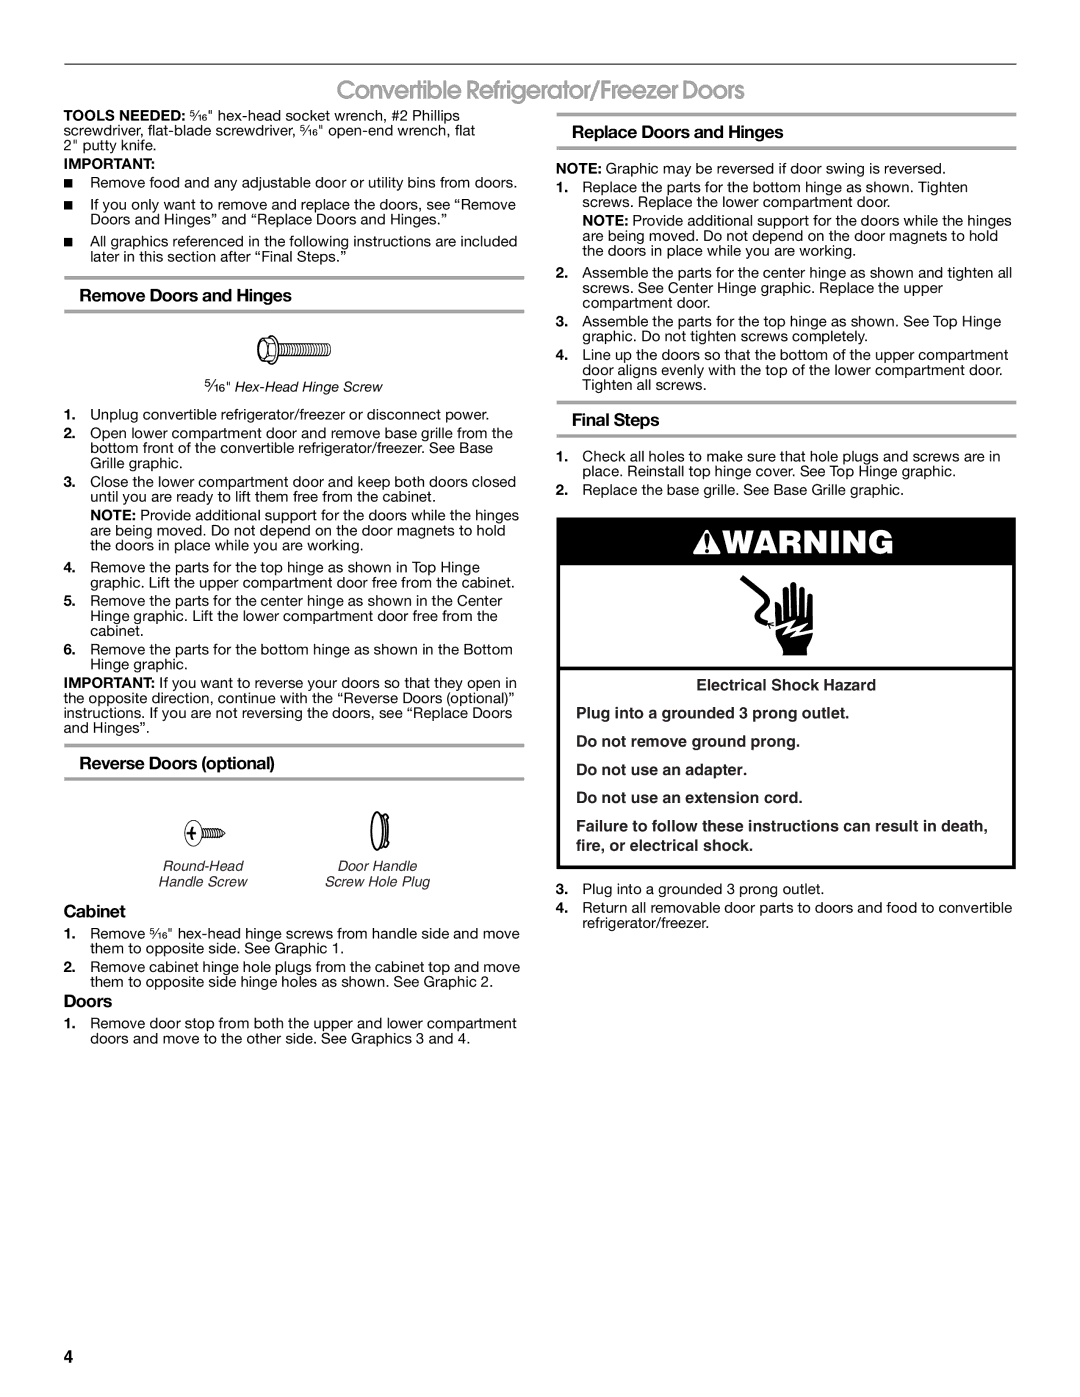
Convertible Refrigerator/Freezer Doors

TOOLS NEEDED: ⁵⁄₁₆" hex-head socket wrench, #2 Phillips screwdriver, flat-blade screwdriver, ⁵⁄₁₆" open-end wrench, flat 2" putty knife.

IMPORTANT:

Remove food and any adjustable door or utility bins from doors.

If you only want to remove and replace the doors, see “Remove Doors and Hinges” and “Replace Doors and Hinges.”

All graphics referenced in the following instructions are included later in this section after “Final Steps.”

Remove Doors and Hinges

⁵⁄₁₆" Hex-Head Hinge Screw

1.Unplug convertible refrigerator/freezer or disconnect power.

2.Open lower compartment door and remove base grille from the bottom front of the convertible refrigerator/freezer. See Base Grille graphic.

3.Close the lower compartment door and keep both doors closed until you are ready to lift them free from the cabinet.

NOTE: Provide additional support for the doors while the hinges are being moved. Do not depend on the door magnets to hold the doors in place while you are working.

4.Remove the parts for the top hinge as shown in Top Hinge graphic. Lift the upper compartment door free from the cabinet.

5.Remove the parts for the center hinge as shown in the Center Hinge graphic. Lift the lower compartment door free from the cabinet.

6.Remove the parts for the bottom hinge as shown in the Bottom Hinge graphic.

IMPORTANT: If you want to reverse your doors so that they open in the opposite direction, continue with the “Reverse Doors (optional)” instructions. If you are not reversing the doors, see “Replace Doors and Hinges”.

Reverse Doors (optional)

Round-Head

Door Handle

Handle Screw

Screw Hole Plug

Cabinet

1.Remove ⁵⁄₁₆" hex-head hinge screws from handle side and move them to opposite side. See Graphic 1.

2.Remove cabinet hinge hole plugs from the cabinet top and move them to opposite side hinge holes as shown. See Graphic 2.

Doors

1.Remove door stop from both the upper and lower compartment doors and move to the other side. See Graphics 3 and 4.

Replace Doors and Hinges

NOTE: Graphic may be reversed if door swing is reversed.

1.Replace the parts for the bottom hinge as shown. Tighten screws. Replace the lower compartment door.

NOTE: Provide additional support for the doors while the hinges are being moved. Do not depend on the door magnets to hold the doors in place while you are working.

2.Assemble the parts for the center hinge as shown and tighten all screws. See Center Hinge graphic. Replace the upper compartment door.

3.Assemble the parts for the top hinge as shown. See Top Hinge graphic. Do not tighten screws completely.

4.Line up the doors so that the bottom of the upper compartment door aligns evenly with the top of the lower compartment door. Tighten all screws.

Final Steps

1.Check all holes to make sure that hole plugs and screws are in place. Reinstall top hinge cover. See Top Hinge graphic.

2.Replace the base grille. See Base Grille graphic.

WARNING

Electrical Shock Hazard

Plug into a grounded 3 prong outlet.

Do not remove ground prong.

Do not use an adapter.

Do not use an extension cord.

Failure to follow these instructions can result in death, fire, or electrical shock.

3.Plug into a grounded 3 prong outlet.

4.Return all removable door parts to doors and food to convertible refrigerator/freezer.

4

Page 4
Image 4
Gladiator Garageworks W10131407A manual Convertible Refrigerator/Freezer Doors

W10131407A specifications

The Gladiator Garageworks W10131407A is a versatile and innovative storage solution designed for modern garages and home workspaces. As a part of the Gladiator line, this product exemplifies robust construction and efficient design—attributes that are crucial for organizing tools and gear neatly.

One of the key features of the W10131407A is its durable construction. Made from high-quality steel with a powder-coated finish, the unit is designed to withstand the rigors of a busy garage environment. This heavy-duty build not only enhances longevity but also ensures easy maintenance, as the surface can be easily cleaned without fear of rust or corrosion.

The W10131407A utilizes a modular design, allowing users to customize their storage space according to their specific needs. This flexibility is crucial for maximizing efficiency in any workspace. The unit includes adjustable shelving that can accommodate items of various sizes, from tools and equipment to seasonal items. This adaptability is complemented by a locking mechanism that adds an extra layer of security, keeping valuable tools safe from unauthorized access.

Furthermore, the W10131407A is designed with convenience in mind. Its ergonomic layout ensures items are easily accessible, reducing the time spent searching for tools. The inclusion of integrated handles facilitates smooth opening and closing, enhancing user experience significantly. The appliance also features a clean and attractive appearance, which makes it a stylish addition to any garage setup.

Technologically, the Gladiator Garageworks W10131407A integrates the latest advancements in storage solutions. It is compatible with the Gladiator EZ Design platform, allowing users to visualize their workspace and optimize their storage layout. Additionally, it can be easily integrated with other Gladiator products, promoting an organized and cohesive look throughout the garage.

Overall, the Gladiator Garageworks W10131407A stands out as an exemplary storage unit. With its sturdy construction, versatile modularity, ease of access, and compatibility with advanced design technologies, it provides an effective solution for those who seek to transform their garage into a well-organized and functional space. This product is perfect for DIY enthusiasts, homeowners, and anyone looking to elevate their garage’s storage capabilities.