Adjusting the laser line
The laser is factory set to emit |
|
|
|
| b |
| |
a laser line along the middle |
|
| |
of the blade. |
|
|
|
To adjust the position of the |
|
|
|
laser, proceed as follows: |
|
|
|
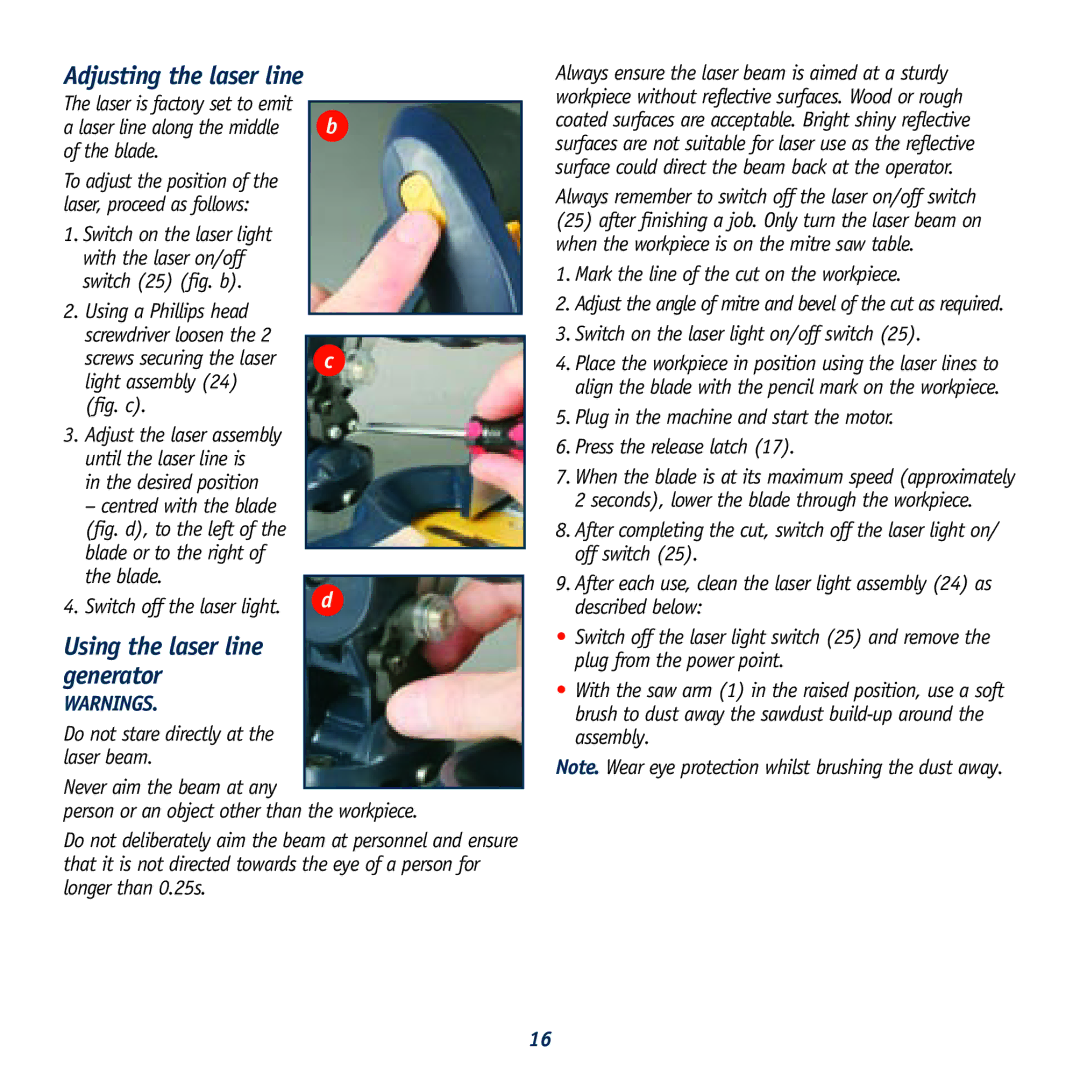
1. Switch on the laser light |
|
|
|
with the laser on/off |
|
|
|
switch (25) (fig. b). |
|
|
|
2. Using a Phillips head |
|
|
|
|
|
| |
screwdriver loosen the 2 |
|
|
|
|
|
| |
screws securing the laser |
| c | |
light assembly (24) |
|
|
|
(fig. c). |
|
|
|
3.Adjust the laser assembly until the laser line is
in the desired position
– centred with the blade (fig. d), to the left of the blade or to the right of the blade.
4. Switch off the laser light. | d |
Using the laser line generator
WARNINGS.
Do not stare directly at the laser beam.
Never aim the beam at any
person or an object other than the workpiece.
Do not deliberately aim the beam at personnel and ensure that it is not directed towards the eye of a person for longer than 0.25s.
Always ensure the laser beam is aimed at a sturdy workpiece without reflective surfaces. Wood or rough coated surfaces are acceptable. Bright shiny reflective surfaces are not suitable for laser use as the reflective surface could direct the beam back at the operator.
Always remember to switch off the laser on/off switch
(25)after finishing a job. Only turn the laser beam on when the workpiece is on the mitre saw table.
1.Mark the line of the cut on the workpiece.
2.Adjust the angle of mitre and bevel of the cut as required.
3.Switch on the laser light on/off switch (25).
4.Place the workpiece in position using the laser lines to align the blade with the pencil mark on the workpiece.
5.Plug in the machine and start the motor.
6.Press the release latch (17).
7.When the blade is at its maximum speed (approximately 2 seconds), lower the blade through the workpiece.
8.After completing the cut, switch off the laser light on/ off switch (25).
9.After each use, clean the laser light assembly (24) as described below:
•Switch off the laser light switch (25) and remove the plug from the power point.
•With the saw arm (1) in the raised position, use a soft brush to dust away the sawdust
Note. Wear eye protection whilst brushing the dust away.
16
