Maintenance
WARNING. Always ensure that the tool is switched
off and the plug is removed from the power point before making any adjustments or maintenance procedures.
1.Keep the tool’s air vents unclogged and clean at all times.
2.Regularly check to see if any dust or foreign matter has entered the grills near the motor and around the on/off switch. Use a soft brush to remove any accumulated dust. Wear safety glasses to protect your eyes whilst cleaning.
3.If the body of the tool needs cleaning, wipe it with a soft damp cloth. A mild detergent can be used but nothing like alcohol, petrol or other cleaning agent.
4.Never use caustic agents to clean plastic parts.
CAUTION. Water must never come into contact with the tool.
5. Lubricate all moving parts at regular intervals.
General inspection
Regularly check that all the fixing screws are tight. They may vibrate loose over time.
Replacing the carbon brushes
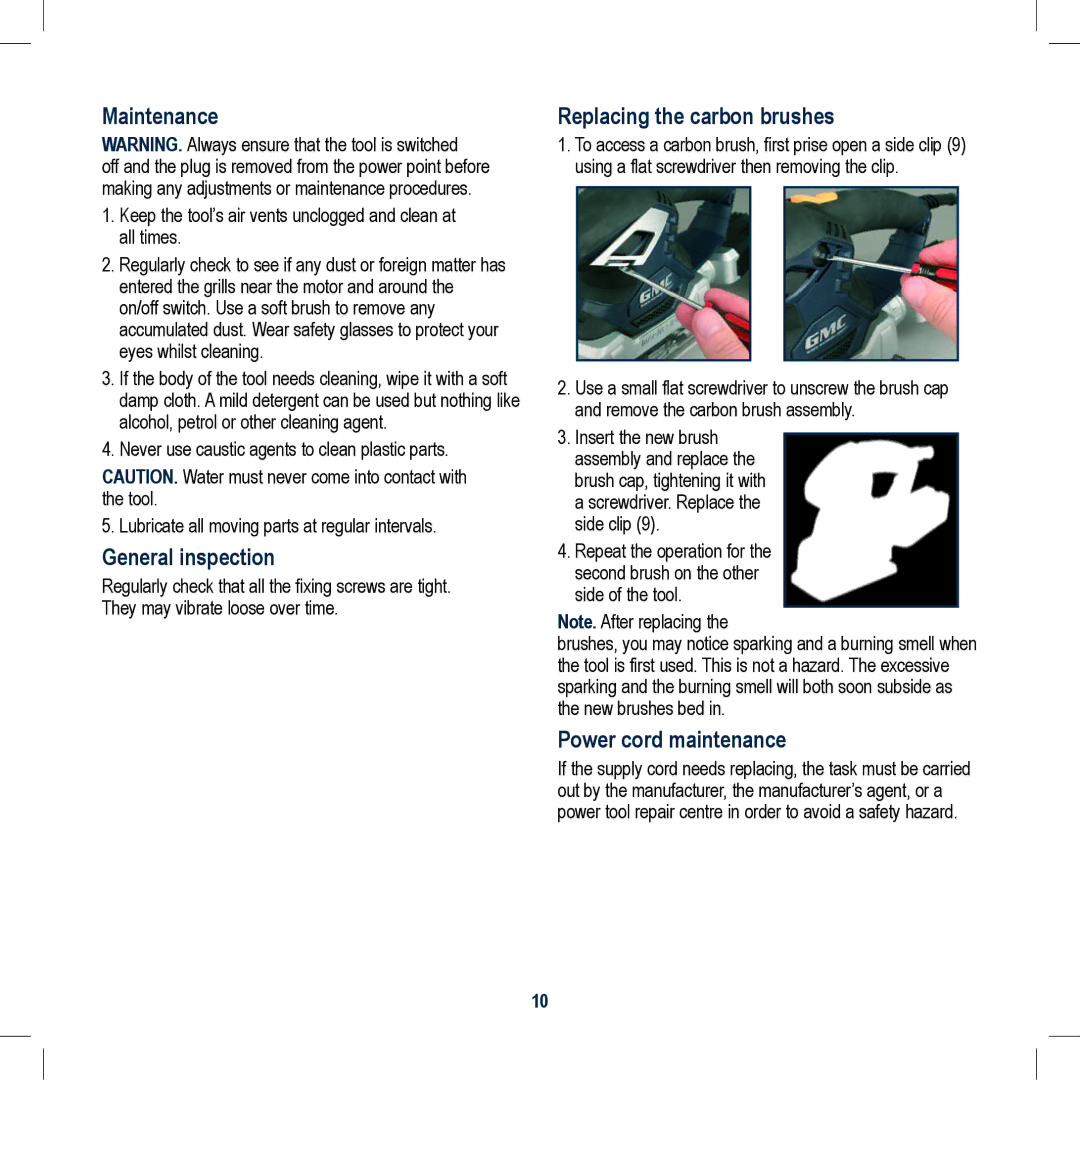
1.To access a carbon brush, first prise open a side clip (9) using a flat screwdriver then removing the clip.
2.Use a small flat screwdriver to unscrew the brush cap and remove the carbon brush assembly.
3.Insert the new brush assembly and replace the brush cap, tightening it with a screwdriver. Replace the side clip (9).
4.Repeat the operation for the second brush on the other side of the tool.
Note. After replacing the
brushes, you may notice sparking and a burning smell when the tool is first used. This is not a hazard. The excessive sparking and the burning smell will both soon subside as the new brushes bed in.
Power cord maintenance
If the supply cord needs replacing, the task must be carried out by the manufacturer, the manufacturer’s agent, or a power tool repair centre in order to avoid a safety hazard.
10
