Unpacking
Due to modern mass production techniques, it is unlikely that your GMC Power Tool is faulty or that a part is missing. If you find anything wrong, do not operate the tool until the parts have been replaced or the fault has been rectified. Failure to do so could result in serious personal injury.
Switching on and off
1.Connect the plug to the power supply.
2.Push the
(1) to start the motor.
3.Push the
4.Hold the tool securely and make sure that you have full control at all times.
Using the sander
1.The sander is designed for sanding wood, metal, plastic and similar materials. It can be used for sanding back and finishing the surface.
2.This sander is a handy size for medium jobs.
3.Wear safety goggles, a dust mask and ear defenders.
4.The whole sanding pad must rest on the workpiece.
5.Switch the sander on while it is placed on the workpiece and move it over the surface to be smoothed in a circular motion.
6.Grip the rear of the handle (2) in one hand and push down on the front of the handle with the other hand. Take care to hold the sander parallel to the work.
7 Use moderate pressure only.
8.If there are still marks on your work after sanding, try either going back to a coarser grade and sanding the marks out before recommencing with the original choice of grit, or try using a new piece of sandpaper to eliminate the unwanted marks before going on to a finer grit and finishing the job.
WARNING. Do not use the sander in wet or damp conditions.
Fitting a sanding sheet
WARNING. Always ensure that the tool is switched
off and the plug is removed from the power point before making any adjustments or maintenance procedures.
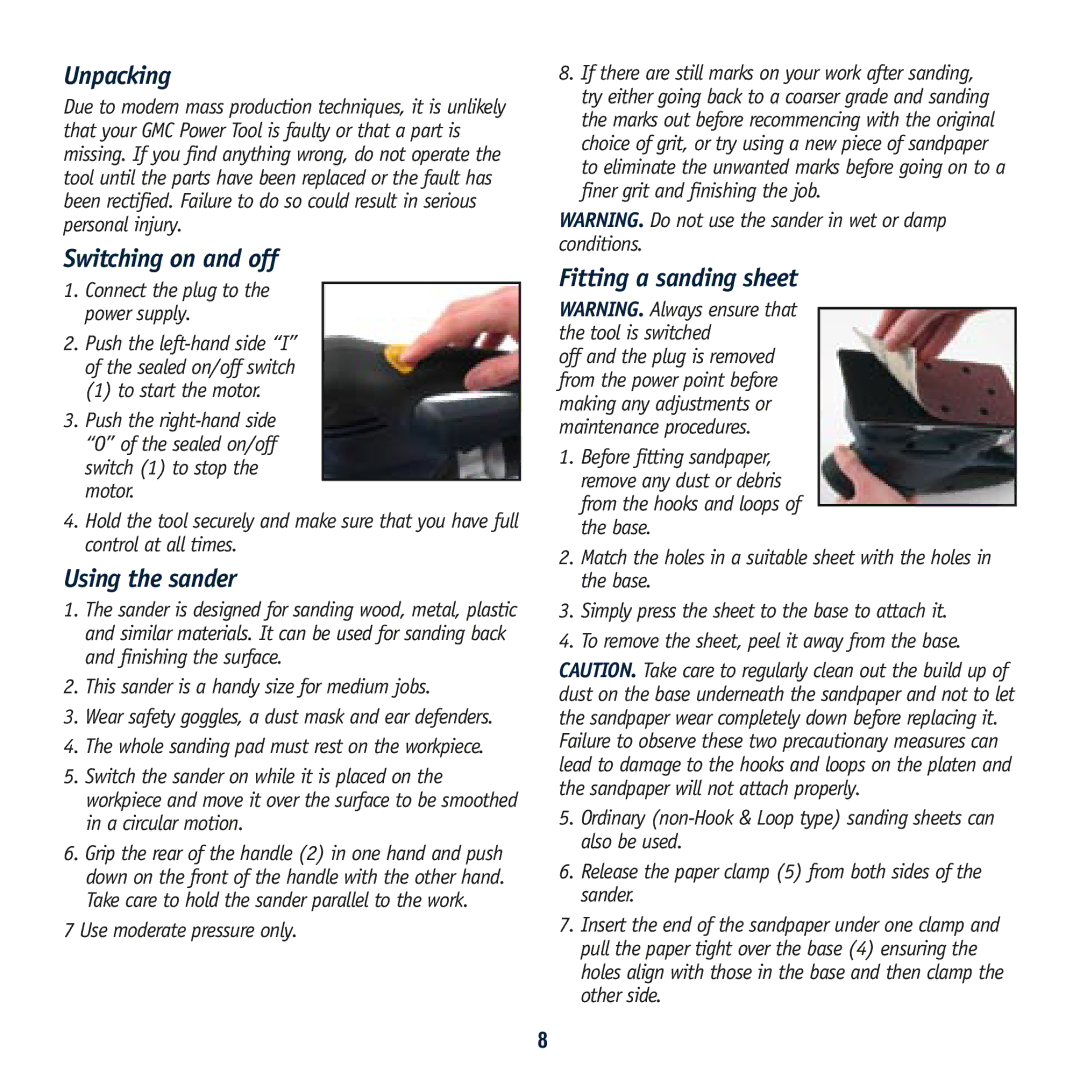
1.Before fitting sandpaper, remove any dust or debris from the hooks and loops of the base.
2.Match the holes in a suitable sheet with the holes in the base.
3.Simply press the sheet to the base to attach it.
4.To remove the sheet, peel it away from the base.
CAUTION. Take care to regularly clean out the build up of dust on the base underneath the sandpaper and not to let the sandpaper wear completely down before replacing it.
Failure to observe these two precautionary measures can lead to damage to the hooks and loops on the platen and the sandpaper will not attach properly.
5.Ordinary
6.Release the paper clamp (5) from both sides of the sander.
7.Insert the end of the sandpaper under one clamp and pull the paper tight over the base (4) ensuring the holes align with those in the base and then clamp the other side.
8