5.

If suree

tank 205-L76

is beine used

with-


trigger of

spray 'gun and open a i r line petcock

to

outf i l t e r

D a r t s installed,

it should be

drained


start


pump.

Allowpump

to

operate longenough

to

as often as experience indicates necessary. Stop


fill hose and spray q n with

solvent.


~~~p unit

pump

and open dump valve. After material

has


filled


with solventOVerniQht or

breekend u n t i l


drained

completely from

tank,

close dump valve.


readv t o

soray

aeain.


.,

6.

Shut

off air pressure to unitand relieve


9.


Eecirculate

solvent for

about 5


cressure

in air line, beforeremovins

screen


P i o r

t o

minutes

156-967 in a i r

line strainer 20k-999


(accessory i f

,


c h a r & %

a nwitht


material.


llsed). Daily,

clean this

screen and

a t reassembly


10.

Close Spray gun and raise

pump.

S t a r t

edd light

oil

to

screen

cavityn nut

156-944.

Re-


f e r t oFig.

L.


operating, by squeezing triggerof spray gun


and continue ooeratinn

untilmost


of solvent~~~~~has


FLUSHING UNIT


been blown

out of


sysiem.

Drain

excess

solvent


from loops

in hose

and f n t e r or surge chamber.


The frequency vithwhich unit should be flush- if used. After draining tankof filier or sur&

ed deoends upon type

or

types

of material pumped,


chamber,

close

its


dump valve.


generil operating conditions,and usage of unit.


11.

Replace

container

of material upon base,

It is wi5e to establisha re&= flushing scheU-


lower pump into container, connectair hose t o


ule.

In some instances it may be desirable to


flush~~~~~~~~~unit dailv whilein

other cases less freouentagitator and charge unit with properlymixed


flushing may prbve satisfactory . unit must2


material.


flushed

at

the end of each wurkineweek.

Thorough-


NOTE:

When chansins

colors or incompatible

17 flush

unit

with thinner or

solvent of

type

re-


t m e s

of

material,

flush unit as

described, HOW-

commended for use with the material,as follows:


EVER, a lonaer circulation oeriodwill necessarilv


1.

Remove Spray t i p and glm f i l t e r

cartridge,


be required-and

in

some casks a second flushing -


using


thinner

oi'solvent


may be


necessary.

if used,

from

spray

Sun

and

soak in


-


of

another

type


material


clean recommend- Also

if manufacturer


of

ed .type

solvent.


t o be

sprayed recommends usins a different

trpe of


2.

With air

SUPPlY to unitturned On,

dis-


thinner or

solvent, the thinner or solvent used in


the

first flushing

must

be flushed out to eliminate

connect a k ' h o s e

t o

a g i t a t oandr connect

it

t o


the


possibilityof


separation or jelling of ma-


elevator to raise

unitor manually raise

and


t e r i a l

components.


The sur3e tank or


tank of


hook hanger over truck ha.ndle. manifold


or f i l t e r


should be removed and par.ts


3.

With PmP a i r petcock 202-338open,


direct


thoroughly

scrubbed

clean. Surge


tank is equipped


Tvith

a

removable

plur:to facilitatecleaning.

spray gun

i n t o material container and start pump


operatink by squeezing triggerof spray gun.

U n i t


A G I T A T O R


r r i l l

pump air,

forcing the material outof the


properly

system back into

container. When the air has Agitator


a i r motor 101-687

m u s t be

flushed Out as much Daterial as possible, StopPump


ofled

with a light


air motori l ,


whenever


and open manifold

dump valve.

Drain excess

materi-

is

shutdorm or is not

tobe

operated for

a period

a1 from

all loops

in hose. After material has


Of

8 hours or more.


All

compressed a i r

oontains

stopped draining, close manifolddump valve.


some moisture and

if air motor is not~~


.~.

-

~ ~


nrouerlv

To


L.

Remove container of material from base and


lubricated

before

shutdown,

rust

may


result."


oil


motor:


position in its d a c e a pail containine. approxi-


mately 2 gallons' of

comGtible solvent: Loxer pump


1.

Remove oiler

screw

from a i r motor

top.


into

pail of solvent.


2.

Apply

3

t o

L

droos of

o i l

t o o i l e r .


5 .

S e t

a i r

t opump

at

approxhately20 p.s.i.,


3.

Replace

o i l e r

screw and run motor

for


direct gun

to material containerand trigger


gun


about

1/2 minute.


t o start pump.

Runp will

move the


solvent, under


A i r motor should requireno attention other

pressure through the system, flushing the internal


than


t o be

oiled.


However,

if

too heavy an o i l


cavities of manifold

and f i l t e r or

surge

tank. When


has


been

used or

other

improper oiling practices

solvent appears a t gun, stop pump, release pressure have been followed guming of rotor may result,


in system and remove spray ppn.


imwhich

case air

motor

should

be

flushedas


6 . Remove spray gun from hose and thorou5hly


follows:


clean

in

accordance

with

procedure


outlinedi n


separate Instruction Sheet for the spraygun.

Keep


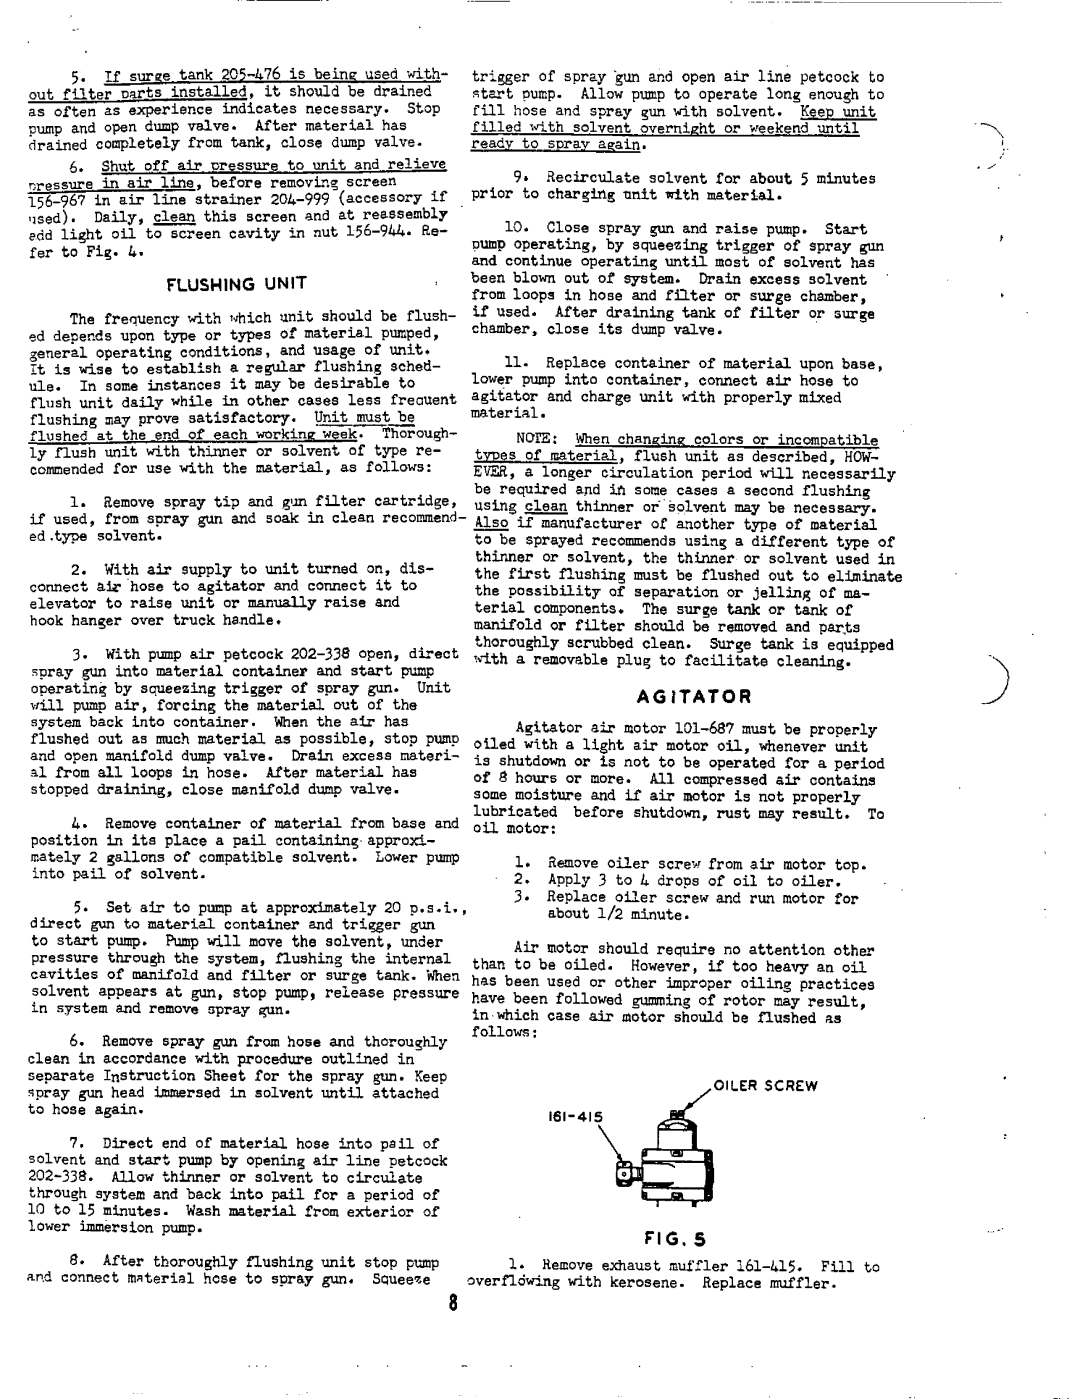
OILER SCREW


spray gun head immersed

in solvent


until

attached


t o hose

again.


161-41


7.Direct end of material hose into pailof solvent and start pump by opening a i r l i n epetcock 202-338. Allow thinner or solvent to circulate through system and back into pailfor a period of 10 t o 1 5 minutes. Wash material from exterior of

lower immersion

pump.


FIG . 5


1.

8. After

thoroughly flushing unit

stoppump

Remove exhaust muffler 161-415. F i l l t o

aP.d connect material hose to spraygun.

Squeeze

a overflowing with kerosene. ~~~l~~~muffler.

Page 8
Image 8
Graco 226-163 SERIESA, 226-161 SERIESA, 226-165 SERIESA, 226-167 SERIESA manual Clean this, Type

226-165 SERIES"A, 226-161 SERIES"A, 226-167 SERIES"A, 226-163 SERIES"A specifications

Graco has long been recognized as a leader in manufacturing high-quality spray equipment, and their Series A products, including the Graco 226-161, 226-165, 226-167, and 226-163 models, exemplify this reputation. Each model is designed for versatility and durability, making them ideal for a variety of painting and coating applications.

The Graco 226-161 Series A is built with advanced technology to deliver optimal performance. It features a robust design that is suitable for both professional and DIY users. Its compact size allows for easy maneuverability, while the efficient pump system ensures consistent fluid delivery. This model boasts a maximum pressure rating that allows it to use a range of spray tips, making it highly adaptable for different projects.

Moving on to the Graco 226-165 Series A, it offers enhanced user comfort with an ergonomic handle and lightweight construction. Its innovative design minimizes user fatigue, allowing for extended use without discomfort. This model also incorporates Graco's exclusive EasyPrime technology, which ensures quick and hassle-free priming of the pump, reducing downtime and improving productivity. With its reliable performance and durability, it is an excellent choice for larger projects requiring precision and consistency.

The Graco 226-167 Series A stands out with its smart control features that allow for adjustable pressure settings. This functionality enables users to tailor the spray output according to the specific requirements of their job, whether it’s delicate work or high-volume spraying. Additionally, the 226-167 includes a high-efficiency airless mechanism that provides a superior finish while reducing overspray.

Lastly, the Graco 226-163 Series A model focuses on versatility and ease of use. Its plug-and-play capability ensures that users can set it up quickly, allowing for immediate application. The inclusion of a durable, stainless-steel piston pump ensures long-lasting service life, while the anti-clog filter aids in maintaining a smooth flow of material, preventing interruptions during operation.

In summary, the Graco 226-Series A lineup offers a variety of models tailored to meet different user needs, bringing together smart technology, user-friendly designs, and robust construction. Whether for residential or commercial applications, these models are geared to provide reliable performance, making them essential tools for any painting project.