Valving Rod Adjustment
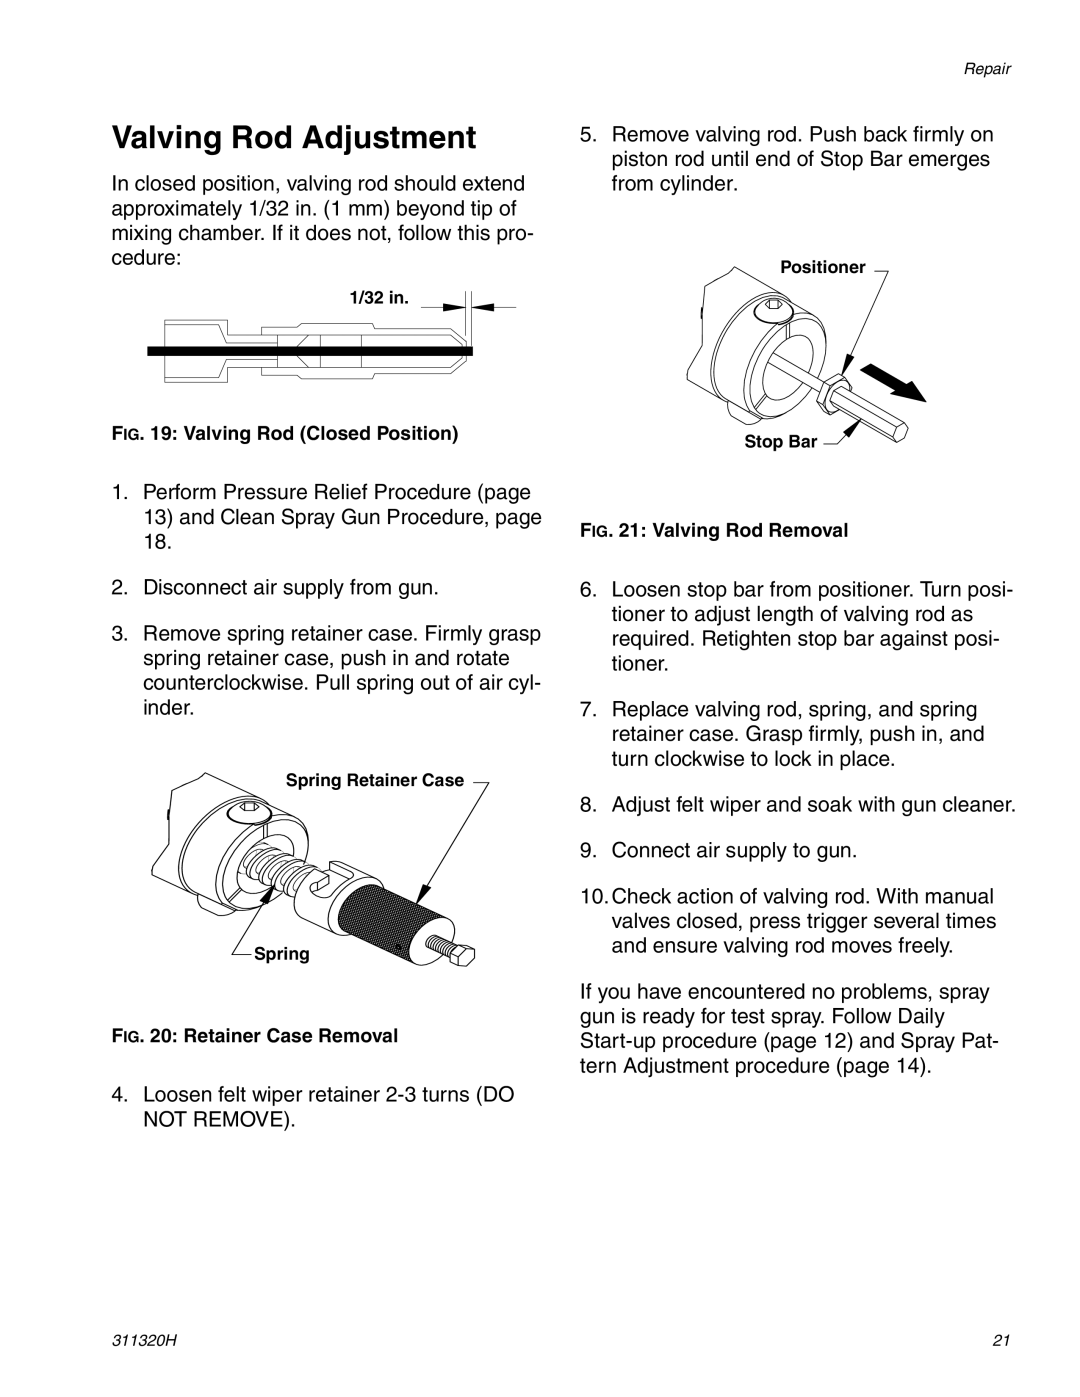
In closed position, valving rod should extend approximately 1/32 in. (1 mm) beyond tip of mixing chamber. If it does not, follow this pro- cedure:
1/32 in.
FIG. 19: Valving Rod (Closed Position)
1.Perform Pressure Relief Procedure (page 13) and Clean Spray Gun Procedure, page 18.
2.Disconnect air supply from gun.
3.Remove spring retainer case. Firmly grasp spring retainer case, push in and rotate counterclockwise. Pull spring out of air cyl- inder.
Spring Retainer Case
Spring
FIG. 20: Retainer Case Removal
4.Loosen felt wiper retainer
NOT REMOVE).
Repair
5.Remove valving rod. Push back firmly on piston rod until end of Stop Bar emerges from cylinder.
Positioner
Stop Bar
FIG. 21: Valving Rod Removal
6.Loosen stop bar from positioner. Turn posi- tioner to adjust length of valving rod as required. Retighten stop bar against posi- tioner.
7.Replace valving rod, spring, and spring retainer case. Grasp firmly, push in, and turn clockwise to lock in place.
8.Adjust felt wiper and soak with gun cleaner.
9.Connect air supply to gun.
10.Check action of valving rod. With manual valves closed, press trigger several times and ensure valving rod moves freely.
If you have encountered no problems, spray gun is ready for test spray. Follow Daily
311320H | 21 |