INSTALLATION & PREPARATION INSTRUCTIONS
Unloader
The unloader will either be adjustable or factory preset depending on the model you purchased.
Adjustable
The unloader valve on your machine is equipped with an adjustment knob to adjust the pressure. Should less pressure be required, simply turn the adjustment knob counterclockwise. To set back to maximum, turn adjustment knob completely clockwise. Do not over- tighten.
Thermal Relief Valve
To ensure the water temperature does not exceed acceptable levels, never allow the pressure washer to operate in the bypass mode (with the unit running and the trigger gun closed) for more than three minutes.
A“thermal relief valve” has been added to this unit to protect the pump. It may begin to open and release water if the water temperature in the pump has ex- ceeded 140°F. This will allow fresh, cool water to enter the system.
Pre-Start Inspection Procedures
Before starting the unit, perform the following proce- dures:
1.Check the oil level in the pump and engine.
2.Inspect the water inlet strainer. Clean or replace if necessary. See “Water Supply” pg. 9.
3.Check all hose connections to ensure they are securely tightened. See “Water Supply” pg. 9.
OPERATING INSTRUCTIONS
Priming the Pump
It is essential to prime the pump on initial
1.Lay the high pressure hose out to remove any loops. Water flow will constrict the hose, creating tight loops if the hose is not straight.
Note: The nozzle assembly should not be connected to the gun assembly at this time. See “Nozzle Connec- tion” pg. 9.
2. With the trigger gun locked in the “OFF” position, turn |
the water supply completely on. Pointing the gun in a |
safe direction, unlock the trigger gun and squeeze the |
trigger. |
Low pressure water will begin flowing from the hose/ |
gun assembly. This allows the unit to prime and purge |
any air from the system. The unit is primed when water |
flow is uninterrupted by air. |
3. Once the unit is primed, release the trigger and lock |
the gun in the “OFF” position. Securely connect the |
NOTICE
Be certain the nozzle is not connected to the unit while priming the pump. Priming allows mineral de- posits to be released from the system which would obstruct or damage the nozzle assembly resulting in costly repairs.
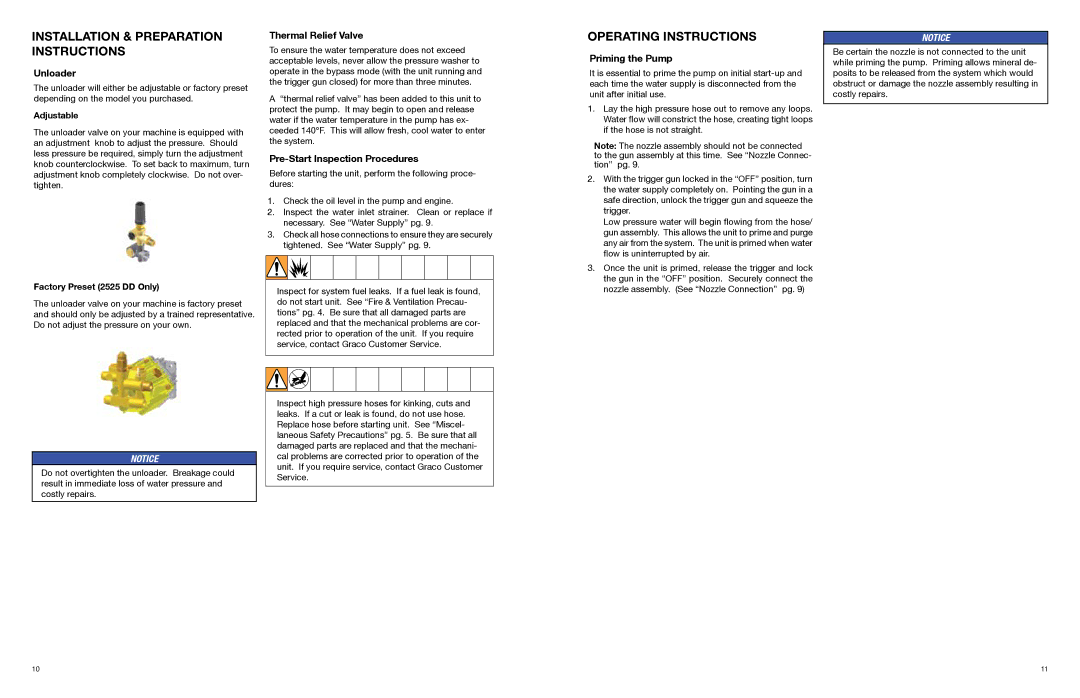
Factory Preset (2525 DD Only)
The unloader valve on your machine is factory preset and should only be adjusted by a trained representative. Do not adjust the pressure on your own.
NOTICE
Do not overtighten the unloader. Breakage could result in immediate loss of water pressure and costly repairs.
Inspect for system fuel leaks. If a fuel leak is found, do not start unit. See “Fire & Ventilation Precau- tions” pg. 4. Be sure that all damaged parts are replaced and that the mechanical problems are cor- rected prior to operation of the unit. If you require service, contact Graco Customer Service.
Inspect high pressure hoses for kinking, cuts and leaks. If a cut or leak is found, do not use hose. Replace hose before starting unit. See “Miscel- laneous Safety Precautions” pg. 5. Be sure that all damaged parts are replaced and that the mechani- cal problems are corrected prior to operation of the unit. If you require service, contact Graco Customer Service.
nozzle assembly. (See “Nozzle Connection” pg. 9) |
10 | 11 |