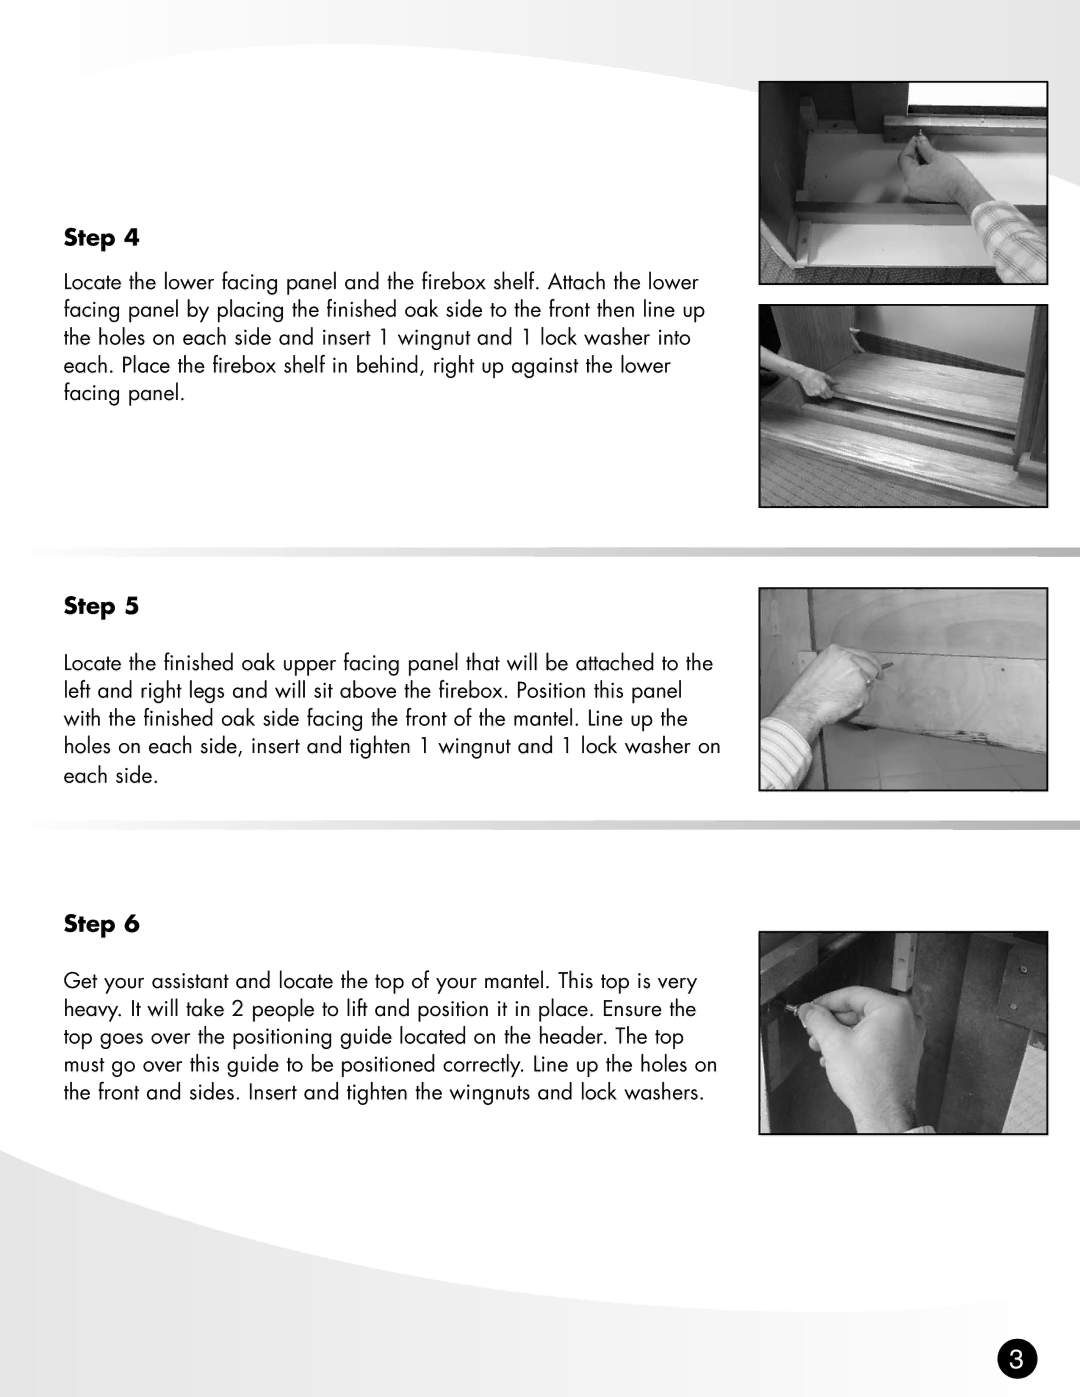
Step 4
Locate the lower facing panel and the firebox shelf. Attach the lower facing panel by placing the finished oak side to the front then line up the holes on each side and insert 1 wingnut and 1 lock washer into each. Place the firebox shelf in behind, right up against the lower facing panel.
Step 5
Locate the finished oak upper facing panel that will be attached to the left and right legs and will sit above the firebox. Position this panel with the finished oak side facing the front of the mantel. Line up the holes on each side, insert and tighten 1 wingnut and 1 lock washer on each side.
Step 6
Get your assistant and locate the top of your mantel. This top is very heavy. It will take 2 people to lift and position it in place. Ensure the top goes over the positioning guide located on the header. The top must go over this guide to be positioned correctly. Line up the holes on the front and sides. Insert and tighten the wingnuts and lock washers.
3