GET READY TO START
Before assembly, use scissors to unwrap the parts from the packaging. DO NOT use a box cutter or
For the easiest assembly, use a power
Step 1
Locate the hearth and place it on the floor. Do not put it up against the wall at this point in the assembly as you need to get in behind the mantel to insert several screws.
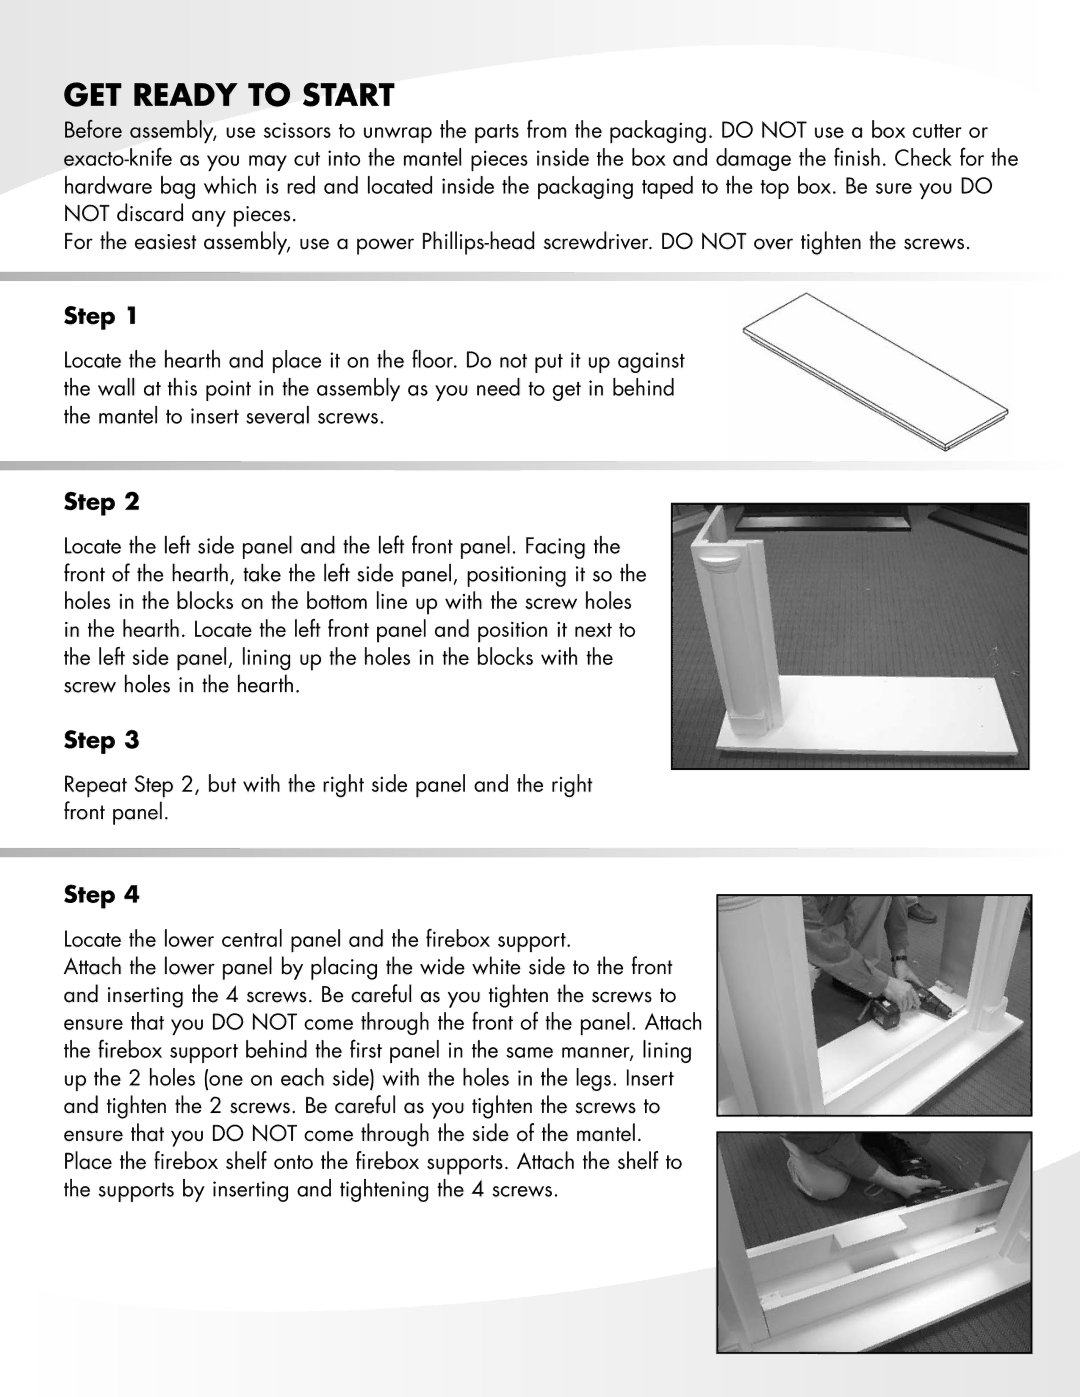
Step 2
Locate the left side panel and the left front panel. Facing the front of the hearth, take the left side panel, positioning it so the holes in the blocks on the bottom line up with the screw holes in the hearth. Locate the left front panel and position it next to the left side panel, lining up the holes in the blocks with the screw holes in the hearth.
Step 3
Repeat Step 2, but with the right side panel and the right front panel.
Step 4
Locate the lower central panel and the firebox support.
Attach the lower panel by placing the wide white side to the front and inserting the 4 screws. Be careful as you tighten the screws to ensure that you DO NOT come through the front of the panel. Attach the firebox support behind the first panel in the same manner, lining up the 2 holes (one on each side) with the holes in the legs. Insert and tighten the 2 screws. Be careful as you tighten the screws to ensure that you DO NOT come through the side of the mantel.
Place the firebox shelf onto the firebox supports. Attach the shelf to the supports by inserting and tightening the 4 screws.