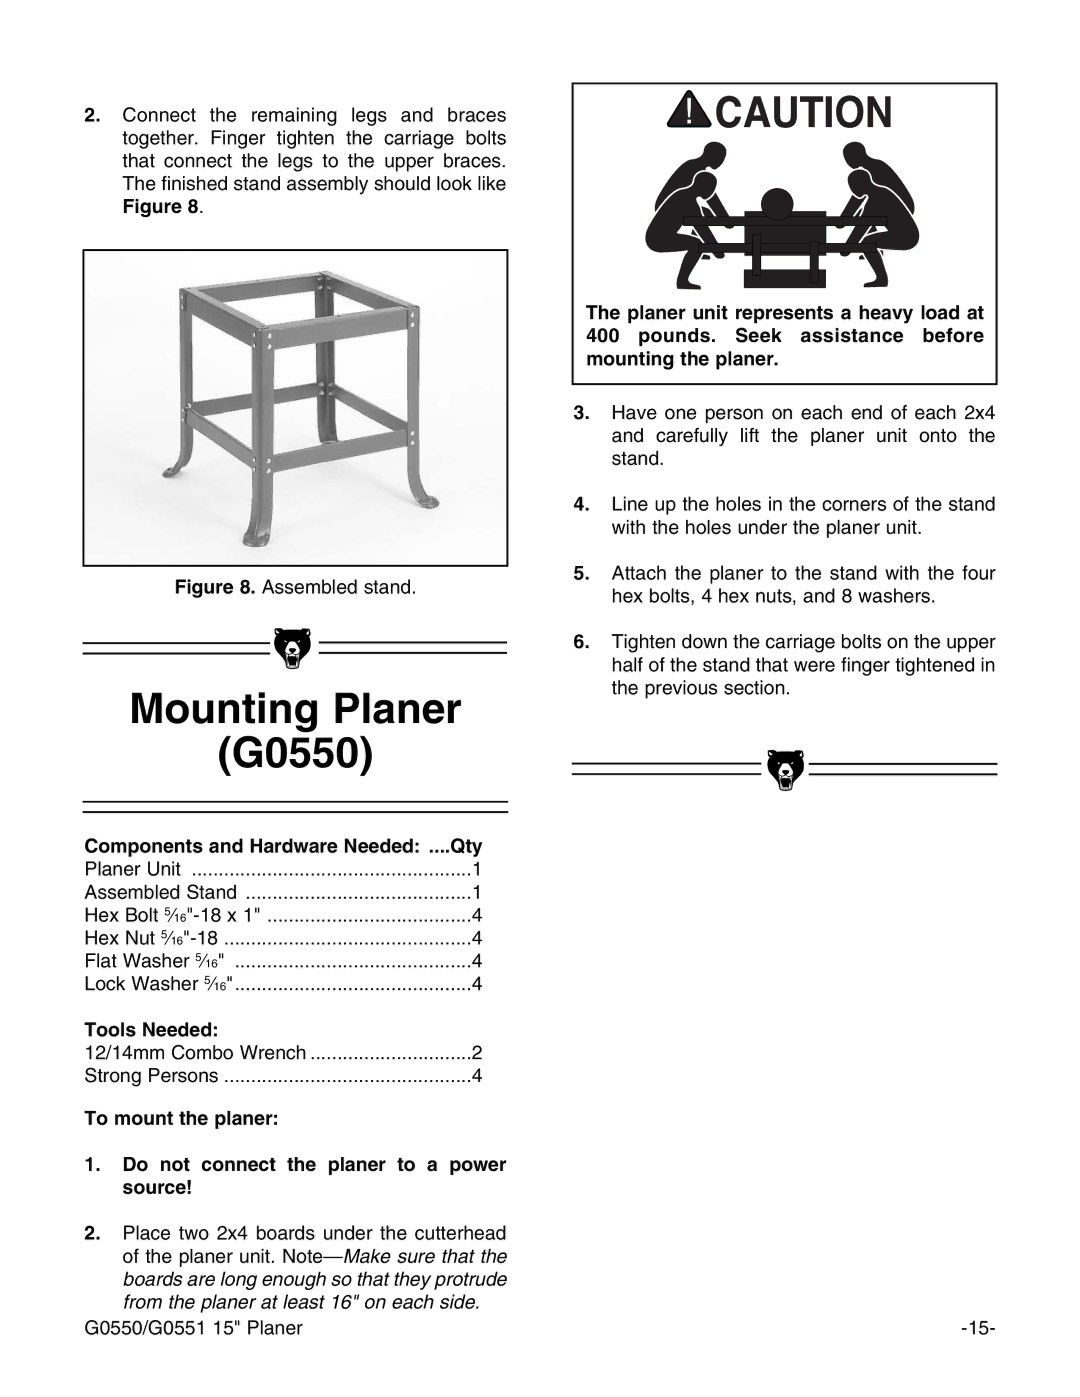
2.Connect the remaining legs and braces together. Finger tighten the carriage bolts that connect the legs to the upper braces. The finished stand assembly should look like Figure 8.
Figure 8. Assembled stand.
Mounting Planer
(G0550)
Components and Hardware Needed: .... | Qty |
Planer Unit | 1 |
Assembled Stand | 1 |
Hex Bolt | 4 |
Hex Nut | 4 |
Flat Washer 5⁄16" | 4 |
Lock Washer 5⁄16" | 4 |
Tools Needed: |
|
12/14mm Combo Wrench | 2 |
Strong Persons | 4 |
To mount the planer: |
|
1.Do not connect the planer to a power source!
2.Place two 2x4 boards under the cutterhead of the planer unit.
G0550/G0551 15" Planer
The planer unit represents a heavy load at 400 pounds. Seek assistance before mounting the planer.
3.Have one person on each end of each 2x4 and carefully lift the planer unit onto the stand.
4.Line up the holes in the corners of the stand with the holes under the planer unit.
5.Attach the planer to the stand with the four hex bolts, 4 hex nuts, and 8 washers.
6.Tighten down the carriage bolts on the upper half of the stand that were finger tightened in the previous section.
