Operation
The basic operation of a planishing hammer con- sists of inserting a piece of sheet metal between the hammer and die, then actuating the planishing hammer while moving the sheet metal around to shape it.
There are three main variables that can be adjusted to alter the results of your work:
•Die Radius: Controls the curve of the shaped workpiece. Change this by installing dies with different radii.
•Air Supply PSI: Controls the force of each blow of the hammer. Change this by adjust- ing the air pressure between
•Hammer Speed: Controls how fast and hard the hammer strikes the die while the foot switch is pressed. This is measured in BPM's (beats per minute). Change this by adjusting the speed adjustment knob on the hammer assembly.
To perform a basic operation with the planish- ing hammer:
1.DISCONNECT THE AIR PRESSURE!
2.Insert the desired die size into the housing.
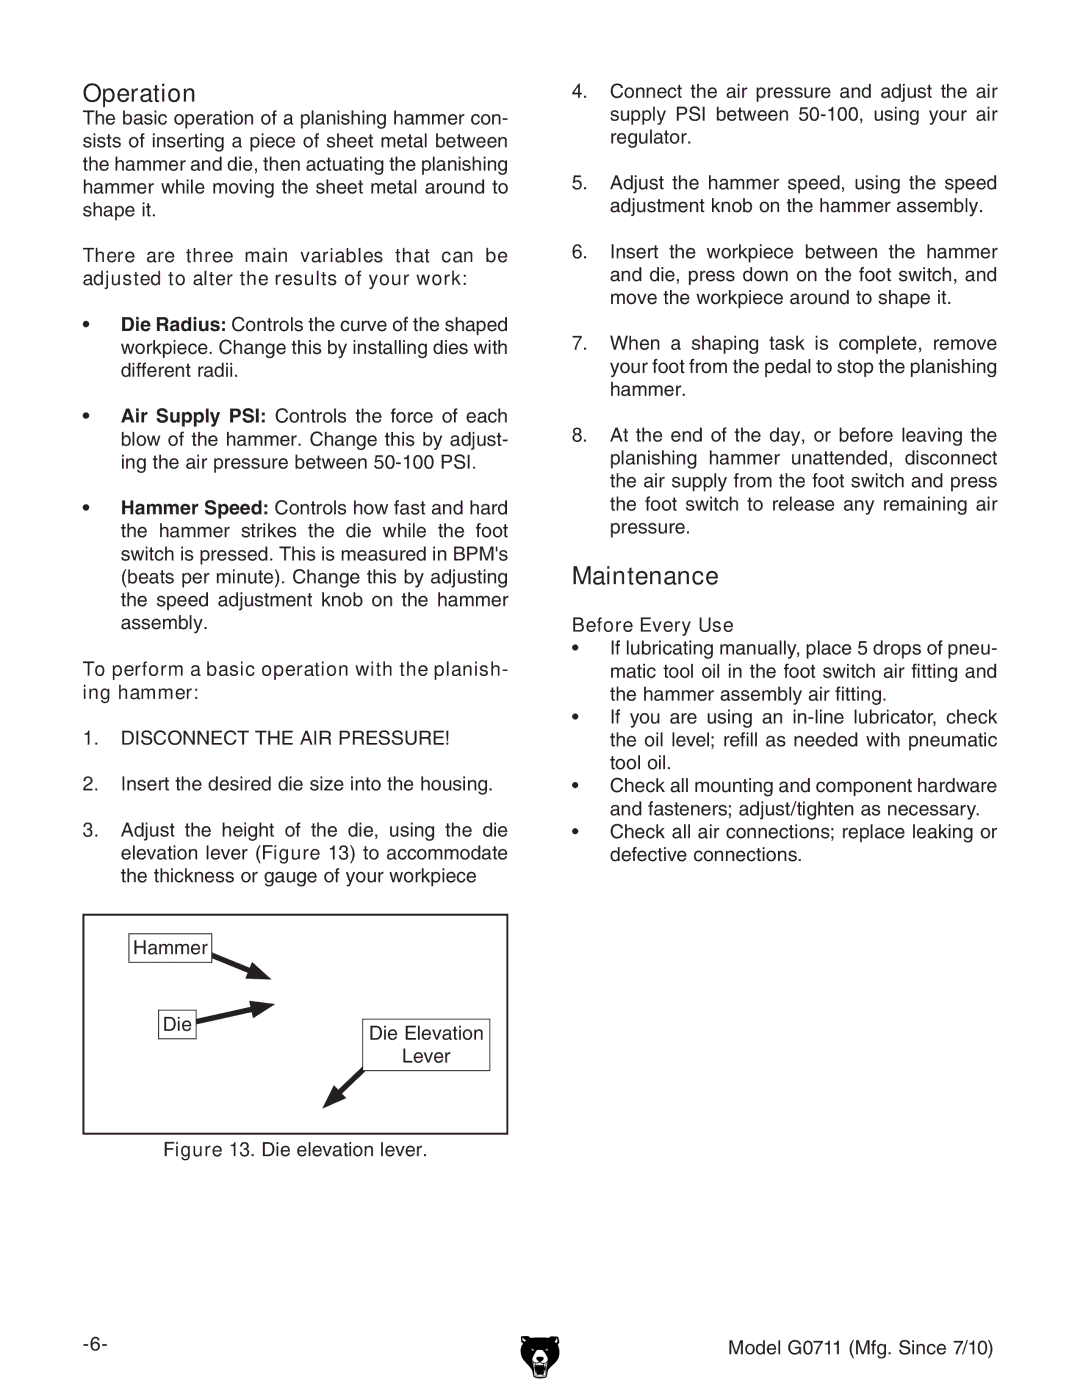
3.Adjust the height of the die, using the die elevation lever (Figure 13) to accommodate the thickness or gauge of your workpiece
Hammer |
|
| |||
|
|
|
|
| |
|
|
|
|
| |
| Die |
|
|
| |
Die Elevation | |||||
|
|
|
| ||
|
|
|
| ||
|
|
|
| Lever | |
|
|
|
|
| |
4.Connect the air pressure and adjust the air supply PSI between
5.Adjust the hammer speed, using the speed adjustment knob on the hammer assembly.
6.Insert the workpiece between the hammer and die, press down on the foot switch, and move the workpiece around to shape it.
7.When a shaping task is complete, remove your foot from the pedal to stop the planishing hammer.
8.At the end of the day, or before leaving the planishing hammer unattended, disconnect the air supply from the foot switch and press the foot switch to release any remaining air pressure.
Maintenance
Before Every Use
•If lubricating manually, place 5 drops of pneu- matic tool oil in the foot switch air fitting and the hammer assembly air fitting.
•If you are using an
•Check all mounting and component hardware and fasteners; adjust/tighten as necessary.
•Check all air connections; replace leaking or defective connections.
Figure 13. Die elevation lever.
Model G0711 (Mfg. Since 7/10) |