OPERATION
Inserting Battery Into Drill
1.Insert the battery into the handle of the drill so that the long end is for- ward. The battery will only install in one orientation.
2.Make sure the securing clasps on either side of the drill base engage with the clips on the battery compart- ment.
Inserting and Removing Bits and Drivers:
1.Set the direction switch, located just above the trigger, so that it is in the center position.
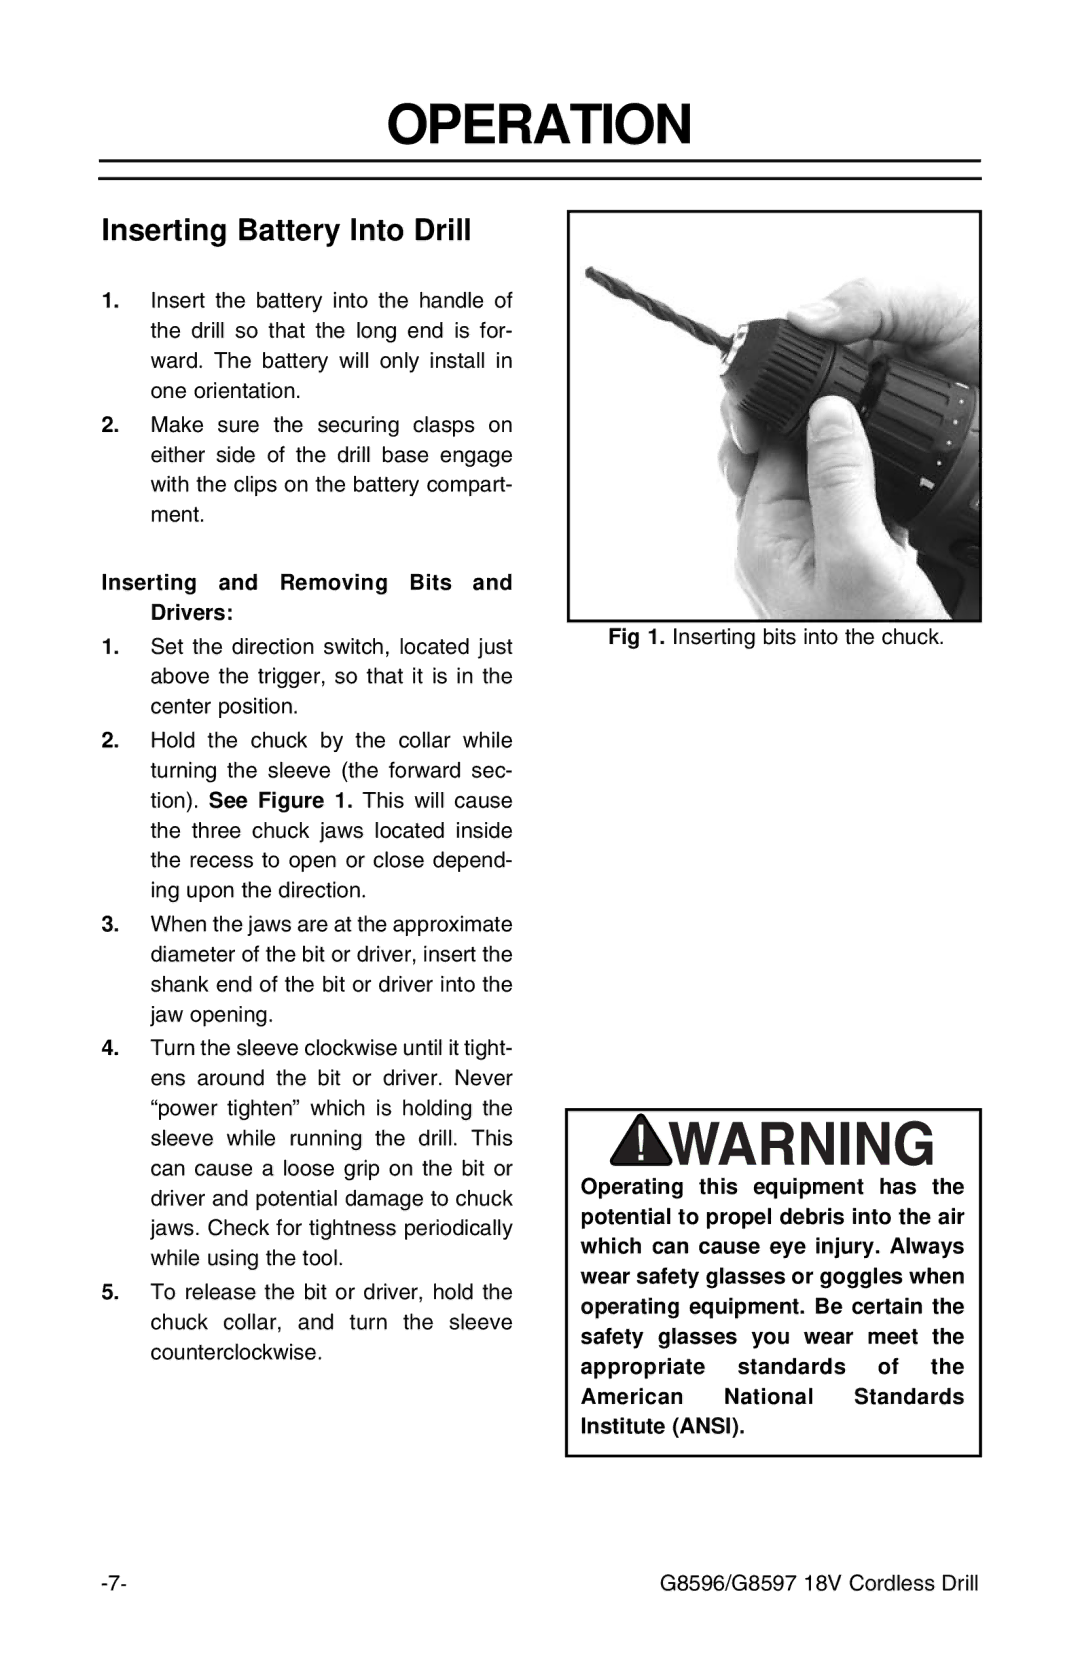
2.Hold the chuck by the collar while turning the sleeve (the forward sec- tion). See Figure 1. This will cause the three chuck jaws located inside the recess to open or close depend- ing upon the direction.
3.When the jaws are at the approximate diameter of the bit or driver, insert the shank end of the bit or driver into the jaw opening.
4.Turn the sleeve clockwise until it tight- ens around the bit or driver. Never “power tighten” which is holding the sleeve while running the drill. This can cause a loose grip on the bit or driver and potential damage to chuck jaws. Check for tightness periodically while using the tool.
5.To release the bit or driver, hold the chuck collar, and turn the sleeve counterclockwise.
Fig 1. Inserting bits into the chuck.
Operating this equipment has the potential to propel debris into the air which can cause eye injury. Always wear safety glasses or goggles when operating equipment. Be certain the safety glasses you wear meet the appropriate standards of the
American National Standards Institute (ANSI).
G8596/G8597 18V Cordless Drill |
