SECTION 4: OPERATIONS
NOTICE
If you have never used this type of machine or equipment before, WE STRONGLY REC- OMMEND that you read books, trade maga- zines, or get formal training before begin- ning any projects. Regardless of the con- tent in this section, Grizzly Industrial will not be held liable for accidents caused by lack of training.
Installing/Removing
Drill Bits
Drill bits installed in the chuck must be tight enough to not come loose during operation.
To install a drill bit:
1.UNPLUG THE DRILL PRESS!
2.Open the drill chuck wide enough to accept the shank of the drill bit.
3.Insert the drill bit as far as possible into the chuck WITHOUT allowing the chuck jaws to touch the fluted portion of the bit, and hand tighten the chuck.
Note: Make sure small bits are not trapped between the edges of two jaws; if they are, reinstall the drill bit or it will not be secure enough to use for drilling.
4.Final tighten the drill bit with the chuck key.
To remove a drill bit:
1.UNPLUG THE DRILL PRESS!
2.Use the chuck key to open the drill chuck, and catch the drill bit with a rag to protect your hands.
Model G9986 8" Drill Press
Adjusting Table
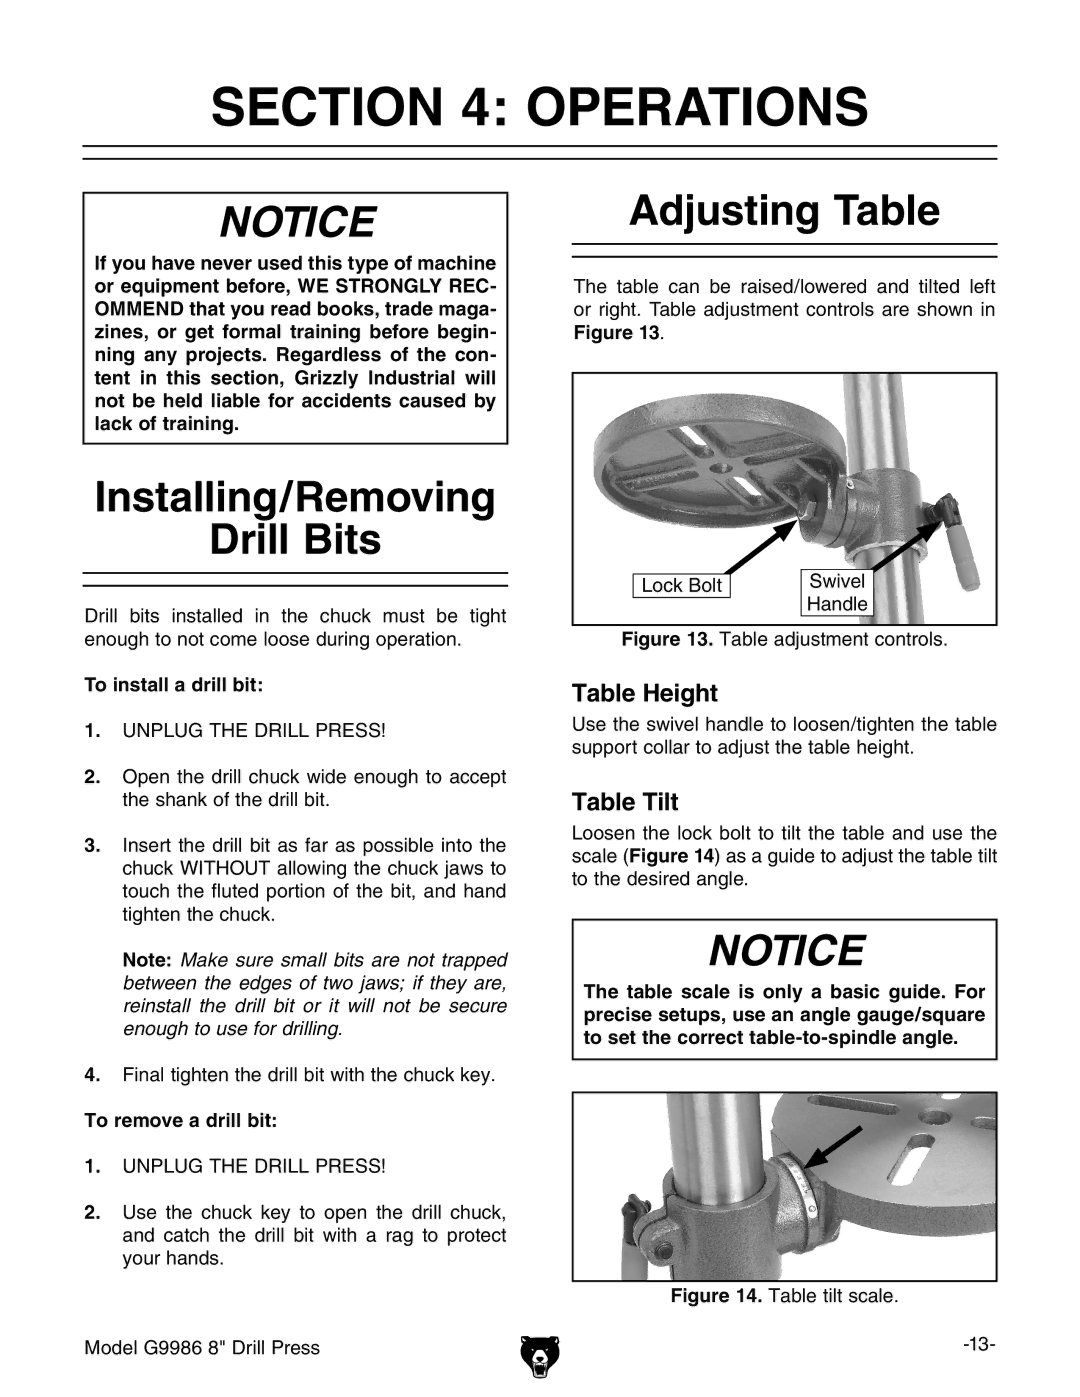
The table can be raised/lowered and tilted left or right. Table adjustment controls are shown in Figure 13.
Lock Bolt | Swivel |
| Handle |
Figure 13. Table adjustment controls.
Table Height
Use the swivel handle to loosen/tighten the table support collar to adjust the table height.
Table Tilt
Loosen the lock bolt to tilt the table and use the scale (Figure 14) as a guide to adjust the table tilt to the desired angle.
NOTICE
The table scale is only a basic guide. For precise setups, use an angle gauge/square to set the correct
