Neck
Like the guitar body, the guitar neck is mostly complete from the factory; however, the neck headstock can be customized to reflect personal taste. Additional cutting, inlay, or design work can give an otherwise ordinary guitar that custom look that sets it apart from others!
To sand the guitar neck:
1.Wear an
2.Perform any custom cutting, inlay, or design work to the neck headstock.
3.Using the sanding technique described in the previous
Masking Tape Areas
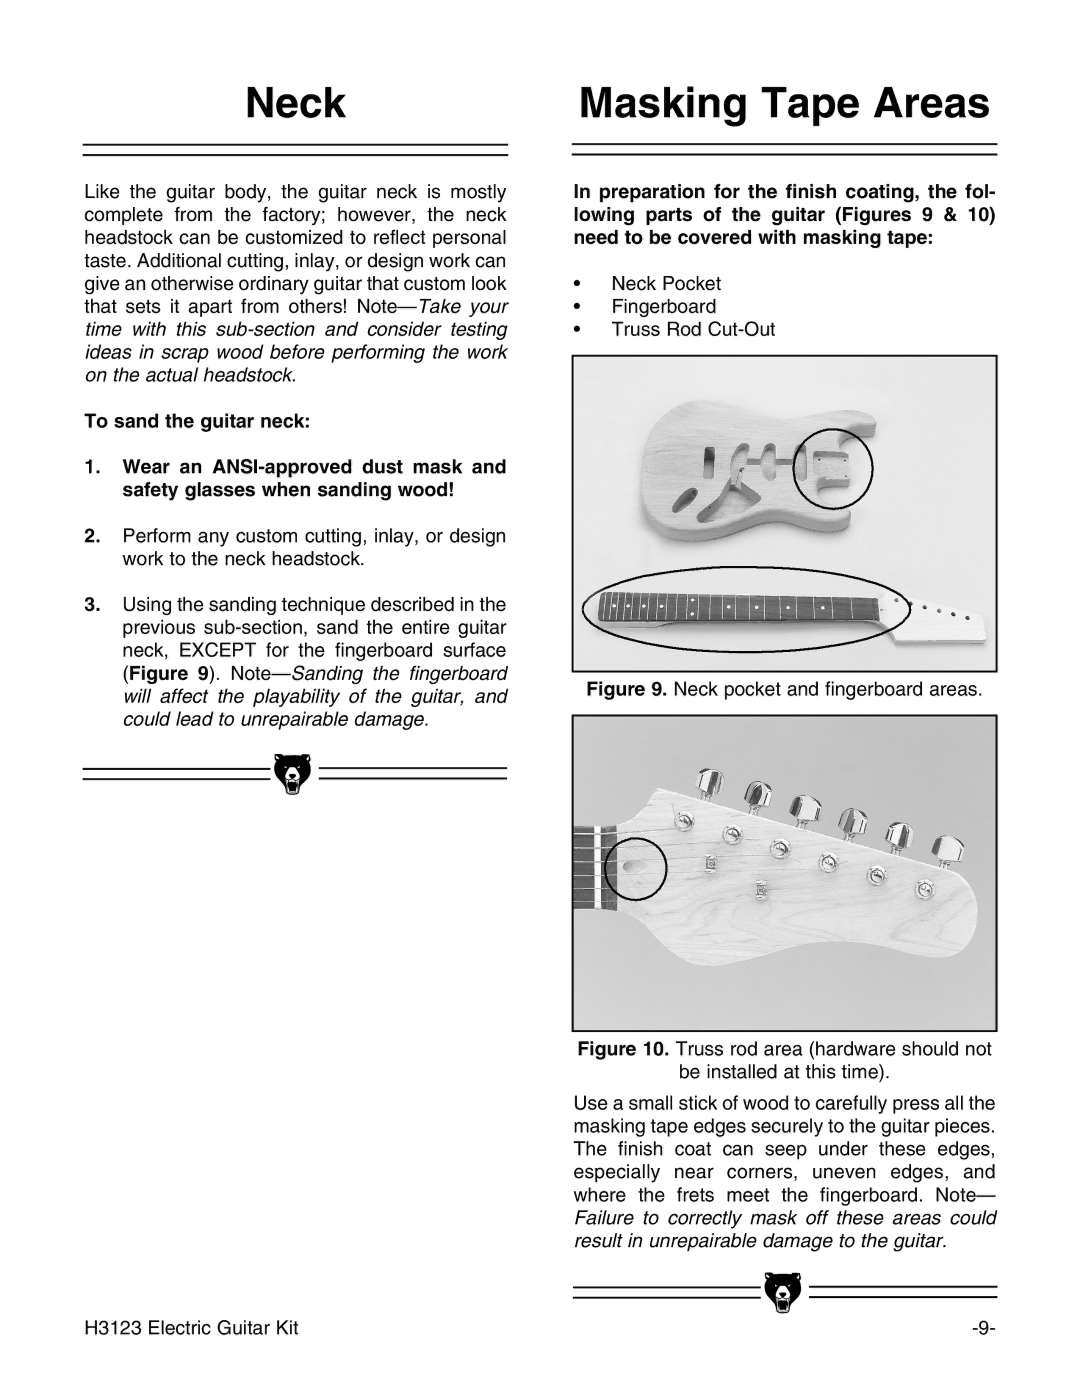
In preparation for the finish coating, the fol- lowing parts of the guitar (Figures 9 & 10) need to be covered with masking tape:
•Neck Pocket
•Fingerboard
•Truss Rod
Figure 9. Neck pocket and fingerboard areas.
Figure 10. Truss rod area (hardware should not
be installed at this time).
Use a small stick of wood to carefully press all the masking tape edges securely to the guitar pieces. The finish coat can seep under these edges, especially near corners, uneven edges, and where the frets meet the fingerboard. Note— Failure to correctly mask off these areas could result in unrepairable damage to the guitar.
|
|
|
|
|
|
|
|
|
|
|
|
H3123 Electric Guitar Kit | |||