Adjusting Depth
A depth adjustment device is attached to the nose for setting the nail depth.
To adjust the depth:
1.DISCONNECT NAILER FROM THE AIR SUPPLY!
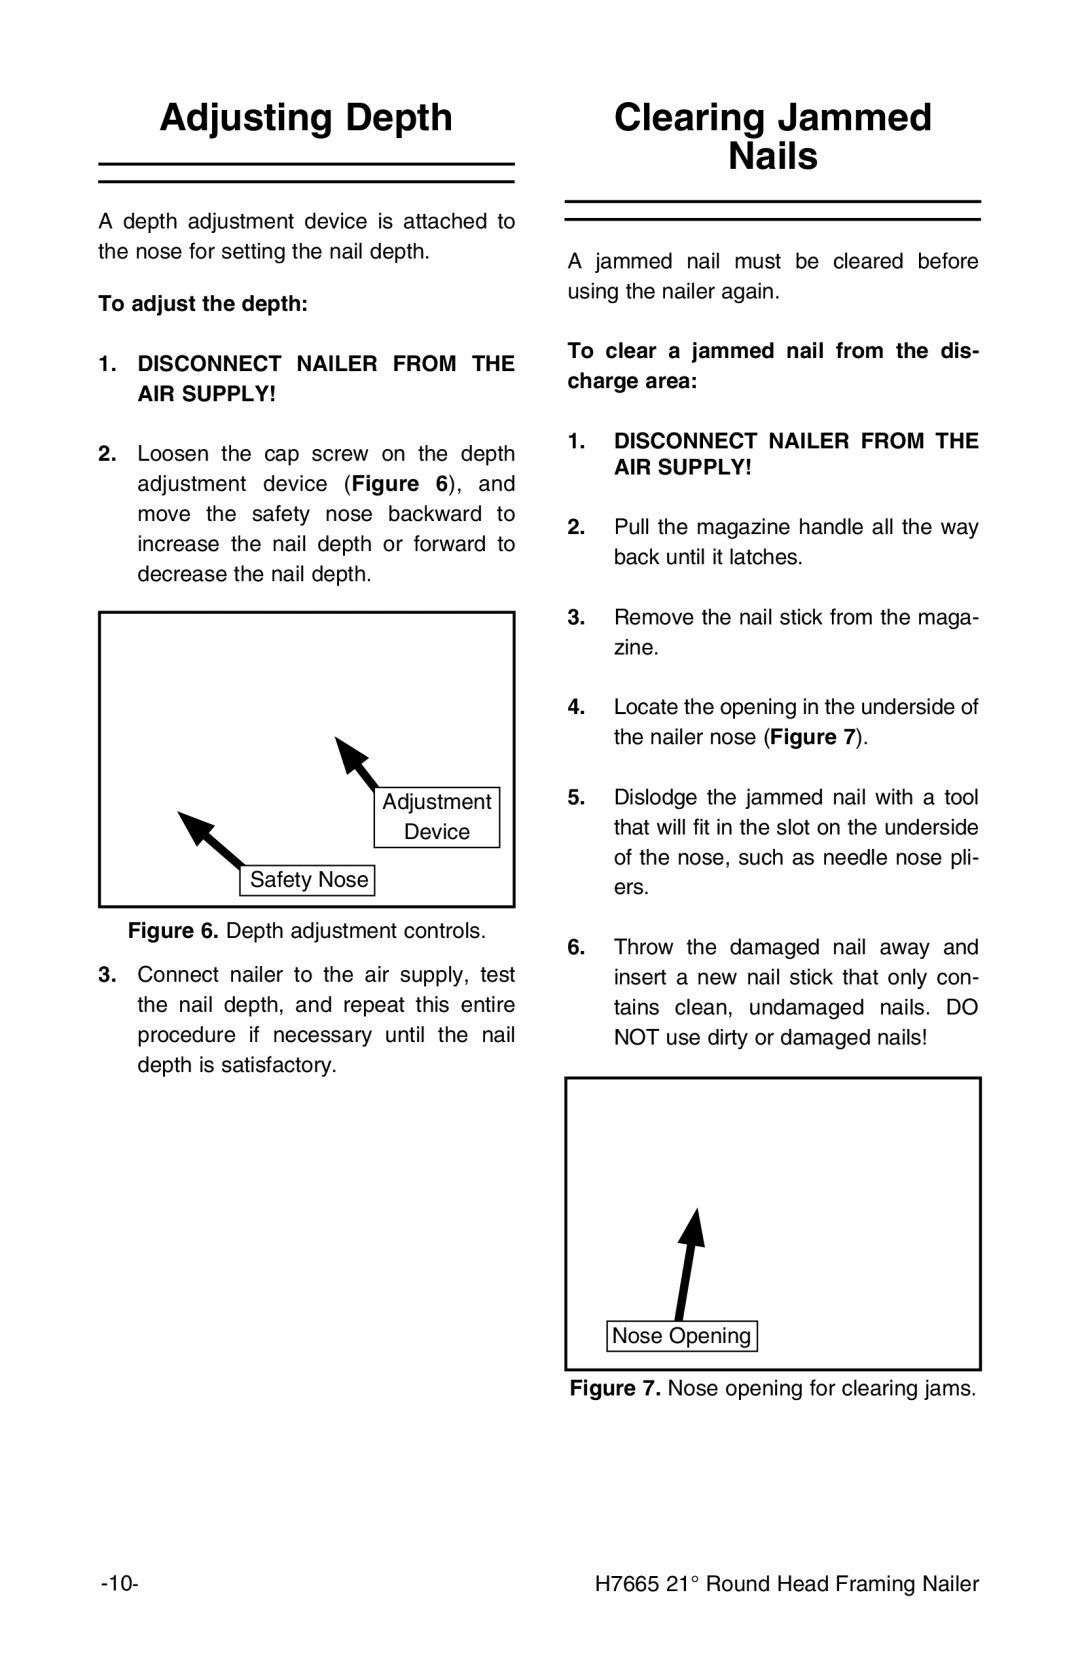
2.Loosen the cap screw on the depth adjustment device (Figure 6), and move the safety nose backward to increase the nail depth or forward to decrease the nail depth.
Adjustment |
Device |
Safety Nose |
Figure 6. Depth adjustment controls.
3.Connect nailer to the air supply, test the nail depth, and repeat this entire procedure if necessary until the nail depth is satisfactory.
Clearing Jammed
Nails
A jammed nail must be cleared before using the nailer again.
To clear a jammed nail from the dis- charge area:
1.DISCONNECT NAILER FROM THE AIR SUPPLY!
2.Pull the magazine handle all the way back until it latches.
3.Remove the nail stick from the maga- zine.
4.Locate the opening in the underside of the nailer nose (Figure 7).
5.Dislodge the jammed nail with a tool that will fit in the slot on the underside of the nose, such as needle nose pli- ers.
6.Throw the damaged nail away and insert a new nail stick that only con- tains clean, undamaged nails. DO NOT use dirty or damaged nails!
Nose Opening
Figure 7. Nose opening for clearing jams.
H7665 21° Round Head Framing Nailer |
