OPERATION
Handle Position and Switch
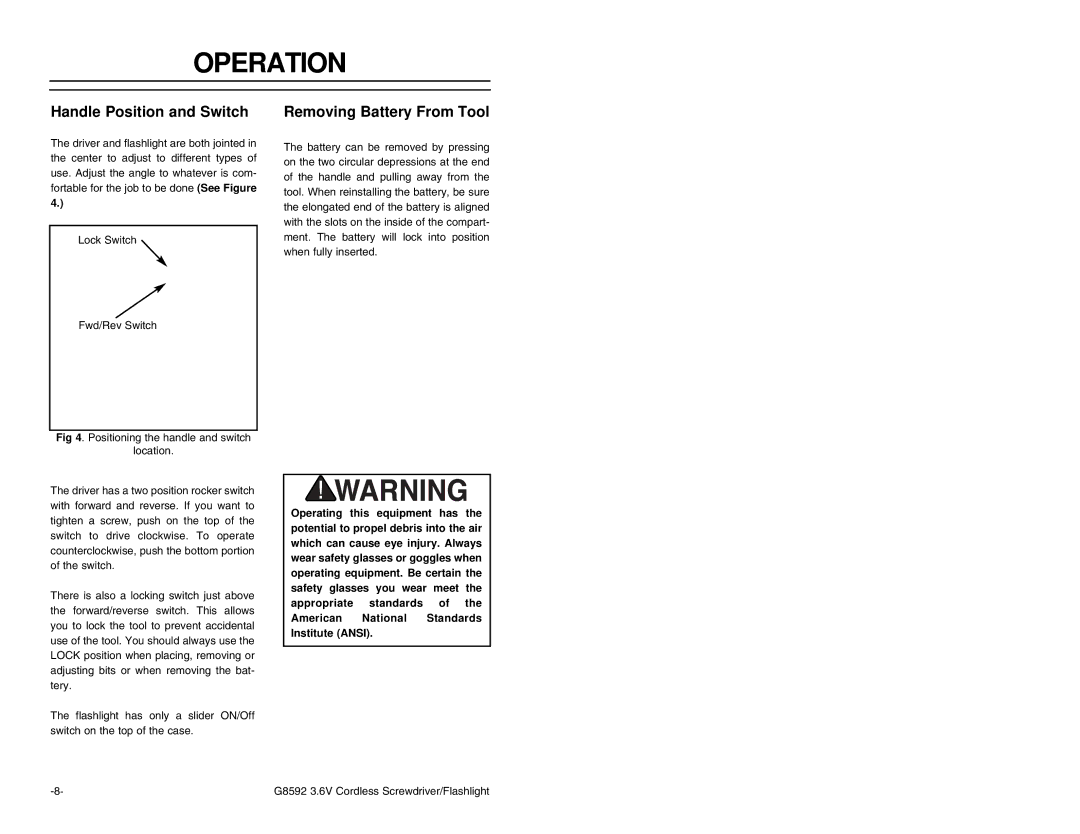
The driver and flashlight are both jointed in the center to adjust to different types of use. Adjust the angle to whatever is com- fortable for the job to be done (See Figure
4.)
Lock Switch ![]()
Fwd/Rev Switch
Fig 4. Positioning the handle and switch
location.
The driver has a two position rocker switch with forward and reverse. If you want to tighten a screw, push on the top of the switch to drive clockwise. To operate counterclockwise, push the bottom portion of the switch.
There is also a locking switch just above the forward/reverse switch. This allows you to lock the tool to prevent accidental use of the tool. You should always use the LOCK position when placing, removing or adjusting bits or when removing the bat- tery.
The flashlight has only a slider ON/Off switch on the top of the case.
Removing Battery From Tool
The battery can be removed by pressing on the two circular depressions at the end of the handle and pulling away from the tool. When reinstalling the battery, be sure the elongated end of the battery is aligned with the slots on the inside of the compart- ment. The battery will lock into position when fully inserted.
Operating this equipment has the potential to propel debris into the air which can cause eye injury. Always wear safety glasses or goggles when operating equipment. Be certain the safety glasses you wear meet the appropriate standards of the
American National Standards Institute (ANSI).
G8592 3.6V Cordless Screwdriver/Flashlight |