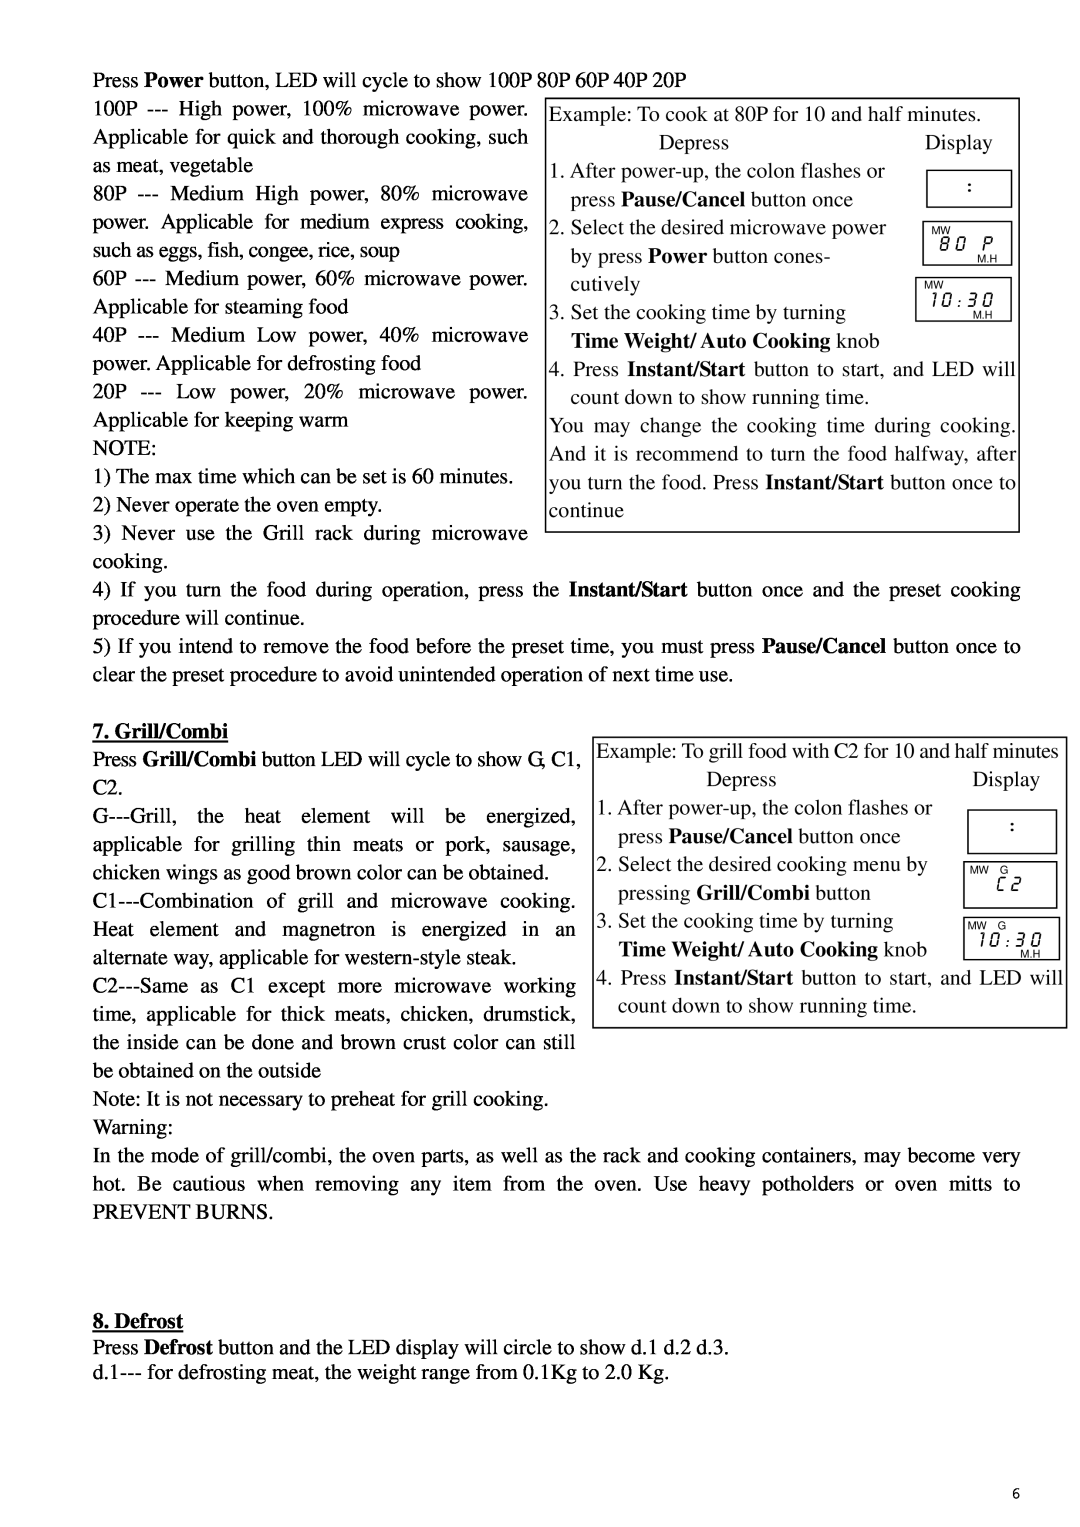
Press Power button, LED will cycle to show 100P 80P 60P 40P 20P |
|
|
| ||
100P |
|
|
|
|
|
Example: To cook at 80P for 10 and half minutes. | |||||
Applicable for quick and thorough cooking, such | Depress | Display | |||
as meat, vegetable | 1. After |
|
|
| |
| : |
| |||
80P | press Pause/Cancel button once |
|
| ||
power. Applicable for medium express cooking, | 2. Select the desired microwave power |
|
|
| |
| MW |
| |||
such as eggs, fish, congee, rice, soup | by press Power button cones- |
| 8 0 P |
| |
| M.H |
| |||
60P | cutively |
|
|
| |
| MW |
| |||
Applicable for steaming food | 3. Set the cooking time by turning |
| 1 0 : 3 0 |
| |
|
| M.H |
| ||
40P | Time Weight/ Auto Cooking knob |
|
|
| |
power. Applicable for defrosting food | 4. Press Instant/Start button to start, and LED will | ||||
20P | count down to show running time. |
|
|
| |
Applicable for keeping warm | You may change the cooking time during cooking. | ||||
NOTE: | And it is recommend to turn the food halfway, after | ||||
1) The max time which can be set is 60 minutes. | you turn the food. Press Instant/Start button once to | ||||
2) Never operate the oven empty. | continue |
|
|
| |
3)Never use the Grill rack during microwave cooking.
4)If you turn the food during operation, press the Instant/Start button once and the preset cooking procedure will continue.
5)If you intend to remove the food before the preset time, you must press Pause/Cancel button once to clear the preset procedure to avoid unintended operation of next time use.
7. Grill/Combi |
|
|
|
|
|
|
|
|
| ||
|
|
|
| Example: To grill food with C2 for 10 and half minutes | |||||||
Press Grill/Combi button LED will cycle to show G, C1, | |||||||||||
C2. |
|
|
|
|
| Depress | Display | ||||
|
|
|
|
| 1. After |
|
|
| |||
the | heat | element | will | be energized, |
|
|
| ||||
| : |
| |||||||||
applicable | for | grilling thin meats or | pork, sausage, | press Pause/Cancel button once |
|
| |||||
2. Select the desired cooking menu by |
|
|
|
| |||||||
chicken wings as good brown color can be obtained. |
|
|
|
| |||||||
| MW | G |
| ||||||||
pressing Grill/Combi button |
|
| C 2 |
| |||||||
|
|
| |||||||||
|
|
|
| ||||||||
Heat element | and | magnetron | is energized in an | 3. Set the cooking time by turning |
|
|
|
| |||
| MW | G |
| ||||||||
alternate way, applicable for | Time Weight/ Auto Cooking knob |
| 1 0 : 3 0 |
| |||||||
|
| M.H |
| ||||||||
4. Press Instant/Start button to start, and LED will | |||||||||||
as | C1 except more | microwave working | |||||||||
time, applicable for thick meats, chicken, drumstick, | count down to show running time. |
|
|
| |||||||
|
|
|
|
| |||||||
the inside can be done and brown crust color can still |
|
|
|
|
| ||||||
be obtained on the outside |
|
|
|
|
|
|
| ||||
Note: It is not necessary to preheat for grill cooking. |
|
|
|
|
| ||||||
Warning:
In the mode of grill/combi, the oven parts, as well as the rack and cooking containers, may become very hot. Be cautious when removing any item from the oven. Use heavy potholders or oven mitts to
PREVENT BURNS.
8. Defrost
Press Defrost button and the LED display will circle to show d.1 d.2 d.3.
6
