Step 2: Charge the Batteries
There are two types of battery power: the main battery pack and the backup battery located inside the terminal. The main battery pack powers the terminal and charges the internal backup battery.
Dolphin terminals ship with both batteries discharged of power. Charge the main battery pack for a minimum of four hours before initial use!
!provided by Hand Held Products. Use of peripherals or cables not sold/manufactured by Hand Held Products will void the warranty and may damage the terminal.Use a Dolphin 7900 peripheral and the power cables
See page 5 for a complete list of Dolphin peripherals.
Note: Additional charge time is required to fully charge the internal backup battery the first time.
Step 3: Initialize the Dolphin Terminal
Dolphin HomeBase
Note: Do NOT press any keys while the terminal is initializing!
1.Apply power to the Dolphin terminal. The screen turns white and the LEDs flash as the system performs a hard reset.
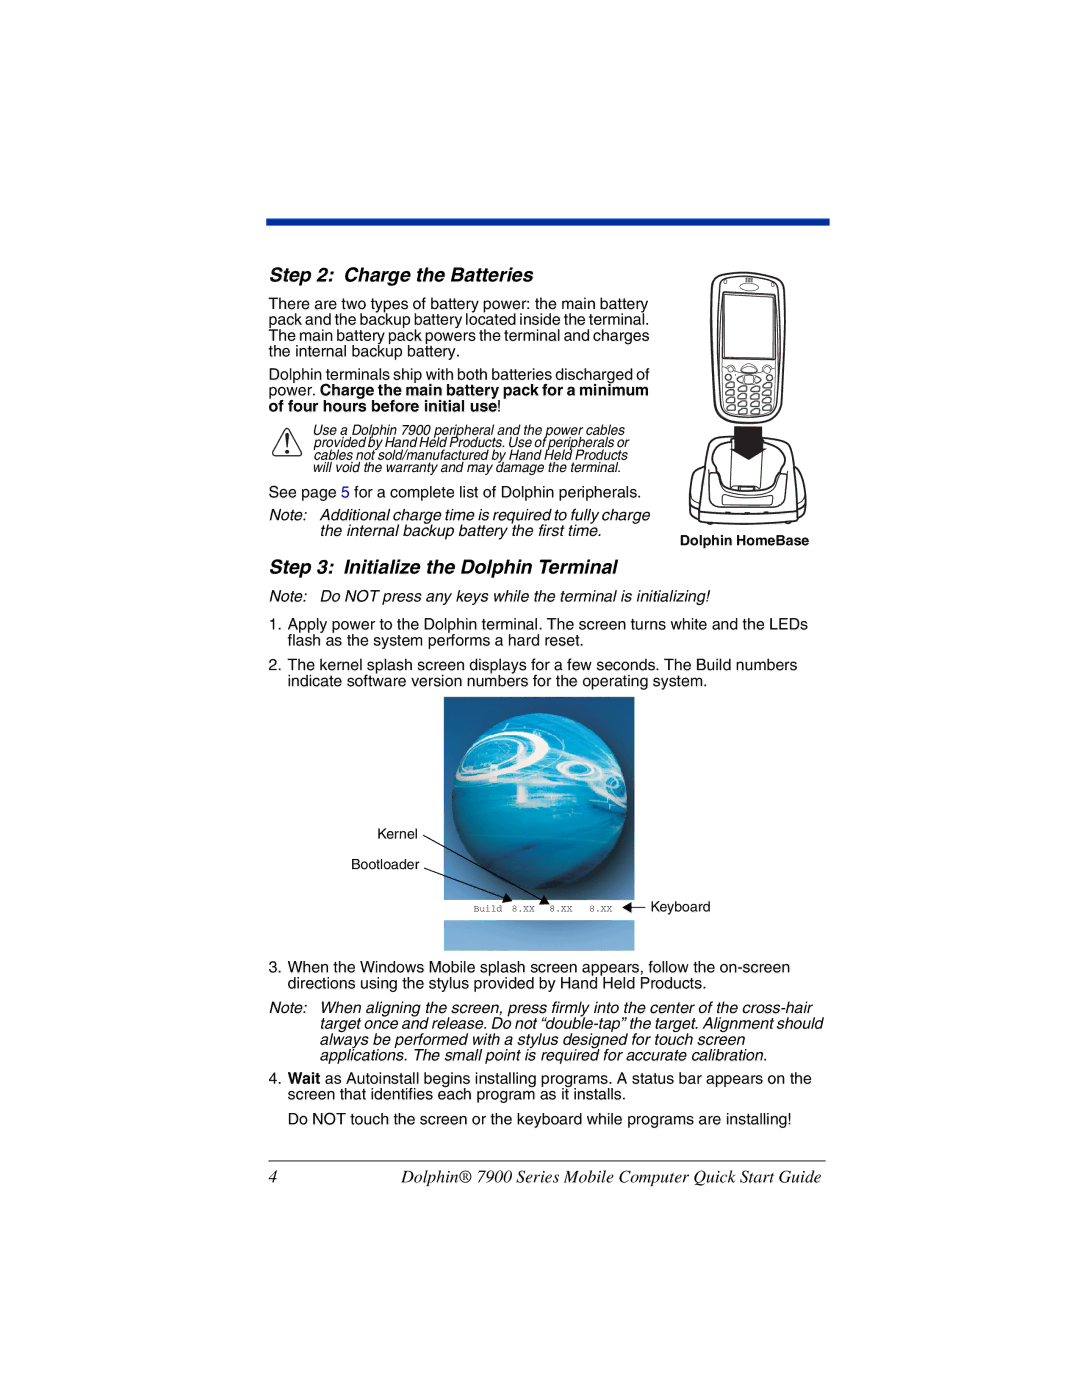
2.The kernel splash screen displays for a few seconds. The Build numbers indicate software version numbers for the operating system.
Kernel
Bootloader
Build 8.XX 8.XX 8.XX ![]()
![]() Keyboard
Keyboard
3.When the Windows Mobile splash screen appears, follow the
Note: When aligning the screen, press firmly into the center of the
4.Wait as Autoinstall begins installing programs. A status bar appears on the screen that identifies each program as it installs.
Do NOT touch the screen or the keyboard while programs are installing!
4 | Dolphin® 7900 Series Mobile Computer Quick Start Guide |
