User’s Manual
|
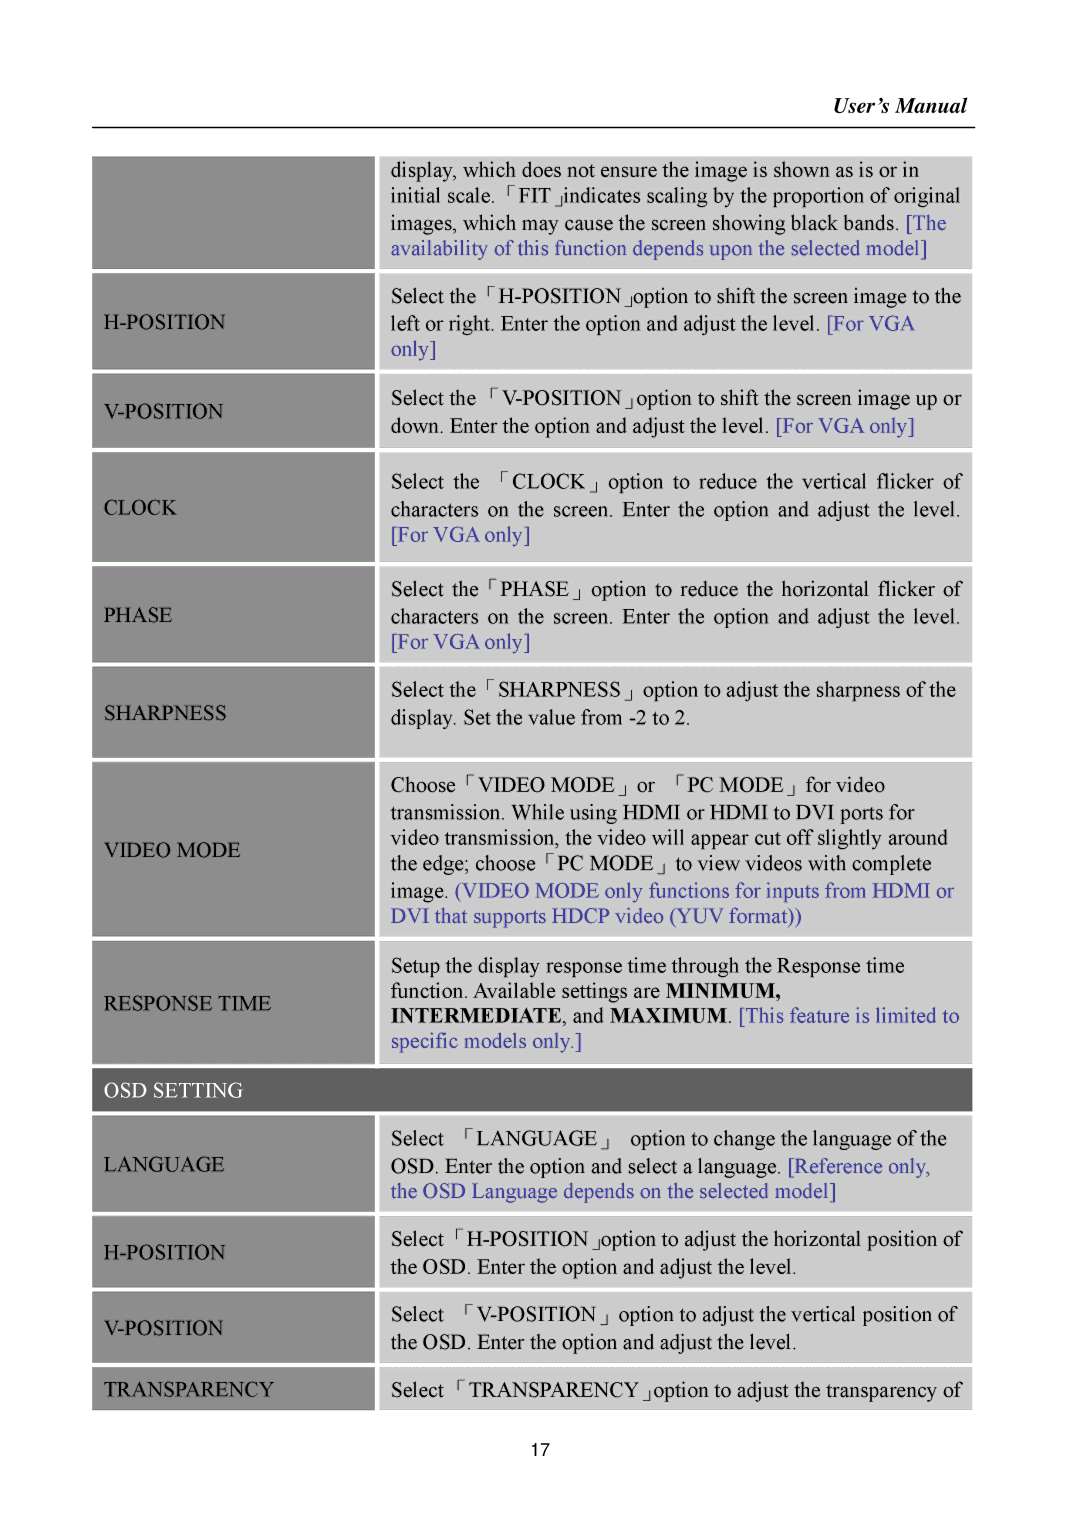
| display, which does not ensure the image is shown as is or in |
|
| initial scale.「FIT」indicates scaling by the proportion of original |
|
| images, which may cause the screen showing black bands. [The |
|
| availability of this function depends upon the selected model] |
|
|
|
|
|
|
|
| Select |
| left or right. Enter the option and adjust the level. [For VGA | |
|
| only] |
|
|
|
|
|
|
| Select the | |
| down. Enter the option and adjust the level. [For VGA only] | |
|
| |
|
|
|
|
|
|
CLOCK |
| Select the 「CLOCK」option to reduce the vertical flicker of |
| characters on the screen. Enter the option and adjust the level. | |
|
| [For VGA only] |
|
|
|
|
|
|
PHASE |
| Select the「PHASE」option to reduce the horizontal flicker of |
| characters on the screen. Enter the option and adjust the level. | |
|
| [For VGA only] |
|
|
|
|
|
|
SHARPNESS |
| Select the「SHARPNESS」option to adjust the sharpness of the |
| display. Set the value from | |
|
|
|
|
|
|
|
| Choose「VIDEO MODE」or 「PC MODE」for video |
|
| transmission. While using HDMI or HDMI to DVI ports for |
VIDEO MODE |
| video transmission, the video will appear cut off slightly around |
| the edge; choose「PC MODE」to view videos with complete | |
|
| |
|
| image. (VIDEO MODE only functions for inputs from HDMI or |
|
| DVI that supports HDCP video (YUV format)) |
|
|
|
|
|
|
|
| Setup the display response time through the Response time |
RESPONSE TIME |
| function. Available settings are MINIMUM, |
| INTERMEDIATE, and MAXIMUM. [This feature is limited to | |
|
| |
|
| specific models only.] |
|
|
|
|
| |
OSD SETTING |
| |
|
|
|
|
|
|
|
| Select 「LANGUAGE」 option to change the language of the |
LANGUAGE
H-POSITION
V-POSITION TRANSPARENCY
OSD. Enter the option and select a language. [Reference only, the OSD Language depends on the selected model]
Select
Select 「TRANSPARENCY」option to adjust the transparency of
17
