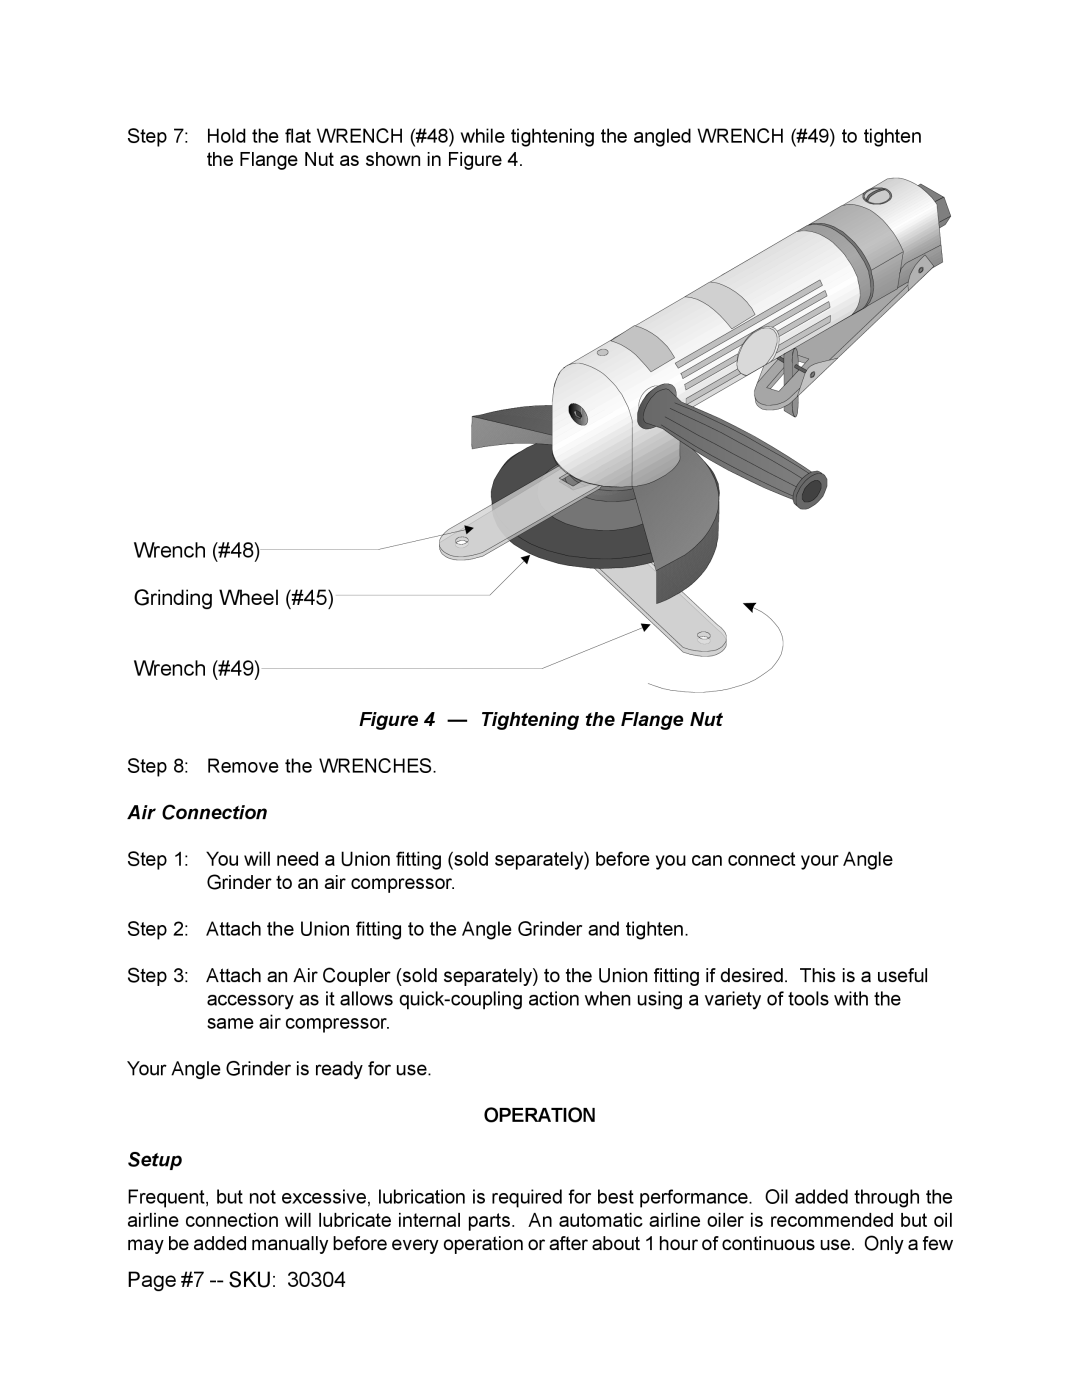
Step 7: Hold the flat WRENCH (#48) while tightening the angled WRENCH (#49) to tighten the Flange Nut as shown in Figure 4.
Wrench (#48)
Grinding Wheel (#45)
Wrench (#49)
Figure 4 — Tightening the Flange Nut
Step 8: Remove the WRENCHES.
Air Connection
Step 1: You will need a Union fitting (sold separately) before you can connect your Angle Grinder to an air compressor.
Step 2: Attach the Union fitting to the Angle Grinder and tighten.
Step 3: Attach an Air Coupler (sold separately) to the Union fitting if desired. This is a useful accessory as it allows
Your Angle Grinder is ready for use.
OPERATION
Setup
Frequent, but not excessive, lubrication is required for best performance. Oil added through the airline connection will lubricate internal parts. An automatic airline oiler is recommended but oil may be added manually before every operation or after about 1 hour of continuous use. Only a few