Preparation for Pipe Threading
Your Portable Threading Machine comes fully assembled but will require insertion of the Die prior to operation.
It is important that your read the entire manual to become familiar with the unit BEFORE you use it. Be sure that you have all parts described in the Parts List. To help you with assembly, please refer to the assembly diagram on page 7 and the parts list on page 6.
Step 1) | Determine the size of the pipe to be threaded. |
Step 2) | Select the appropriate die to be used. Four different Dies are included with the Threading Machine. |
| The Dies are the following sizes: 1/2", 3/4", 1", and |
| standard schedule 40 and schedule 80 steel pipe. |
Step 3) | Insert the die into the Worm Gear (7) of the Machine. The dies will fits into the Worm Gear either |
| from the left or the right side of the tool. Make sure that the die is held in place by the Retaining |
| Ring (8) before proceeding. The Machine is pressure fitted so once the die is inserted properly, it |
| may require light tapping with a wooden mallet to remove the die. |
Step 4) | Verify that the oil can is filled with oil and ready to be used during the threading operation. |
Step 5) | The Pipe Clamp (29) should always be used to secure and support the pipe during the threading |
| operation. The round Clamp extension should parallel the pipe. |
Step 6) | Located in front of the ON/OFF trigger switch is a Forward/Reverse switch which determines the |
| direction of the threading operation. With the Machine held in the right hand: |
| Switch in right position = Clockwise rotation |
| Switch in left position = Counterclockwise rotation |
Operation
Now that the proper die is installed, you are ready to insert the pipe, secure it, and begin cutting threads.
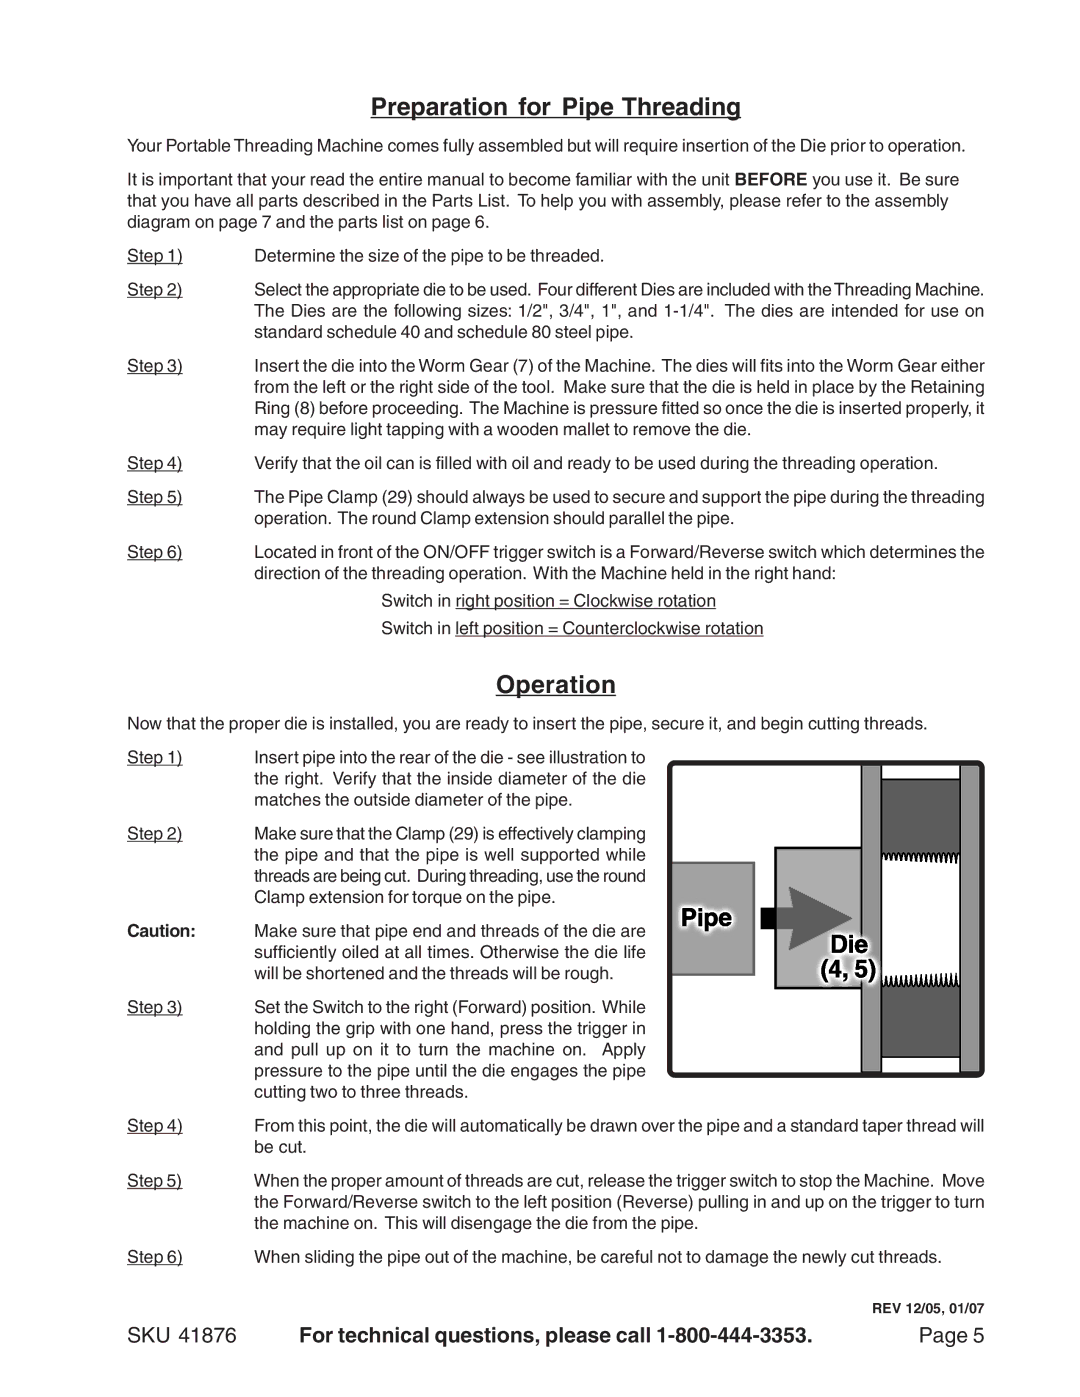
Step 1) | Insert pipe into the rear of the die - see illustration to |
| the right. Verify that the inside diameter of the die |
| matches the outside diameter of the pipe. |
Step 2) | Make sure that the Clamp (29) is effectively clamping |
| the pipe and that the pipe is well supported while |
| threads are being cut. During threading, use the round |
| Clamp extension for torque on the pipe. |
Caution: | Make sure that pipe end and threads of the die are |
| sufficiently oiled at all times. Otherwise the die life |
| will be shortened and the threads will be rough. |
Step 3) | Set the Switch to the right (Forward) position. While |
| holding the grip with one hand, press the trigger in |
| and pull up on it to turn the machine on. Apply |
| pressure to the pipe until the die engages the pipe |
| cutting two to three threads. |
Step 4) | From this point, the die will automatically be drawn over the pipe and a standard taper thread will |
| be cut. |
Step 5) | When the proper amount of threads are cut, release the trigger switch to stop the Machine. Move |
| the Forward/Reverse switch to the left position (Reverse) pulling in and up on the trigger to turn |
| the machine on. This will disengage the die from the pipe. |
Step 6) | When sliding the pipe out of the machine, be careful not to damage the newly cut threads. |
| REV 12/05, 01/07 |
SKU 41876 | For technical questions, please call | Page 5 |