BASIC OPERATION
For reference numbers mentioned in these instructions, please see page 5.
WARNING: Unplug the drill from its power source before changing bits or attempting any repairs, adjustments or maintenance.
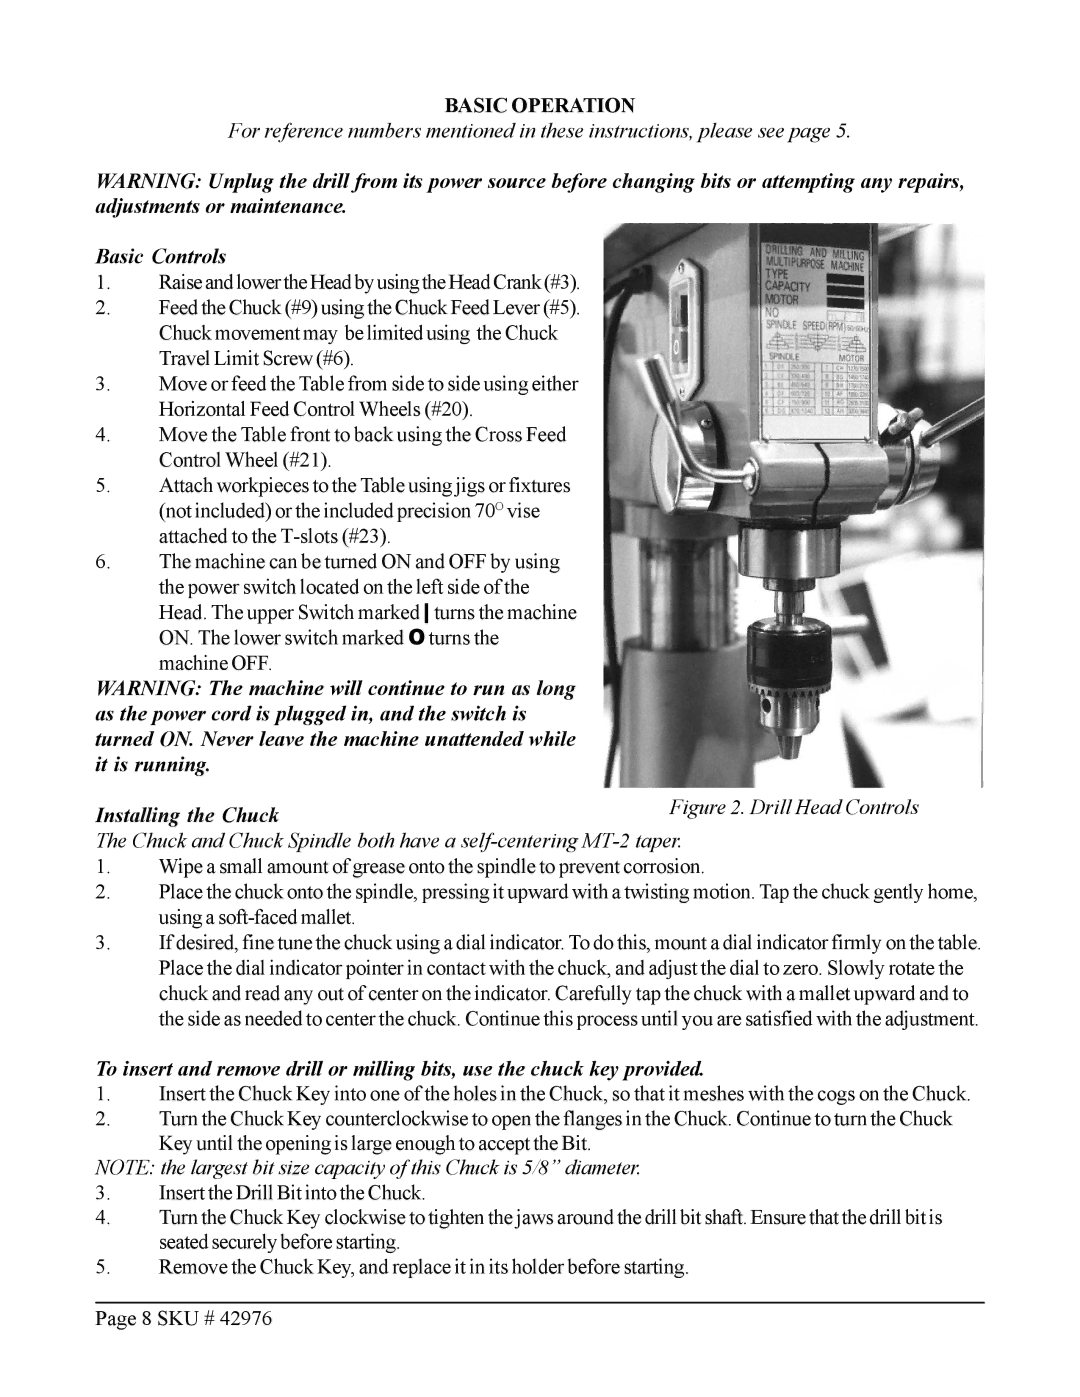
Basic Controls
1.Raise and lower the Head by using the Head Crank (#3).
2.Feed the Chuck (#9) using the Chuck Feed Lever (#5). Chuck movement may be limited using the Chuck Travel Limit Screw (#6).
3.Move or feed the Table from side to side using either Horizontal Feed Control Wheels (#20).
4.Move the Table front to back using the Cross Feed Control Wheel (#21).
5.Attach workpieces to the Table using jigs or fixtures (not included) or the included precision 70O vise attached to the
6.The machine can be turned ON and OFF by using the power switch located on the left side of the
Head. The upper Switch marked turns the machine ON. The lower switch marked O turns the machine OFF.
WARNING: The machine will continue to run as long as the power cord is plugged in, and the switch is turned ON. Never leave the machine unattended while it is running.
Installing the Chuck
The Chuck and Chuck Spindle both have a
1.Wipe a small amount of grease onto the spindle to prevent corrosion.
2.Place the chuck onto the spindle, pressing it upward with a twisting motion. Tap the chuck gently home, using a
3.If desired, fine tune the chuck using a dial indicator. To do this, mount a dial indicator firmly on the table. Place the dial indicator pointer in contact with the chuck, and adjust the dial to zero. Slowly rotate the chuck and read any out of center on the indicator. Carefully tap the chuck with a mallet upward and to the side as needed to center the chuck. Continue this process until you are satisfied with the adjustment.
To insert and remove drill or milling bits, use the chuck key provided.
1.Insert the Chuck Key into one of the holes in the Chuck, so that it meshes with the cogs on the Chuck.
2.Turn the Chuck Key counterclockwise to open the flanges in the Chuck. Continue to turn the Chuck Key until the opening is large enough to accept the Bit.
NOTE: the largest bit size capacity of this Chuck is 5/8” diameter.
3.Insert the Drill Bit into the Chuck.
4.Turn the Chuck Key clockwise to tighten the jaws around the drill bit shaft. Ensure that the drill bit is seated securely before starting.
5.Remove the Chuck Key, and replace it in its holder before starting.
Page 8 SKU # 42976
