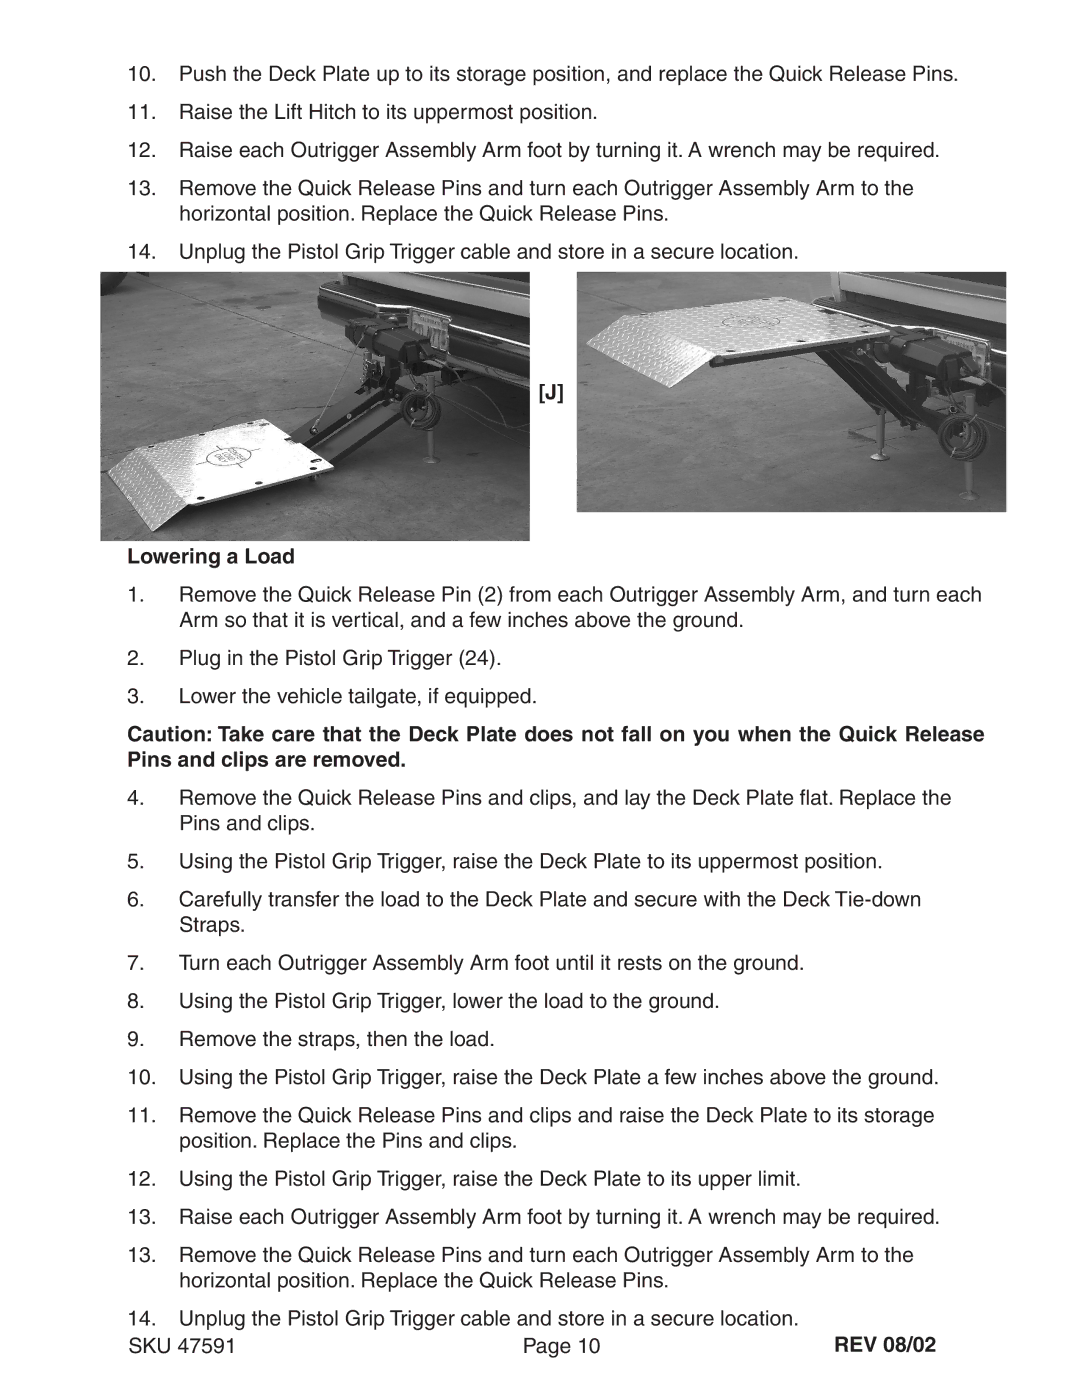
10.Push the Deck Plate up to its storage position, and replace the Quick Release Pins.
11.Raise the Lift Hitch to its uppermost position.
12.Raise each Outrigger Assembly Arm foot by turning it. A wrench may be required.
13.Remove the Quick Release Pins and turn each Outrigger Assembly Arm to the horizontal position. Replace the Quick Release Pins.
14.Unplug the Pistol Grip Trigger cable and store in a secure location.
[J]
Lowering a Load
1.Remove the Quick Release Pin (2) from each Outrigger Assembly Arm, and turn each Arm so that it is vertical, and a few inches above the ground.
2.Plug in the Pistol Grip Trigger (24).
3.Lower the vehicle tailgate, if equipped.
Caution: Take care that the Deck Plate does not fall on you when the Quick Release Pins and clips are removed.
4.Remove the Quick Release Pins and clips, and lay the Deck Plate flat. Replace the Pins and clips.
5.Using the Pistol Grip Trigger, raise the Deck Plate to its uppermost position.
6.Carefully transfer the load to the Deck Plate and secure with the Deck
7.Turn each Outrigger Assembly Arm foot until it rests on the ground.
8.Using the Pistol Grip Trigger, lower the load to the ground.
9.Remove the straps, then the load.
10.Using the Pistol Grip Trigger, raise the Deck Plate a few inches above the ground.
11.Remove the Quick Release Pins and clips and raise the Deck Plate to its storage position. Replace the Pins and clips.
12.Using the Pistol Grip Trigger, raise the Deck Plate to its upper limit.
13.Raise each Outrigger Assembly Arm foot by turning it. A wrench may be required.
13.Remove the Quick Release Pins and turn each Outrigger Assembly Arm to the horizontal position. Replace the Quick Release Pins.
14.Unplug the Pistol Grip Trigger cable and store in a secure location.
SKU 47591 | Page 10 | REV 08/02 |
