Work Area Set-Up

1.Verify that work area has adequate lighting for the job.

2.Make sure work area is free of flammable liquids, vapors or dust that may ignite. Sparks can be generated during Drain Cleaner operation.

Do not work in area until these sources of ignition have been identified and corrected.

3.Choose a firm, stable location for the machine and operator that will remain relatively dry.

Do not use the machine while standing in water. If needed, remove the water from the work area.

4.Verify the electrical outlet is properly grounded. A three-prong or GFCI outlet may not be properly grounded. If in doubt, have outlet inspected by a licensed electrician.

5.Make sure there is a clear, unobstructed path from the Drain Cleaner to the electrical outlet.

6.Inspect the drain to be cleaned. If possible, determine the best access point(s) to the drain, the size(s) and length(s) of the drain, distance to tanks or mainlines, the nature of the blockage, presence of drain cleaning chemicals or other chemicals, etc.

7.If there are chemicals present in the drain, read and adhere to the specific safety measures required to work around those chemicals. Contact the chemical manufacturer for required safety instructions and information.

8.If necessary, remove fixture (toilet, sink, etc.) to allow access to the drain. Do not feed the cable through a fixture. This could damage

the Drain Cleaner and the fixture.

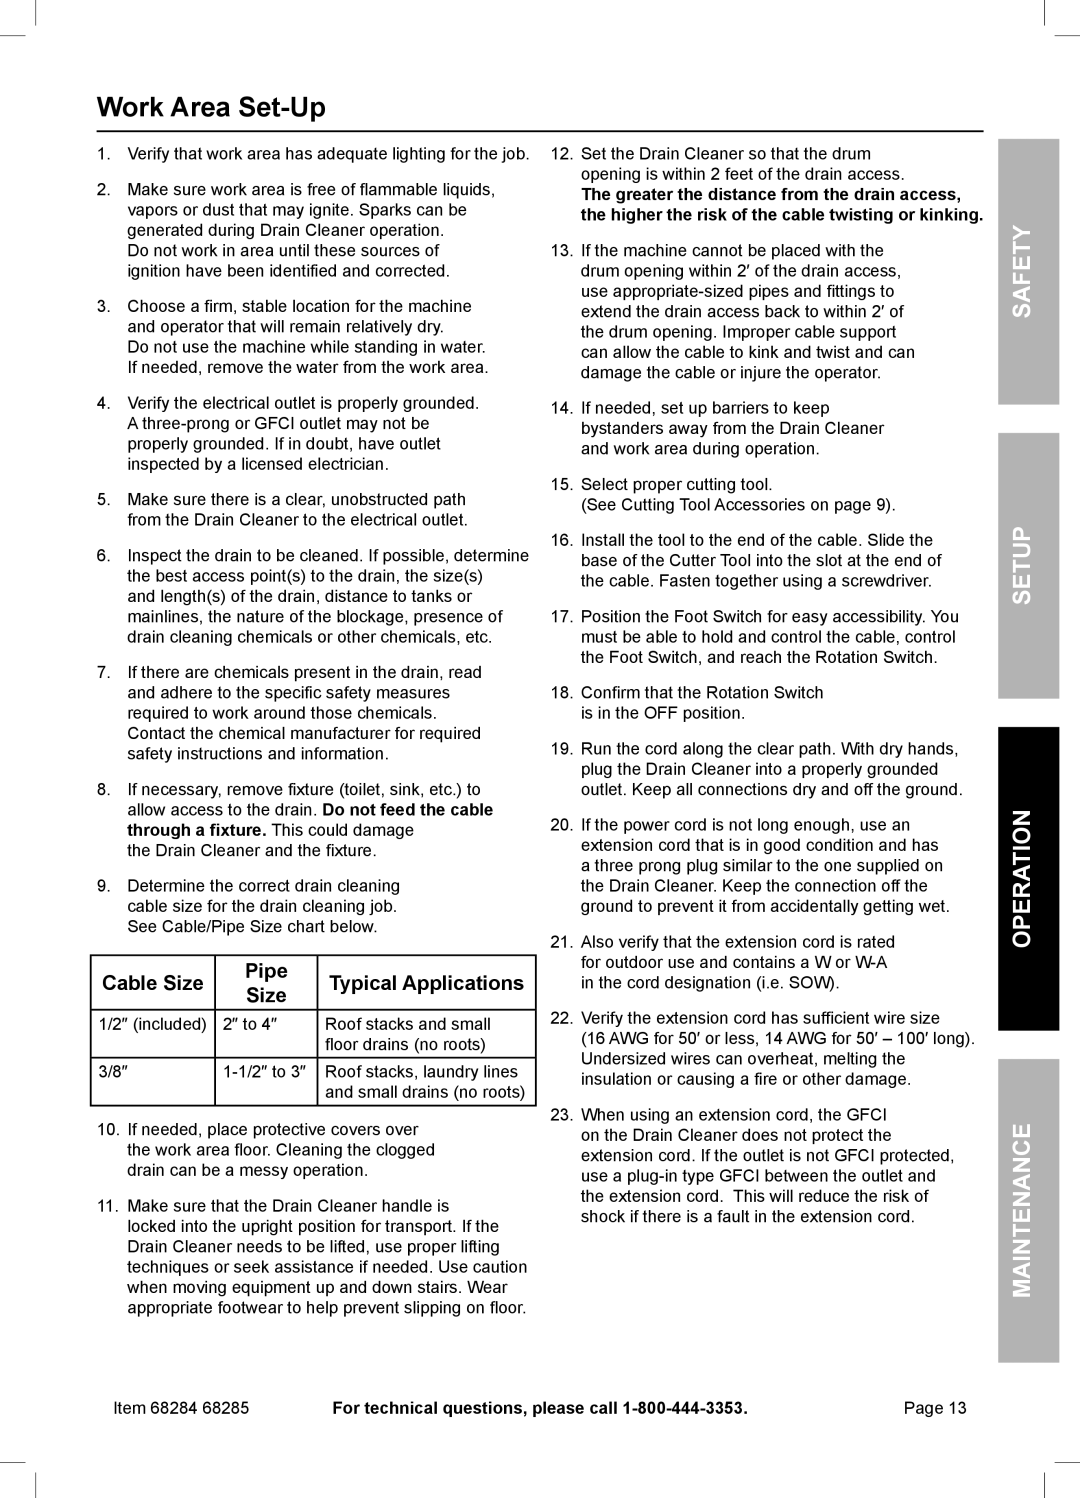
9.Determine the correct drain cleaning cable size for the drain cleaning job. See Cable/Pipe Size chart below.

Cable Size

Pipe

Typical Applications

Size


1/2″ (included)

2″ to 4″

Roof stacks and small


floor drains (no roots)

3/8″

1-1/2″ to 3″

Roof stacks, laundry lines


and small drains (no roots)

10.If needed, place protective covers over the work area floor. Cleaning the clogged drain can be a messy operation.

11.Make sure that the Drain Cleaner handle is locked into the upright position for transport. If the Drain Cleaner needs to be lifted, use proper lifting techniques or seek assistance if needed. Use caution when moving equipment up and down stairs. Wear appropriate footwear to help prevent slipping on floor.

12.Set the Drain Cleaner so that the drum opening is within 2 feet of the drain access.

The greater the distance from the drain access, the higher the risk of the cable twisting or kinking.

13.If the machine cannot be placed with the drum opening within 2′ of the drain access, use appropriate-sized pipes and fittings to extend the drain access back to within 2′ of the drum opening. Improper cable support can allow the cable to kink and twist and can damage the cable or injure the operator.

14.If needed, set up barriers to keep bystanders away from the Drain Cleaner and work area during operation.

15.Select proper cutting tool.

(See Cutting Tool Accessories on page 9).

16.Install the tool to the end of the cable. Slide the base of the Cutter Tool into the slot at the end of the cable. Fasten together using a screwdriver.

17.Position the Foot Switch for easy accessibility. You must be able to hold and control the cable, control the Foot Switch, and reach the Rotation Switch.

18.Confirm that the Rotation Switch is in the OFF position.

19.Run the cord along the clear path. With dry hands, plug the Drain Cleaner into a properly grounded outlet. Keep all connections dry and off the ground.

20.If the power cord is not long enough, use an extension cord that is in good condition and has a three prong plug similar to the one supplied on the Drain Cleaner. Keep the connection off the ground to prevent it from accidentally getting wet.

21.Also verify that the extension cord is rated for outdoor use and contains a W or W-A in the cord designation (i.e. SOW).

22.Verify the extension cord has sufficient wire size

(16 AWG for 50′ or less, 14 AWG for 50′ – 100′ long).

Undersized wires can overheat, melting the insulation or causing a fire or other damage.

23.When using an extension cord, the GFCI on the Drain Cleaner does not protect the extension cord. If the outlet is not GFCI protected, use a plug‑in type GFCI between the outlet and the extension cord. This will reduce the risk of shock if there is a fault in the extension cord.

SAFETY

SETUP

OPERATION

MAINTENANCE

Item 68284 68285

For technical questions, please call 1-800-444-3353.

Page 13

Page 13
Image 13
Harbor Freight Tools 68284, 68285 owner manual Work Area Set-Up, Cable Size Pipe Typical Applications

68284, 68285 specifications

Harbor Freight Tools, a prominent discount tool retailer in the United States, offers a wide range of tools and equipment for both DIY enthusiasts and professionals. Among its extensive product lineup, two notable items are the Harbor Freight Tools model 68285 and model 68284. These tools feature advanced technologies and characteristics that cater to various user needs.

The Harbor Freight Tools 68285 is a multi-tool that stands out for its versatility and function. It's designed with a powerful motor, making it efficient in performing tasks ranging from cutting to sanding. This model features a variable speed control, allowing users to adjust the speed according to the material and task at hand. The oscillating tool design enables precision work in tight spaces, making it an ideal choice for intricate cuts or detailed designs. Its ergonomic handle provides comfort during prolonged use, reducing fatigue and enhancing control.

On the other hand, the Harbor Freight Tools 68284 represents a high-performance oscillating tool. This model emphasizes user-friendly features, including easy blade changes without the need for additional tools. The 68284 is equipped with a powerful motor, ensuring that it can handle heavy-duty applications efficiently. It also includes various attachments to enhance capabilities, such as sanding pads, blades for cutting wood and metal, and scraping tools, which makes it a complete solution for a range of projects.

Both models incorporate advanced technologies that enhance their usability. They are designed with durable construction, ensuring longevity even under rigorous use. The 68285 and 68284 models both feature a compact design, promoting ease of storage and transport.

In terms of safety, these tools come equipped with protective features to minimize the risk of accidents. The soft grip handles are engineered for maximum comfort, while the robust power systems provide reliable performance. These aspects make them suitable for both novice users and seasoned professionals tackling everyday tasks or specialized projects.

Ultimately, the Harbor Freight Tools 68285 and 68284 models exemplify the brand's commitment to quality and affordability. By combining innovative designs and practical features, they provide users with reliable tools that meet a variety of needs, making them valuable additions to any toolkit. Whether used in a home workshop or a professional setting, these tools are built to deliver exceptional performance and versatility.