Closing your right eye, view the object through your left eye. To make fine changes, turn the left Eyepiece until the object appears in clear
Using the Camera
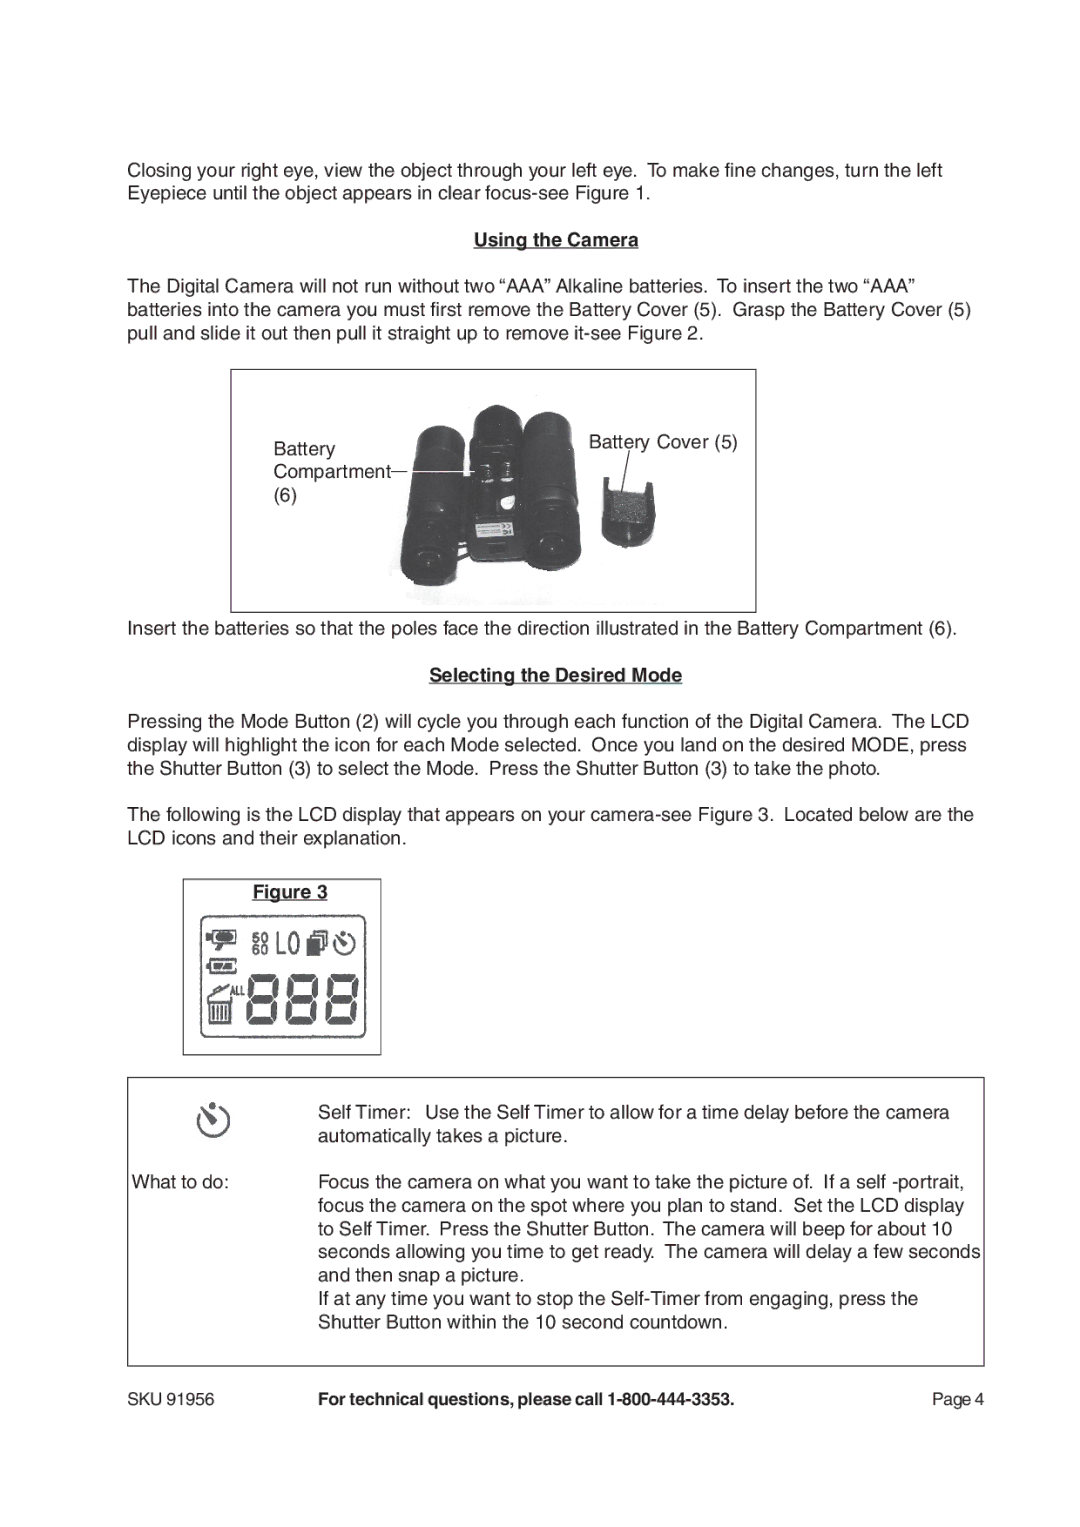
The Digital Camera will not run without two “AAA” Alkaline batteries. To insert the two “AAA” batteries into the camera you must first remove the Battery Cover (5). Grasp the Battery Cover (5) pull and slide it out then pull it straight up to remove
Battery |
| Battery Cover (5) |
|
| |
Compartment |
|
|
|
| |
(6) |
|
|
Insert the batteries so that the poles face the direction illustrated in the Battery Compartment (6).
Selecting the Desired Mode
Pressing the Mode Button (2) will cycle you through each function of the Digital Camera. The LCD display will highlight the icon for each Mode selected. Once you land on the desired MODE, press the Shutter Button (3) to select the Mode. Press the Shutter Button (3) to take the photo.
The following is the LCD display that appears on your
Figure 3
| Self Timer: Use the Self Timer to allow for a time delay before the camera |
| automatically takes a picture. |
What to do: | Focus the camera on what you want to take the picture of. If a self |
| focus the camera on the spot where you plan to stand. Set the LCD display |
| to Self Timer. Press the Shutter Button. The camera will beep for about 10 |
| seconds allowing you time to get ready. The camera will delay a few seconds |
| and then snap a picture. |
| If at any time you want to stop the |
| Shutter Button within the 10 second countdown. |
|
|
SKU 91956 | For technical questions, please call | Page 4 |