Unpacking
When unpacking your Stapler, check to make sure that it is intact and undamaged. If it is damaged or broken, please call HARBOR FREIGHT TOOLS at
Assembly
Your Stapler comes completely assembled. You will have to add standard 1/4” Leg Staples (not included). The Stapler must be unplugged before adding staples. It is important that you read the entire manual to become familiar with the product BEFORE you operate the Stapler.
1.Make certain that the Stapler is unplugged before loading staples into the Staple Channel (2).
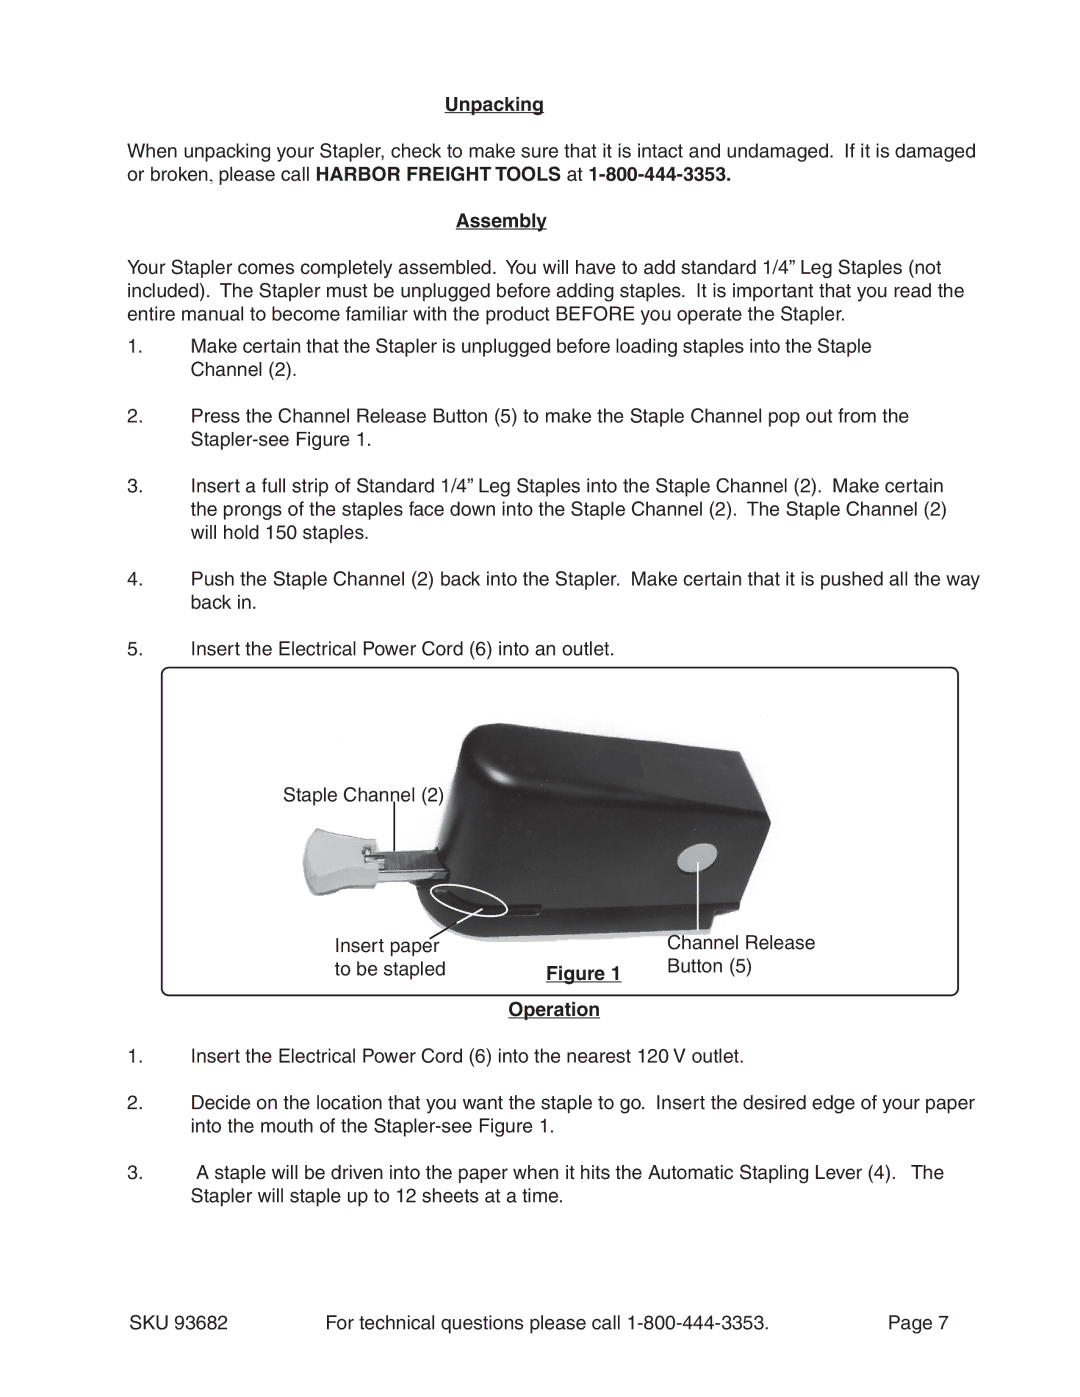
2.Press the Channel Release Button (5) to make the Staple Channel pop out from the
3.Insert a full strip of Standard 1/4” Leg Staples into the Staple Channel (2). Make certain the prongs of the staples face down into the Staple Channel (2). The Staple Channel (2) will hold 150 staples.
4.Push the Staple Channel (2) back into the Stapler. Make certain that it is pushed all the way back in.
5.Insert the Electrical Power Cord (6) into an outlet.
Staple Channel (2)
Insert paper |
| Channel Release |
to be stapled | Figure 1 | Button (5) |
| Operation |
|
1.Insert the Electrical Power Cord (6) into the nearest 120 V outlet.
2.Decide on the location that you want the staple to go. Insert the desired edge of your paper into the mouth of the
3.A staple will be driven into the paper when it hits the Automatic Stapling Lever (4). The Stapler will staple up to 12 sheets at a time.
SKU 93682 | For technical questions please call | Page 7 |
