CHARGING BATTERY
NOTE: Refer to page 18, Figure 3 to help identify parts discussed below. Use the part numbers in the Parts List on page 21 and shown on the Assembly Diagram on page 22 to identify and order replacement parts.
NOTE: The Battery does not come charged from the factory. Charge before using. Charging room temperature: 50° F - 104° F.
1.Plug the Charger Base (O) into a wall socket. Note: The Charger Base (O) has both an ON red light, and an OFF green light.
2.When the Charger Base (O) is plugged into a wall socket, the RED light will come on and stay on steadily. This shows that all circuitry is working properly and the Charger Base is ready to charge.
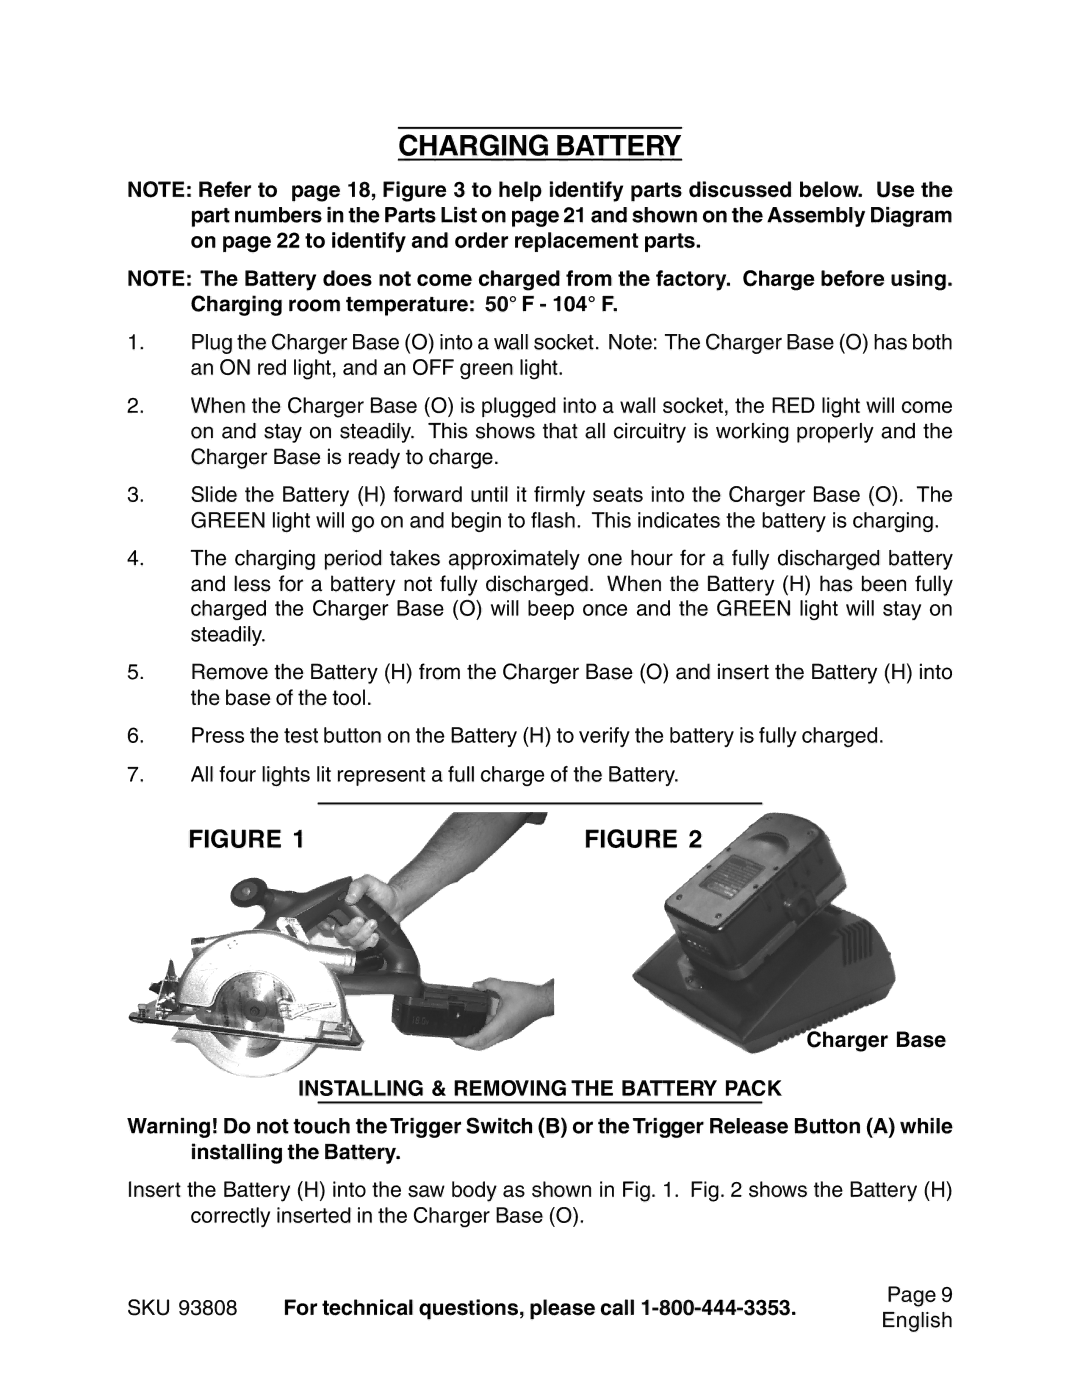
3.Slide the Battery (H) forward until it firmly seats into the Charger Base (O). The GREEN light will go on and begin to flash. This indicates the battery is charging.
4.The charging period takes approximately one hour for a fully discharged battery and less for a battery not fully discharged. When the Battery (H) has been fully charged the Charger Base (O) will beep once and the GREEN light will stay on steadily.
5.Remove the Battery (H) from the Charger Base (O) and insert the Battery (H) into the base of the tool.
6.Press the test button on the Battery (H) to verify the battery is fully charged.
7.All four lights lit represent a full charge of the Battery.
FIGURE 1 | FIGURE 2 |
Charger Base
INSTALLING & REMOVING THE BATTERY PACK
Warning! Do not touch the Trigger Switch (B) or the Trigger Release Button (A) while installing the Battery.
Insert the Battery (H) into the saw body as shown in Fig. 1. Fig. 2 shows the Battery (H) correctly inserted in the Charger Base (O).
SKU 93808 For technical questions, please call
Page 9
English
