5.Place Rubber Cap (5) on the Handle and tighten Bolt (6) into the Right Cap
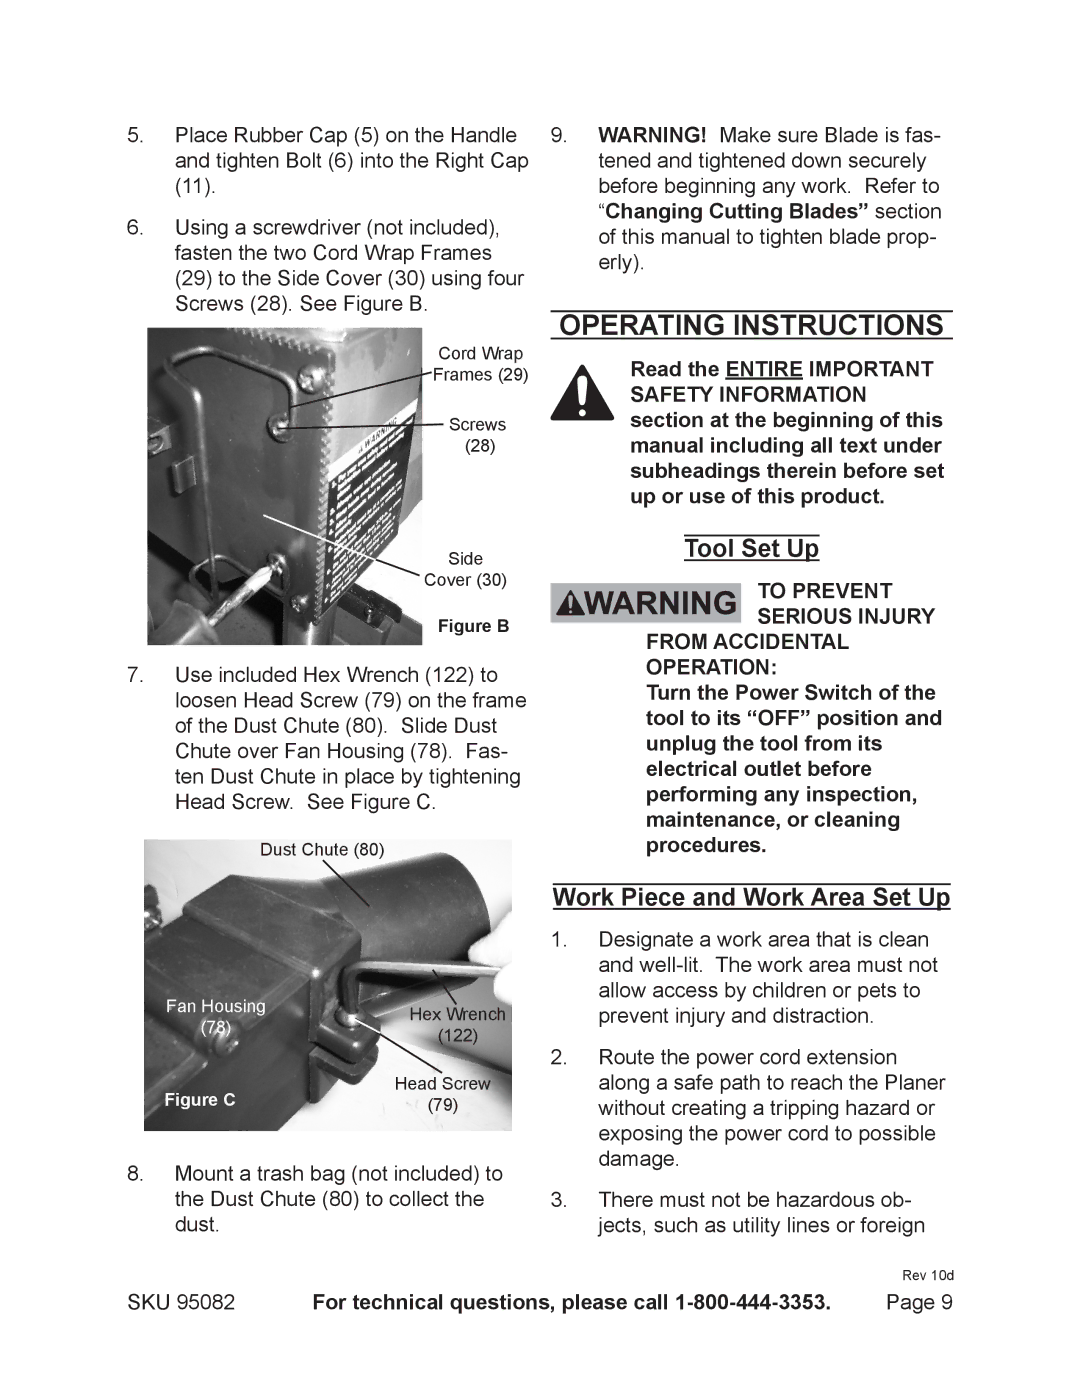
6.Using a screwdriver (not included), fasten the two Cord Wrap Frames
(29)to the Side Cover (30) using four Screws (28). See Figure B.
Cord Wrap
![]() Frames (29)
Frames (29)
![]() Screws
Screws
(28)
Side
Cover (30)
Figure B
7.Use included Hex Wrench (122) to loosen Head Screw (79) on the frame of the Dust Chute (80). Slide Dust Chute over Fan Housing (78). Fas- ten Dust Chute in place by tightening Head Screw. See Figure C.
Dust Chute (80)
Fan Housing | Hex Wrench | |
(78) | ||
(122) | ||
| ||
Figure C | Head Screw | |
(79) |
8.Mount a trash bag (not included) to the Dust Chute (80) to collect the dust.
9.WARNING! Make sure Blade is fas- tened and tightened down securely before beginning any work. Refer to “Changing Cutting Blades” section of this manual to tighten blade prop- erly).
Operating Instructions
Read the entire Important Safety Information section at the beginning of this manual including all text under subheadings therein before set up or use of this product.
Tool Set Up
To prevent serious injury
from accidental operation:
Turn the Power Switch of the tool to its “OFF” position and unplug the tool from its electrical outlet before performing any inspection, maintenance, or cleaning procedures.
Work Piece and Work Area Set Up
1.Designate a work area that is clean and
2.Route the power cord extension along a safe path to reach the Planer without creating a tripping hazard or exposing the power cord to possible damage.
3.There must not be hazardous ob- jects, such as utility lines or foreign
Rev 10d
SKU 95082 | For technical questions, please call | Page 9 |