4.Mount the Elevating Handle (4) on top of the unit on the right or left side with Flat Washer (2) and Head Screw (1), as shown above. Place the Cap
(9) on the other side.
5.The Filter Bag (27.6) of the dust col- lection system has an open bottom. The open bottom should be con- nected to a thirty gallon plastic bag or garbage can (neither included) using the Connector (27.8) and fasten with the Pin (27.7).
Operating Instructions
Read the entire Important Safety Information section at the beginning of this manual including all text under subheadings therein before set up or use of this product.
Tool Set Up
To prevent serious injury
from accidental operation:
Turn the Power Switch of the tool to its “OFF” position and unplug the tool from its electrical outlet before performing any inspection, maintenance, or cleaning procedures.
Work Piece and Work Area Set Up
1.Designate a work area that is clean and
2.Route the power cord along a safe route to reach the work area without
creating a tripping hazard or exposing the power cord to possible damage. The power cord must reach the work area with enough extra length to al- low free movement while working.
3.There must not be hazardous ob- jects, such as utility lines or foreign objects, nearby that will present a hazard while working.
General Operating Instructions
1.Lower the Table Support (221) and the Extension Table (222).
2.The Adjustment Knob on top of the Planer is used to adjust the depth of cut. Recommended depth of cut is as follows:
Wood up to 6” wide: 3/32”
Wood over 6” wide: 1/16”
•The depth of the cut is read on the meter above the cutting area on the front of the Planer.
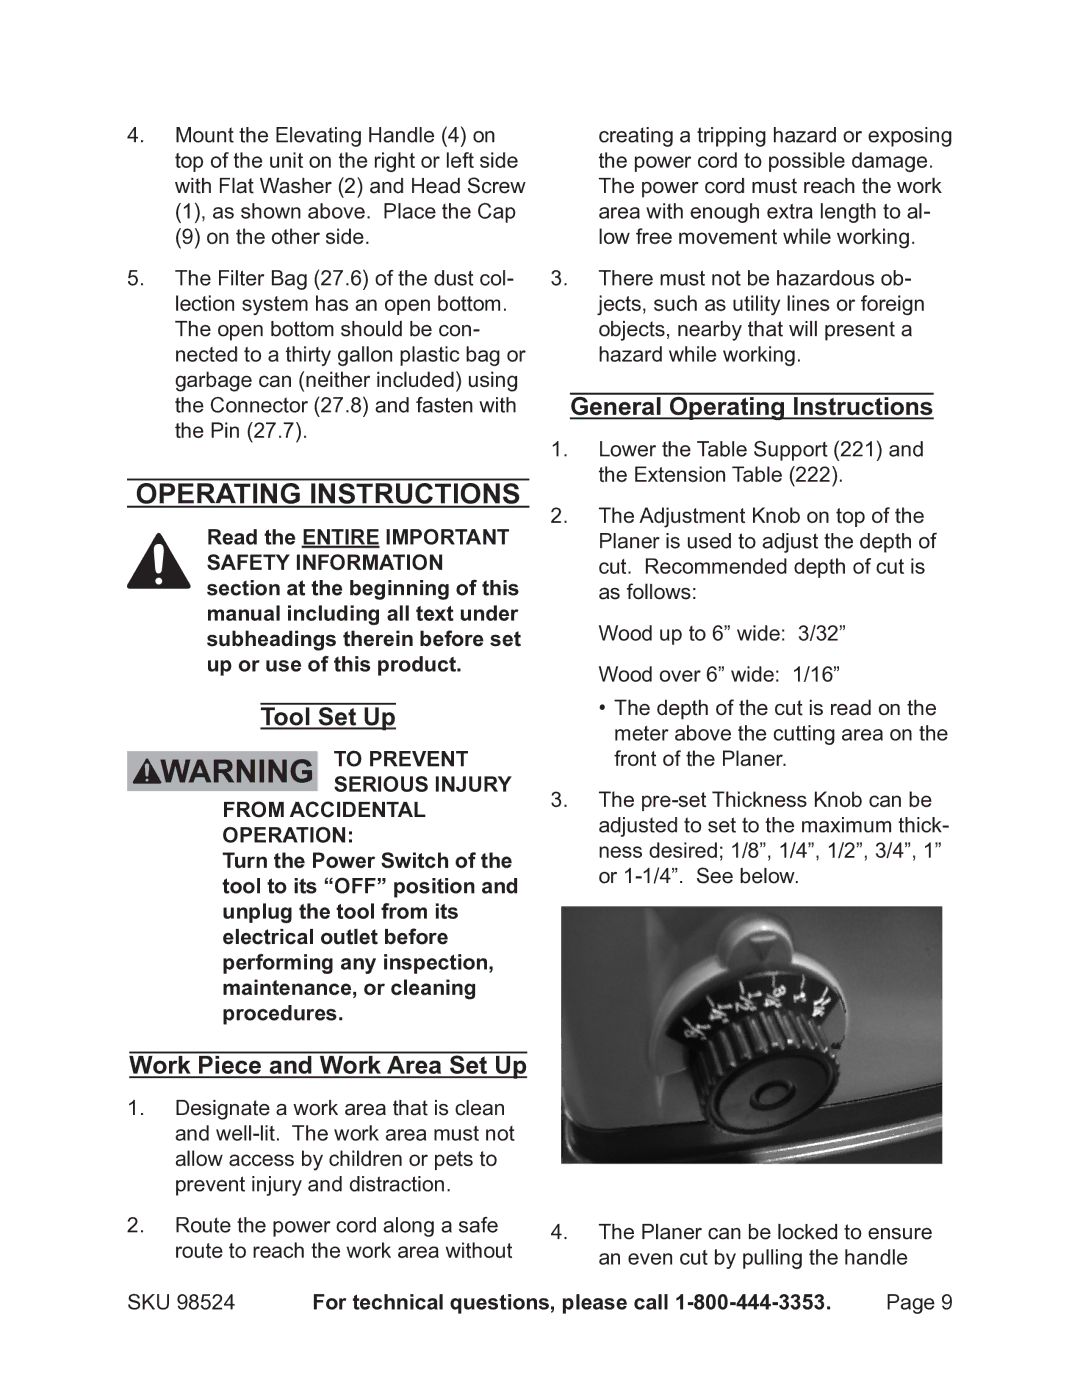
3.The
4.The Planer can be locked to ensure an even cut by pulling the handle
SKU 98524 | For technical questions, please call | Page 9 |
