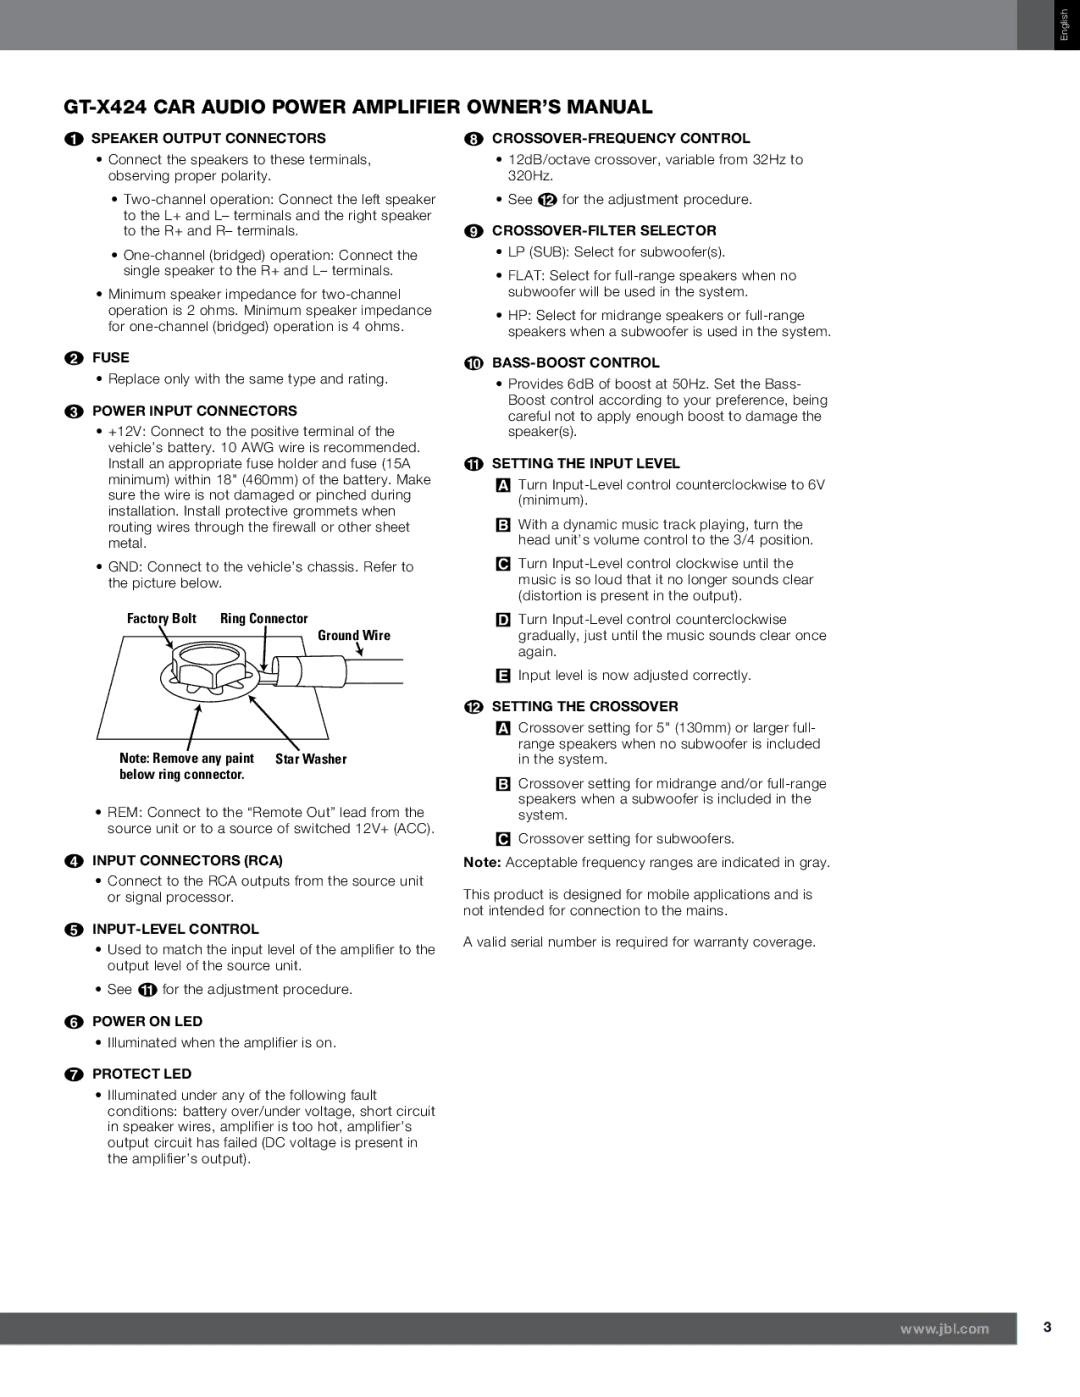
GT-X424 specifications
The Harman GT-X424 is a premium loudspeaker that exemplifies Harman's commitment to quality audio engineering and innovation. Designed primarily for professional use, the GT-X424 is suitable for various applications, including live performances, DJ setups, and home audio systems. Its robust construction and impressive sound reproduction capabilities make it a go-to option for audio enthusiasts and professionals alike.At the heart of the GT-X424 is its powerful two-way speaker configuration, which includes a 12-inch low-frequency woofer and a 1-inch high-frequency compression driver. This combination allows the speaker to deliver a well-balanced sound with deep, punchy bass and crisp, clear highs. The woofer employs a high-temperature voice coil and a sturdy cone, resulting in reduced distortion even at high output levels. The compression driver is designed to provide an extended high-frequency response, ensuring that vocals and instruments retain their clarity even in demanding environments.
One of the standout features of the Harman GT-X424 is its built-in advanced DSP (Digital Signal Processing) technology. This feature allows users to fine-tune the audio output to match different acoustic environments, making the speaker versatile for various settings. With the DSP, users can take advantage of adjustable equalization, crossover settings, and various pre-set modes, optimizing performance for specific applications, whether it's for a live show or a recording session.
Durability is another key characteristic of the GT-X424. The speaker is constructed using high-grade materials, including a rugged ABS enclosure that is both lightweight and resistant to the wear and tear of transport. The design also helps minimize unwanted resonances, providing clean sound reproduction. Additionally, the speaker features an integrated handle for easy portability, as well as multiple mounting options for flexible installation setups.
Furthermore, the GT-X424 is equipped with multiple connectivity options, including XLR/TRS combo inputs and outputs. This allows seamless integration with various audio sources, such as mixers, microphones, and instruments. The speaker also supports daisy-chaining, enabling users to link multiple speakers for larger sound setups.
In conclusion, the Harman GT-X424 stands out in the crowded field of professional loudspeakers due to its exceptional sound quality, advanced technologies, and robust design. Whether used for live performances or as part of a personal audio system, the GT-X424 is engineered to deliver an outstanding listening experience.

